
My workflow for capturing Milky Way Nightscape Panorama images
Brief run down of my start to finish workflow and process of capturing nightscape panoramas incorporating the Milky Way and Galactic Core.
There is nothing quite like capturing the night sky in all its “hidden” glory. I say hidden because the images you produce aren’t quite able to be seen with the naked eye, yet there is no denying their magic and wonder even if you are a capture purist. Saying that though, lately I have visited two areas of the Southern Hemisphere - Great Barrier Island off the coast of Auckland, New Zealand, and Karijini National Park, in the middle of the Pilbara region of Western Australia and both these areas have a bortle night sky rating of 1 to 2 which is the darkest (and hence clearest at new moon) skies that our world can produce, and the milky way and galactic core are visible to the naked eye with amazing clarity, just not the colour range that a digital image can produce.
Camera technology and processing jiggery allow for milky way images to be produced like never before. And some of the newer smart phone camera sensors are even allowing for pretty decent results to be captured by just resting your phone on a ledge and setting off a 25sec exposure pointing towards the night sky.
I still prefer to venture out in to the night with a full frame DSLR and wide lens and set about trying to capture the highest quality night sky panoramas I can get - and its a never ending quest.
Here i detail my workflow and show some of the results that can be achieved.
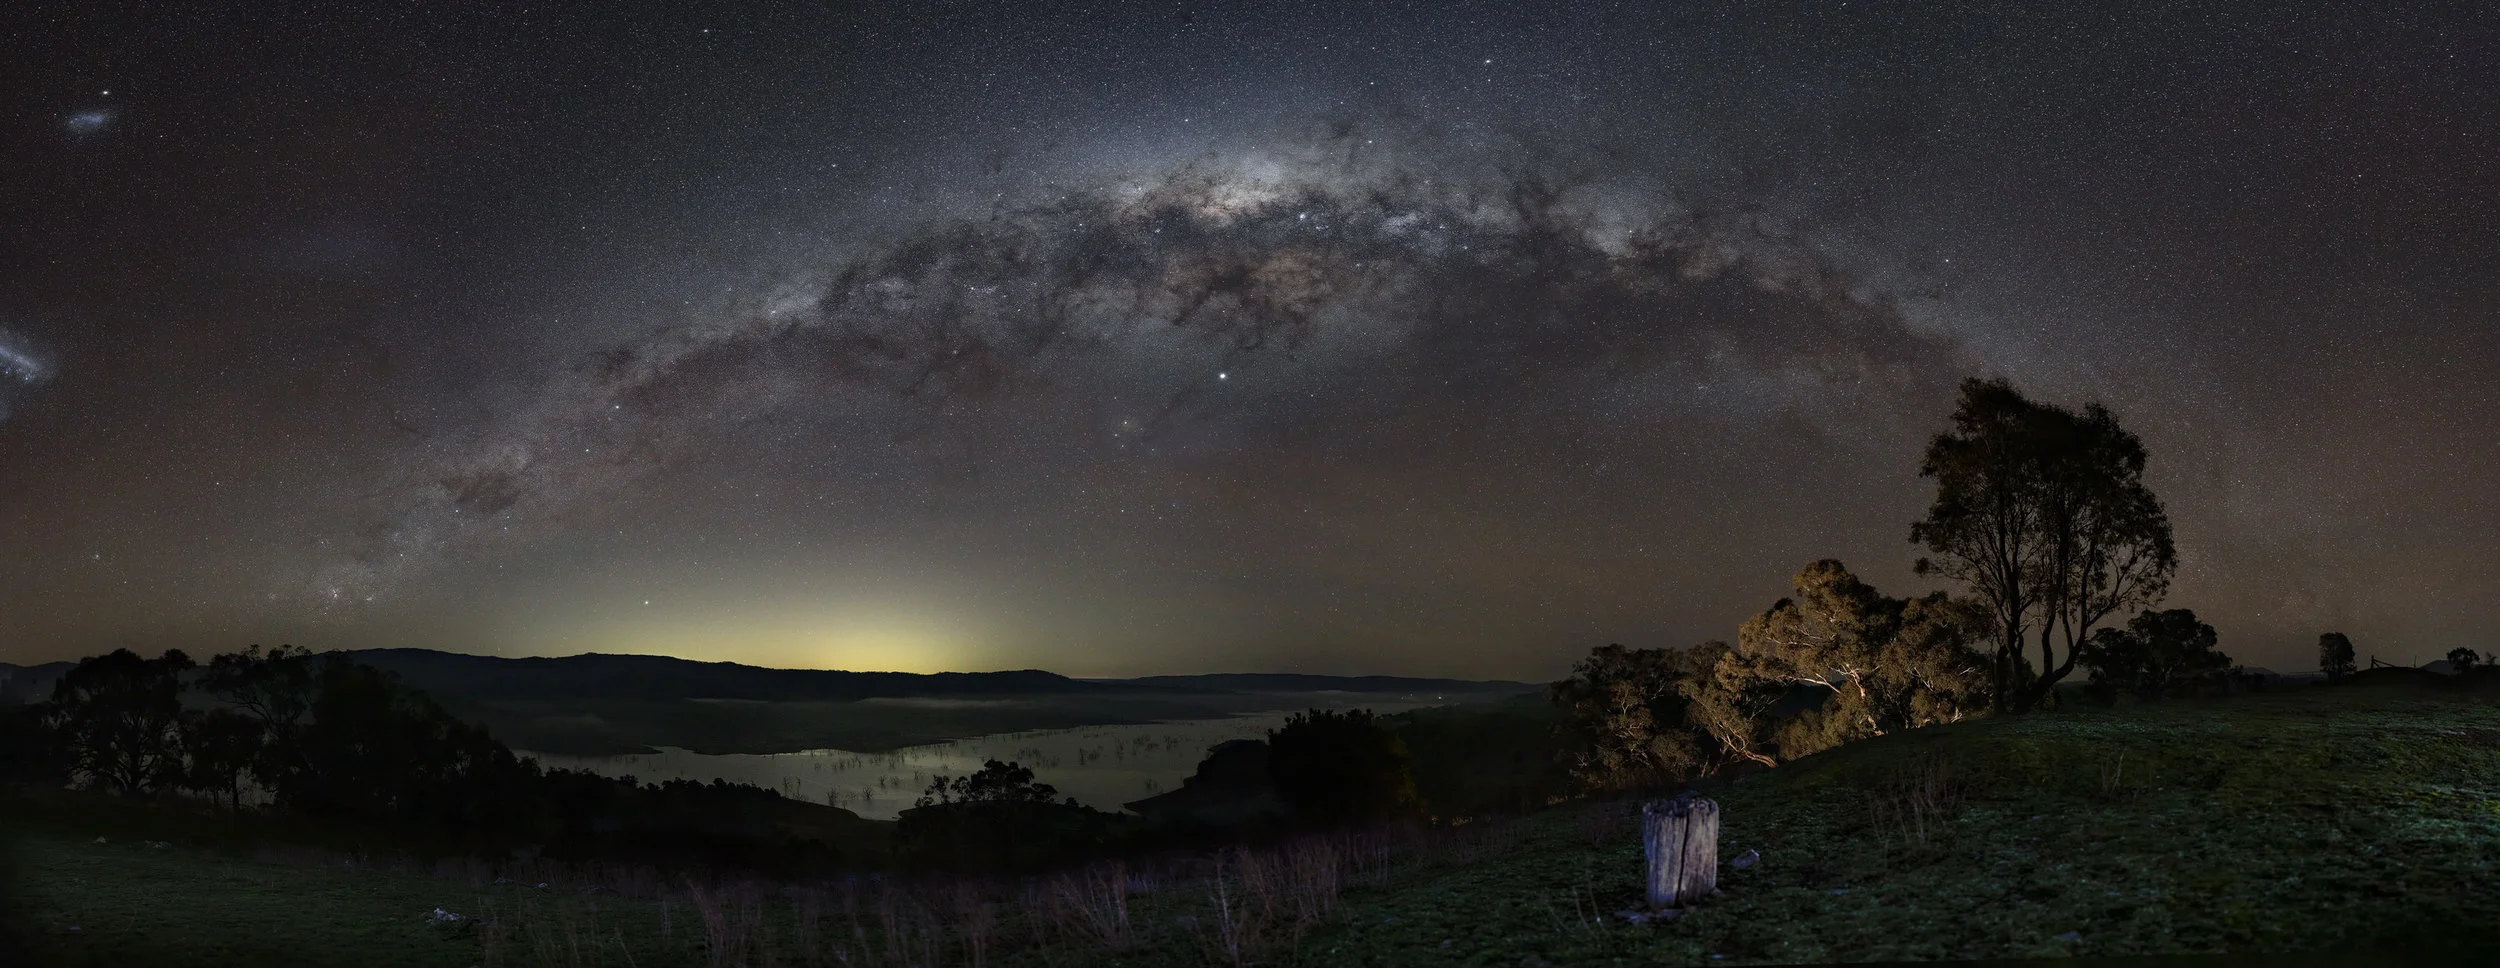
77 image pano using iPano, stitched with apg Gigapano s/w, ISO5000, f/2.8, 8secs, Canon 5DMkIV, Sigma Art 50mm
Before you venture out
In order to maximise your chances of getting a pretty good image, you have to do a little bit of planning, which doesn’t really fly with my style but I have learnt some discipline around this after many failed attempts of trying to wing it !
Always good to have a rough idea of where you want to take the images, and whether you will stay out all night or work out some accomodation or such. I am very lucky to have access to an awesome dark sky location about 3 hours from home, with a comfy friends farm to stay at and use as a base for my night adventures. Work something out because being cold and lonely out there with no comforts can be tough!
I use the awesome app Photopills to work out where the Milky Way will be in the sky, its path through the night, and where I need to be set up in order to capture the full arc panorama of the Milky Way (if that is what you are after). Lots of great instruction on how to use PhotoPills, it looks a little daunting on first entry, but once you find the bits that are useful and important for night sky captures, it’s a great tool to use.

Easy to follow tutorial here on the main aspects of the tool. I use the Planner - Galactic Center tab the most to get an overview visual of where I am setting up and the path of the Milky Way and also the important times that it is above the horizon etc. I then go to the AR mode when on site to exactly map where the Milky Way and Galactic Centre will be and this determines where I set up the camera etc.
I also use an awesome app called Scope Nights which tells me in advance with amazing accuracy the night sky conditions and cloud coverage. This app has been spot on for my locations and lets me plan ahead my trips and which nights are going to have the best visibility for milky way and star shots. Highly recommended to use.
The Gear
Less is always more as they say but I have found that with milky way nightscape panos, and to maximise your chances of getting some good images that can be easily stitched together and look good, you do need some extra gear to make it all work. I also like to set up my gear sometimes and leave it to run for extended periods of time, hence the battery options and the lens warmers.
For bare minimum pano shooting, you do need a full frame camera and as good a lens as you can afford. I use a Canon 5dMkIV with a Sigma Art Series 50mm prime lens. I use a 50mm lens as a find i can get great detail of the night sky and the milky way in particular fills the frame, but you do need to take lots of frames and have a good overlap (more on that later). Some use a 15mm or 24mm lens for panos but i find that they are too wide and don’t provide good stitching images due to aberrations etc.
With this camera and lens all I need is a decent tripod and off we go. Sturdy and stable is the only criteria for a tripod. I use a top end RRS ball head as well for this basic setup. With this gear you can go out and take pretty solid pano images of the night sky, manually adjusting as you go (see Taking Images section).
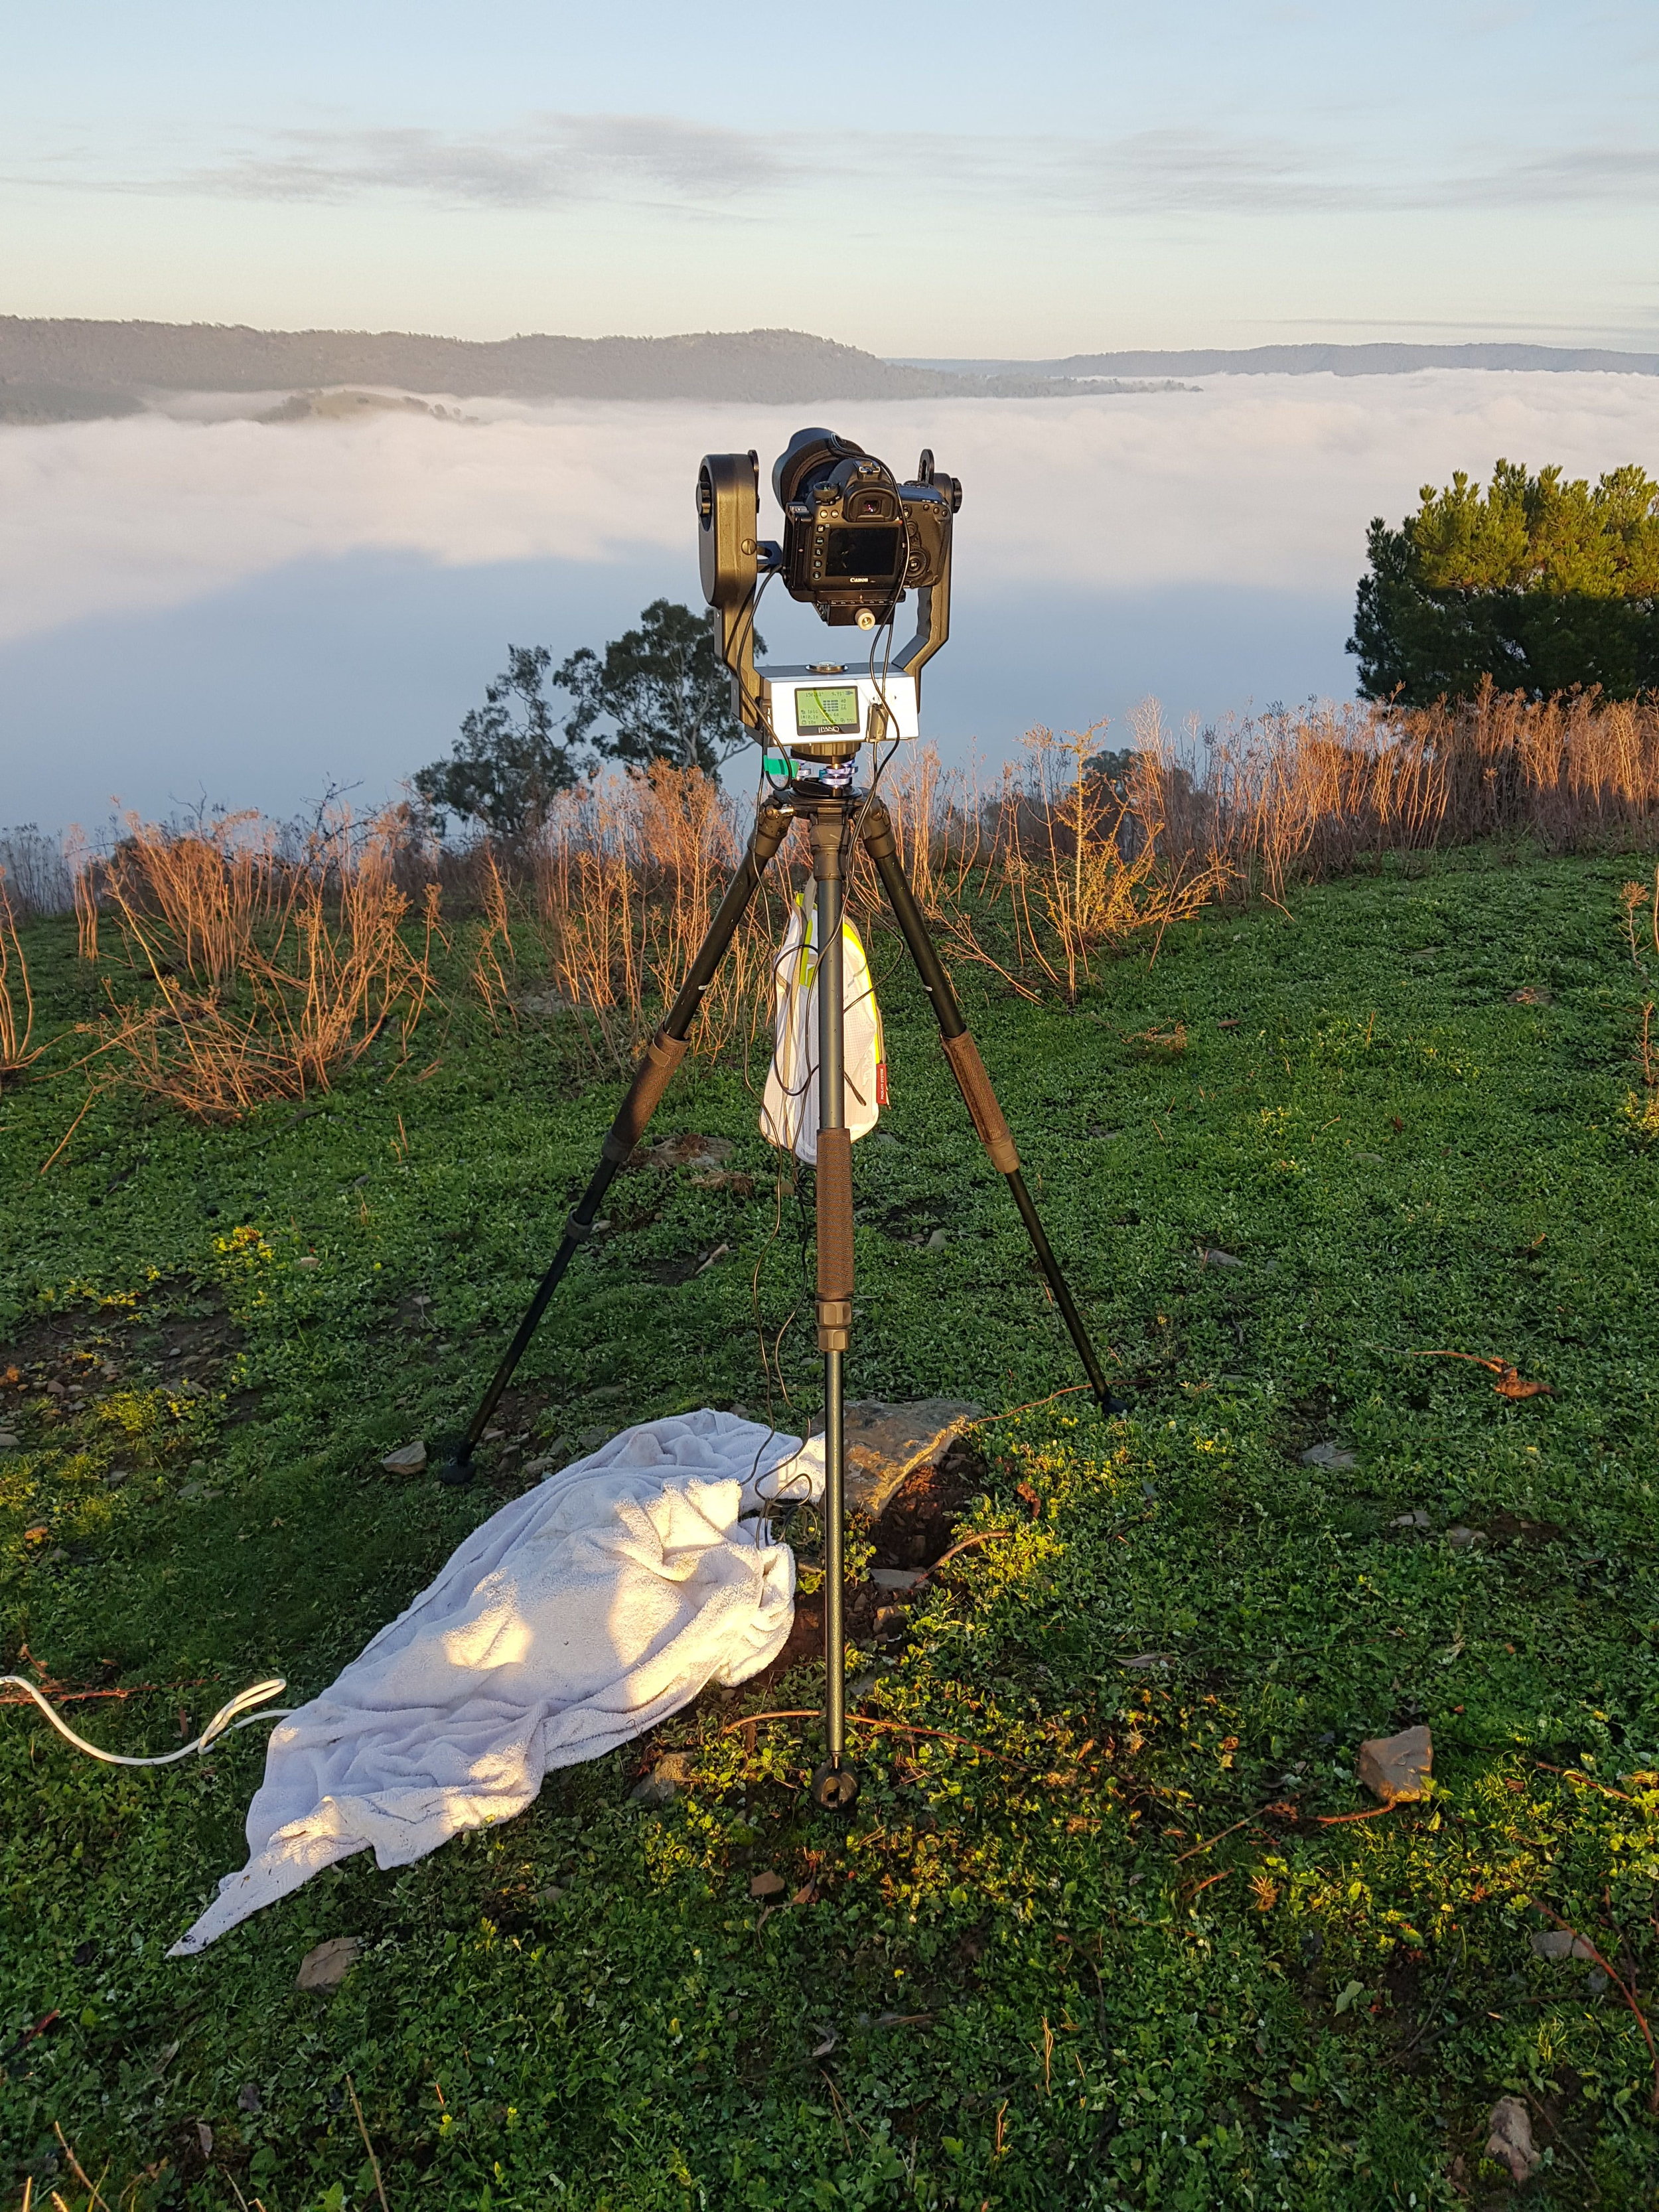
My “busy” setup - automated pano capture and lets me sleep whilst it works !
My “busy” setup lets me program what I want to capture, then set it in motion, and I can go off and do other things (like setup a timelapse rig somewhere else) or sleep ! Some purists may object to automating this but after standing in the middle of nowhere for many nights taking manual panos, I don’t mind automating sometimes either - its still hard work to get it right even if you aren’t pressing the shutter every time. I use this setup when I am also capturing timelapses at the same location. That needs more time and energy and by using the above setup, i can capture some great panos at the same time as i am capturing hopefully an engaging night sky timelapse.
The extra gear for this setup is the awesome iOptron iPano device. Thats what is sitting on top of the tripod (no ball head) and holding the camera. Its an automated panorama and timelapse device which I only use for panoramas. Its fully programmable and well built, user friendliness is a little to be desired with the menu structures and flow, but once you get the hang of it it does exactly what you tell it to do !
And i have to say their support is awesome, actually cutting me a new release of software to solve an issue I found!
How to use it and set it up is here . You basically set the camera settings you need for a night sky capture (i generally use with the 50mm lens ISO6400, f/2.8 and 6 sec shutter), connect the camera to the iPano as the iPano triggers the camera, then you set up the iPano - the starting point, the end point, the amount of overlap (I set that to 54%), the time between shots ( minimal), whether you want it to repeat over and over, etc. The battery life is great (good for over 600 image triggers) but I use an external battery to power this and a lens warmer for those winter nights and mornings. Kendrick Astro from Canada have the best warmers and controllers in the game in my opinion and great support.
Plenty of other gadgets you could collect but for now thats about it.
Lets set about using it all now !

Milky way over the Eco Retreat, Karijini National Park, Pilbara Western Australia. 88 image stitch, ISO8000, f1.8, 6 sec exposures with Sigma Art 50mm and Canon 5DMkIV with iOptron iPano for sequence. Stitched using apg Autopano software.
Taking images
So out in the field and on location after i have checked using the apps where the milky way will be and where the arc is best visible (generally between 15 and 55 degrees above horizon for the galactic core works well), you have worked out the end points of the arc, you are now ready to take some images, be it manually or automated.
Basic settings I use (but these change due to moon state, winter/summer, light pollution, etc) :
For a 50mm lens, ISO 6400 or 8000 up to 10,000, f/1.4 to f/2.8, 6 to 8 second shutter. These would be different if you are using a different lens of course, but try around these parameters. I find ISO at 6400 or even 8000 works fine for the newer cameras, and not much extra noise is introduced. My sigma is still sharpest around 2.8 but sometimes I drop down the shutter speed to 5 secs and stop down to f1.8 to try and capture really sharp stars. Atmospherics of the night really do play a role with sharpness so always check your focus.
make sure you use LiveView and set focus by finding the brightest star thru your screen, magnify to 10x, and manually dial in focus (it will generally NOT be the infinity marking on your lens), leave in manual and grab a piece of tape and stick it in place - the worst thing can happen is to move that focus ring ! Gaffa tape is your friend here. Once taped in place, you can then comfortably add the lens warmer without fear of movement.
If using just a tripod and ball head, take an image, then move your ball head on the same plane by 15 to 20 degrees, then shoot again, rinse repeat until you go all the way thru one pan, then adjust vertically, and do the same on way back. With this level of overlap (around 50%) i would normally take a 6 row by 12 image pano, being 72 images in total for the full pano.
Some people manually use a nodal ninja to ensure correct nodal length. A murky, deep and esoteric in nature discussion which I will not go in to here! Click on the link above to have a look in to it. I have used one before and they are a lot of work to set up (manually) I found for little benefit for astro but thats just my opinion. The iPano i use asks you to set up an initial nodal setting for the lens you are using and I find that both easy to use and for good outcome.
If automated pano is your way, set up the iPano to use Matrix pano mode, set you start and finish frames, which generally results in 77 to 84 images in total, set the iPano to repeat each matrix so you capture all thru the night, and set the timer for when you want it to start. As you are normally setting this rig up in day time, the camera is all set for night shooting, so your day panos will be blown out and overexposed by a lot, so the delay timer allows you to just take images when the milky way is out and in the position you want it to be. Power it by a battery if you need to and attach your lens warmer if you are expecting a low dew point temp. Of course always make sure you have formatted you SD card as lots of space is needed.
check all settings and if you are like me, you will hang around and watch the magic for a while until it either gets too cold or you fall over.

Milky Lake. 84 image pano, Sigma Art 50mm, ISO 5000, f/2.8, 8 secs
Post Processing
I must admit one of the great things about astro/milky way panos is that you don’t know what you have captured until you get back to your workstation and start to put the images together to reveal the magic. And of course how much you process the images is purely individual choice and I have found myself changing over time, but I was never one to over saturate/over dehaze/over sharpen anything !
There are so many how-to videos on the net on astro/milky way processing that i urge you to google Milky Way Lightroom edit or Milky Way Photoshop edit and see what you like. I am not going to add to that collection with another video, but I will outline the steps I take and links to the process if you are interested.
after importing into Lightroom, I immediately edit and remove chromatic aberration, and also profile correct. I also add about 0.5 exposure to all images which i find enables the stitch to work better
I then export all the images that make up the pano to apg Autopano Giga. I find this the best stitching software if you get your hands on it (GoPro bought the company a few years back and basically killed the product ! Bah humbug). Try Lightroom and Photoshop too as their stitching algorithms have improved, but they are nothing like Autopano in my opinion. Hugin and PtGui are the other favoured stitching software out there.
Once in Autopano, do an auto detect and 9 times out of 10 i use the Spherical perspective for the arc to appear natural. If it doesn’t, try the other methods as one will make it look great for sure. I don’t do anything else in Autopano with the stitch except render it back to the original folder location as a Large Photoshop Document, of which it really is. With the 5D and say a 77 image stitch, this file is upwards of 2.5 Gig, and its about 3m wide !
Once rendered, I open it in Photoshop and set the image size to a more manageable 50cm on the long side if I am only ever going to display the final image online or on a website. Save it as a normal PSD and the size is down to an easy 300 Meg or so.
then Back to Lightroom and I use LR to set the white balance of the image first up. To do this, push Saturation and Vibrance all the way to 100, freaks your image out but dont worry, zoom in on a dark only-stars part of your pano, and adjust the Temp slider until you get a nice mix of blue and green. Then zoom back out and adjust the Tint slider until you get a nice blend of green and purple, or whatever coloring you prefer.
Set the Saturation and Vibrance sliders back to the middle and you know you have got a good white balance when the milky way and sky look black and white. This is the starting point you want.
from here I then go back to PS and use Luminosity masks to grab the whites and then the blacks, and just push them up a little. Dont overplay this as this is where the unrealistic aspects of nightscapes can appear. A great video tutorial on this process is here - start at the 21 minute mark or so for the luminosity mask section
then I might do some localised edits using selection tools and feathering and adjust color, saturation, etc. Again, dont go too hard here and there are plenty of tutorials available on how to do this.
once all the edits are done, and i have removed star trails/planes/alien craft/etc that you don’t want from your image, I then apply a Pro Contrast filter using Nik Collections Color Efex Pro4. I find this just gets rid of any colour casting I may have really effectively and quickly. Be selective with your use of the adjustments on the top right side and choose something that works for the image at hand.
then i do a final noise reduction process using Dave Morrows techniques. Love this guys work and he is super helpful. Check out his tutorial here.
Last and certainly not least is a final sharpen. Go easy on this and i tend to sharpen the lighter parts of the milky way, core, and the foreground only. In Photoshop, create a stamp visible layer (shift option command N, shift option command E), then desaturate (shift command U for mac), then drop down to vivid light in the drop down panel, then go over to filter and other and high pass, set a value of 0.6 to 0.9 and hit ok. Then invert a mask (shift and command and vector mask) and then with a soft brush, opacity and fill 100% delicately spot over the brighter parts of the milky way, stars, core, and foreground
Done !
I hope all of this helps you in your quest for the never-achieved-but-great-fun-trying perfect milky way nightscape image !

©leswillphoto2019. Milky Way over Joffres Gorge, Karijini National Park. 88 image stitch using apg Autopano software, Canon 5DMkIV with Sigma Art 50mm, ISO6400, F1.8, 8 second exposures. Used LLL* on foreground gorge.
LLL, or Low Level Lighting, is a whole other ball game, and someone who I widely respect and admire Wayne Pinkston is the co-originator of such a discipline. Check out their extensive resource here .
Workflow of how to capture and process Aerial Panoramas using a Phantom 4 Pro Drone
I have been using a drone for over 5 years now to capture unique birds eye views of landscapes and I really enjoy the abstract nature of the results. Recently I have started to produce more traditional landscape drone images, being panoramas of particular vistas. It’s an enjoyable process and delivers pretty good results, and I find the images are more accessible and understandable as well compared to some of the more abstract results you get from using a drone !

Here is how I go about it ….
1. Before I fly
I like to use Google Maps to work out a decent outlook or vista that may translate to a good panorama. It also helps to visualise where you want the drone to be positioned whilst you pan and take photos. Sometimes though its just as good to go to where you are going, wait for the right light, and just get up there and look around.
2. Drone Settings
I have experimented over many sessions with settings to yield better results and I have settle don these - try different ones as you go about your image taking and see what works best where you are and the types of scenes you are capturing.
From the Phantom 4 Pro (P4P) menu,
the Photo Symbol settings :
Photo set to AEB and 5 shots
Ratio 4:3
always RAW format
White Balance set to custom and any value, as long as it doesn’t vary (5000 is pretty safe)
Style I have as custom with -1 -1 -1
Color as D-Cinelike.
This gives an almost washed out/de saturated image, but is a great starting point for the post production process.
the Shutter Symbol settings :
ISO as low as you can go for the light conditions with the aperture as below, I always try and stay at 100 to 200 for the P4P
Aperture at 5.6. I have tried up and down the aperture range and find best sharpness and edge to edge performance for the P4P sensor is 5.6, but like I said earlier, you have a go and see what works for you. If the light is really low sometimes I have to stop down lower. And in brilliant midday sun I generally stop up to f8.0 or so for some shots. But never vary the aperture during a pano. Keep this on one setting for all the images in a single panorama.
Shutter speed is what I adjust every set of images I take. Will explain further, but contrary to other suggestions for creating panos, I always adjust shutter speed to make the EV readout either 0.0 or just over exposed at +0.7 or so.
in the Cog Wheel settings, the important ones for me are :
Histogram on
AFC on
Lock Gimbal whilst shooting on
Overexposure On
Head LEDs Auto Turn off (for dusk panos a must!)
One other random setting is I allow for the gimbal to pitch an extended 30degrees upward as sometimes that suits the position of where I happen to be and the scene I am trying to capture, generally high placed clouds. just be careful that you don’t pitch too far up and the props in frame - very annoying and way to hard in post to get rid of them all !

©LesWillPhoto Lake Sunset : 7 sets by 2 rows, AEB 5 images per set equals 70 images, f5.6, various shutter speeds but not varying too much from 1/80, and ISO fixed at 100.
So now that all our settings are set launch the bird and fly off to where you want to position your self to be able to pan as far as you want to in order to capture the breadth of your pano, as well as making sure that it visually works and will look good in the expanded frame so to speak. Height wise I would rarely be above 75m or so for these types of panos, and sometimes lower is of better composition. it really depends upon your horizon and landscape of course.
3. In the air …..
So once in place with the drone I tend to start right to left top then tilt the gimbal down and go left to right to finish. To start I always dial up a shutter that will give me either e black and white frame and take the shot so I know that my next frames are my starting frames etc - very handy when you have 5 batteries and take panos over and over and over …..
So I pan right to left, taking note of the third grid pattern on my screen and I always overlap by at least 35% to 40% - if its a complex scene with lots of colour and clouds, 50% to 60%. I move consistently thru the scene usually 7 or 8 moves along the horizon. Each shutter produces 5 images (as we have AEB set to 5) so stay still and don’t move until the card stops writing (the outer ring of the shutter button on the screen stops spinning). Then move along and take the next set. After you have down one pan right to left, drop the gimbal down and again allow for a 30% to 40% overlap on the horizontal, and start again the other, with the same amount of stops. Each move adjust the shutter speed to get an EV of 0 or +0.7 - which ever one you decide. You can have some variance on these as I find the clouds and contrast all blend in anyways and you are hard stretched to spot the variations with the human eye once processed.
At the end of this you will have done two pans of say 7 stops, each of 5 images, so you will have 14 by 5 equals 70 shots to process ! I then take a white or black frame and fly to my next location and do it all again - or stay in the same spot and catch the light changes and do it all again ….
4. Back on the ground and process workflow
I keep it pretty simple after again much trial and error - here are the steps I take to produce these types of panos :

©LesWillPhoto
My Workflow :
Import in to Lightroom. If everything went well with the shoot, I sometimes use the great LR plug in LRenfuse which can batch process AEB images. Otherwise I just use the recently upgraded HDR Panorama feature in LR. If I know the shots or scene was pretty special, I will first process each set of 5 bracketed shots in Photoshop as HDR, then merge them in to a panorama after that. I only correct chromatic aberration and lens profile before starting the above processes.
If the scene is complex or lots of great looking clouds etc sometimes LR and PS just don’t cut the mustard with regards to their pano stitching skills, so I use the great French program from apg. Its so good and almost NEVER fails to stitch a great pano together sometimes from absolute rubbish ! Do your stacks, Her them or merge them, then export as 16 bit TIFF in to apg and off you go. For LR, PS and apg, I find spherical panorama processing as the best one in almost every case.
So once you have your stitched pano in whatever format, I use LR if I am in a hurry or PS to do the next round of adjustments, and of course this is all down to personal taste and what it is you are trying to convey.
I do these as a base level :
content aware fill for any edges and sides that need filling out. I tend to set the image size to a ratio of 2.5:1 but again this is up to personal taste
curves adjustments to bring out the darks and lights
contrast adjustments using the Nik Color Efex Pro 4 (Landscape/Pro Contrast tab)
some sharpening using an inverted mask and the High Pass filter in PS (google Phlearn Sharpening to find out)
Thats about it !
Good luck with all your attempts and hope some of this is useful. You can also mix it up a bit and do vertical panos as per below. Google these again as there are some much better and trippier examples on the web.
Have fun up there !

©LesWillPhoto Vertical Pano.
Revisiting my time-lapse workflow
As technology and time-lapse specific equipment evolves, thought I would update my workflow and processes on how to achieve some reasonable time-lapse astro footage. My earlier process is here and still contains some relevant and handy information if interested http://www.leswillphoto.com/blog//gear-and-process-review-starscapes-and-timlapses

Some updates and changes to what I am using is mainly around the equipment, but also software.
New Gear
As mentioned previously, its very easy to spend big on astro and time-lapse gear, but a couple of well targeted purchases can make all the difference.
One of these I believe is the timelapse+ View intervalometer. Elijah the designer and producer is absolutely committed to the cause of making a device that enables professional and technically advanced time-lapse capture with an easy to use interface and process. This device allows for all sorts of automation of the time-lapse capturing, including the Holy Grail - the transition between night and day or vice versa. I highly recommend this gadget - it does require some tinkering and trial and error to get the best out of it, and the interface can be a little buggy sometimes, but overall it delivers fantastic results.
I have also upgraded my motion capabilities from the Syrp range to the emotimo Spectrum. This is a top end device for both movie and still motion, and not cheap. But the smoothness of transitions it provides, and the flexibility that I am now learning for detailed and intricate motion is fantastic.
Lastly, lenses are always developing, and I am now using a Zeiss 15mm ultra wide lens. Fantastic performance and capability but again, not on the cheap side.
I also now use an external lithium battery source to power everything such that i can do full 12 to 18 hour captures. The YETI400 from GoalZero is awesome. Still use the humble and non enviro friendly plastic garbage bag as overall protector of all the gear once out in the field, and I have invested in the Kendricks lens warmers to beat that pesky dew point which is needed here in the southern hemisphere as the galactic core and milky way is most visible in our cold winter months !
Motion time-lapse of Milky Way and Galactic Core
The Process of Capture
So I still use the apps PhotoPills (excellent and now i understand some of its functions even better, can in advance see where the milky way will be and its movements on any day/night) and the excellent iOS only Scope Nights for weather conditions.
I use the Canon 6D or 5D for my capture, with the Zeiss 15mm lens attached to the emotimo spectrum ST4 if i am doing movement. I now also attach the View to the hot shoe of my camera and use that for camera adjustments over the course of the night.
Settings for the View vary based on the night conditions, but in general I use :
2.5 sec frequency for day
45 sec frequency for night
max shutter of 20 sec
f1.8 or 2.0
manual focussed to infinity
Auto variable ramping
ISO 5000
All noise reduction and stability turned OFF
White balance at 3850
RAW capture
Enjoy the night shoot - i don’t have to be around my camera all night but i still pop down at various intervals to check all is going to plan and check the exposures to ensure that I am exposed to the right as much as possible without blowing any bright spots. This type of capture gets the most detail and allows for excellent milky way post processing. Dont go too high on ISO but these days 5000 or 6400 is all good. Remember the 500 rule re shutter time - 500 over your lens length is the max eg for my Zeiss 15mm, maximum would be 500/15 = 33.33 seconds. To be safe so i don’t get any star trailing and nice crisp stars and nebula, I stay at 20 or 25 seconds maximum exposure time.
The Process of putting it together
LRTimelapse needs to be your friend for excellent time-lapse processing. Gunthers software product is number one as far as i am concerned and that’s where my time-lapse processing starts and finishes. Combined with Lightroom this is all you need to output high quality 4K and beyond time-lapse sequences.
Hope some of these process insights help and enjoy capturing your skies where ever you may be!

Couple of big weeks ...
Big couple of weeks for various reasons and lots of new experiences. Photo competitions and post exhibition highs ...

Well a bit of fun has been had lately and a lot of work and new experiences too.
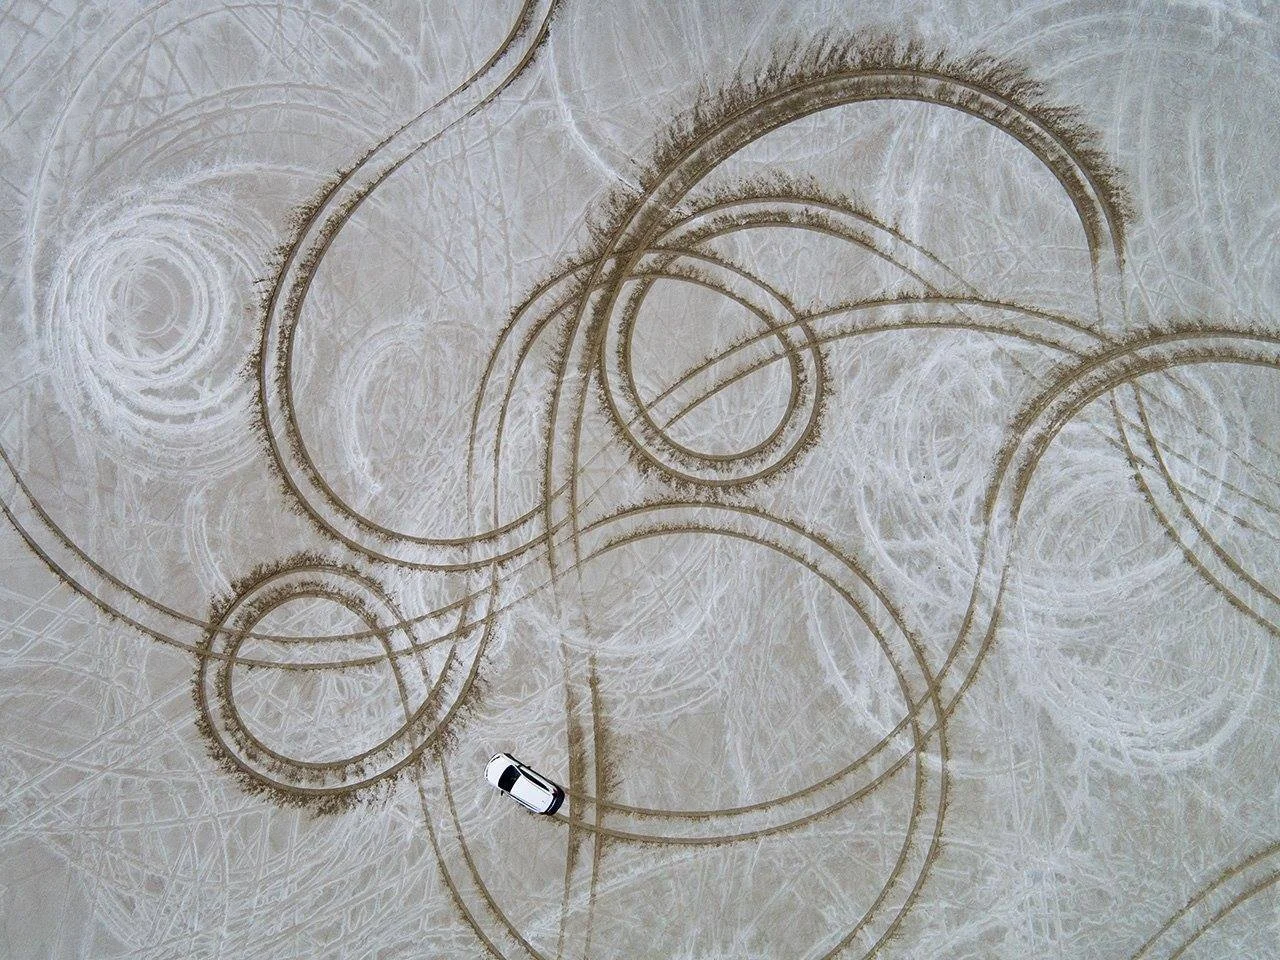
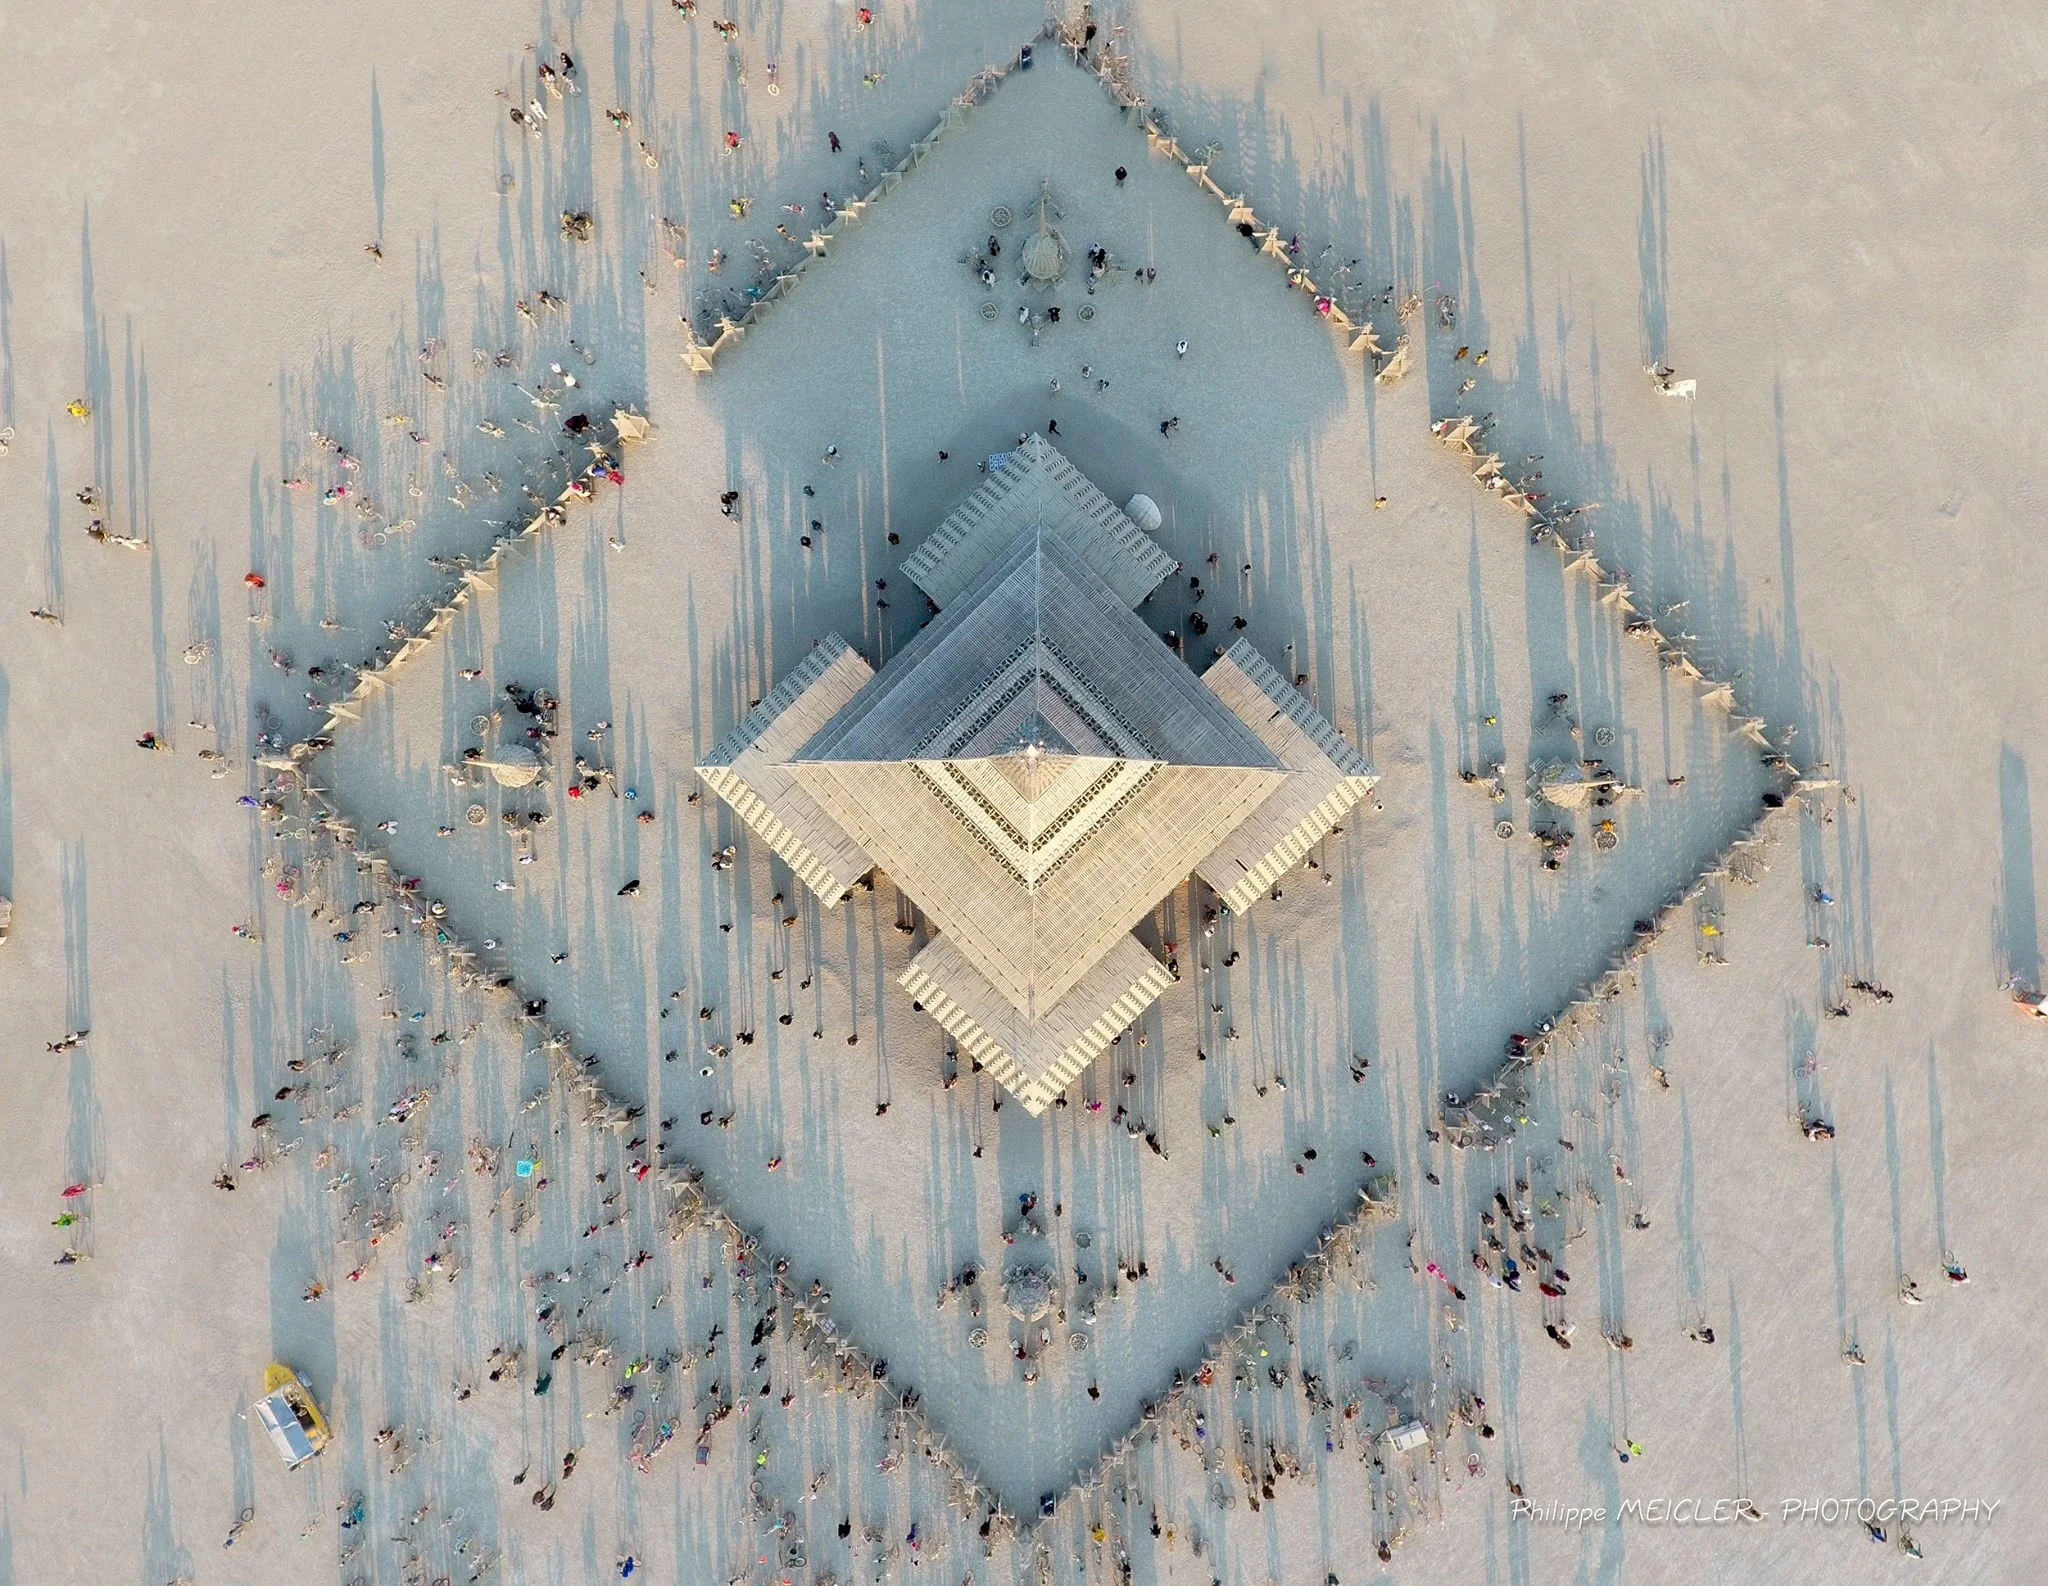
First off, very chuffed to hear that I had won a small 1st prize for one of my aerial perspectives. I have been using DJI UAV's (drones) since I got in to aerial photography, and unfortunately I have used a few as I ditch one every now and then in to water which isn't great ... but anyways, DJI globally run a few comps each year and the last one was around capturing images using just the straight down (gimbal and camera pointing straight down at 90degrees), which is right up my alley because that's about the only perspective I shoot with. Anyways, I won for the above image out of some very very cool images captured around the world. Have a look at a few of them. Awesome images.


One of my prizes is one of the new DJI highly portable drones called the Mavic Pro. Unfortunately I have just upgraded my other drone so will probably put it up for sale but great to get a gift for my work.
Last week my wife and I and one other artist had our self funded "exhibition" at a local hotel. What an experience from start to finish. I really enjoyed getting my images ready to be shown publicly, albeit mostly among friends and family. It really is hard work to get them up and presentable - and expensive - but worth it all. Irrespective of sales or ongoing support, the process was great to raise the bar on what you already do in the areas of capturing and post processing and presenting images.
Which paper, how much post, which frame and which orientation really do play a part in how the images impact and inspire, and as an amateur, its rare to get the chance to push yourself like this .
My wife's art is very popular and her colours and abstracts mixed well with my images, as to did the other artists Pop Art inspired drawings and paintings. We had a friend stylists curate the area and show which made all our works shine as bright as they could.
A big day, a few red dots, and everyone happy. I really enjoyed meeting strangers that just liked your picture and their interest in how it was captured and presented, and the fact that they take one home for their ongoing pleasure is a great finish to the process overall.

Exhibition Experience
Gulp. Its Exhibition time !!
Well for the first time I along with two other artists (one is my wife who is a painter) will be holding a joint exhibition at a local hotel in November this year.
Its quite an experience already to be planning and working towards actually showing some images publicly and putting a price and market positioning on the work.
Aside from the usual doubts and ego driven rejection phobias, its quite a fun exercise and some of my learnings from my photography studies are really paying off.

Already I am clear of my theme and what I am trying to represent by the images that will eventually be shown. I have a title for the show and a little story abut how it has come about. I have most of the pieces sorted and its all down to arrangement and final presentation fiddlings.
I am going to do only two sizes of images and as they are of the aerial perspective pieces, they will be quite large.
The theme is about how insignificant human impact can be on the landscape when viewed from a different perspective, whilst understanding unfortunately our impact is great overall.
I am excited to be joining two people who are very creative and talented and using a different form to express their views and insights.
Will see how we all go but for me, success will be hanging a few pieces and being exposed publicly..
Book Review : Sports Courts, Family Snaps and Sheds
Book reviews are back this time with three very different journeys !

Image sourced from Internet, Photographer Unknown
In keeping with my self proclaimed cure of G.A.S. *, I have been buying and perusing a number of new photography books of late. Buying books, any sort of book, is always a great experience especially in these days of screens and e-everything. But photography books are even more special because they allow the photographer to "complete the cycle" - from image visualisation right thru to printing and binding and presenting. I love buying them, and love looking thru them over and over.
3 very different ones to point out this time around - really i will only talk about 2 in some detail, as the 3rd book - Men and Their Sheds from Craig Wetjen - I cant even pretend to review this one as the author and photographer is one of my teachers at the college I attended. But I did want to mention it as it is a cracking book with some awesome portraits and emotional environmental images.

Photo by Craig Wetjen
Craig has put together a weighty, 224 page journey through 101 sheds and their proud occupants/owners/users. Coupled with at times very emotional accompanying text and back stories, this is an excellent book to sit up with over a drink and snack and enjoy the path. Having a tiny insight into the passion and skill and creativity behind this book only makes the images even more engaging and profound. If you are in to sheds, blokes, or simply perfectly crafted environmental portraits, this book is a must have.
Awkward Family Photos is on a totally different path, but in a ways hold its own with regards to skill and story telling and engagement in my view. This name and the associated photographers have become a whole brand and trend in themselves, with merchandise and online competitions ongoing to find that classic awkward photo. They have branched out in to Awkward Holiday Photos and Awkward Wedding Photos as well in book form, but i like this classic Family subset the best.

Awkward indeed ....
With a mixture of what appears to be staged (some of them have to be surely !) and impromptu awkwardness, looking through this book makes you squirm, wince and laugh in equal measure. Categorised in to classic family situations such as Siblings, Pets, Birthdays, and Graduation, the pages just throw out wrong and weird image after image.

Image from Awkward Family Photos book by Mike Bender and Doug Chernack
As the intro says, "we want to acknowledge the people who made the awkwardness possible - the amazing families who so generously shared their photos with us ..... Through your pictures, we see our own families and can take comfort that we're in good company".
Indeed.

©LesWillPhoto 2016. Canon 6D, 50mm, ISO 100, f16, 1/200, Umbrella Flash
Courts 02 is quite a disarming and intriguing collection of images. Shot in multiple countries through Asia, Oceania, and the Americas, the artist Ward Roberts captures surreal and unsaturated images of sporting arenas (mainly tennis courts) with no human presence. The colours, overall hue, and technical quality of the images are outstanding in my view, and the composition in many cases makes a quite ordinary scene one that makes the viewer engage and question and seek out all the aspects of the frame. Being the second book in his series, he is clearly on to something you would have to suggest.

Image by Ward Roberts
Who would have thought such inanimate urban environments could be so interesting to look at. I like the tennis courts the best due to the abstract lines and colours, but he does netball courts, basketball courts and others. The compositions don't really give any clues exactly where the courts are located, and I like the indexing at the rear of the book that acknowledges every picture, and its location.

Courts 02 Book. ©Ward Roberts
I really enjoyed this book and the packaging and binding are superb and of high quality. Quirky, interesting and clever. Nails it.
Wonder if skate parks would work ?

©LesWillPhoto. Aerial, DJI Phantom 3PSP
* G.A.S. - Gear Acquisition Syndrome. i.e expensive pastime resulting in way too many gadgets, lenses, camera bodies and lighting accessories.

Workshop Experience : Semester B Final Sessions
Well, Semester B is all over bar the folio presentations so thats about it for this section. Been a great semester and enjoyed working towards the final folio of images. Until next time !

©LesWillPhoto Canon 6D, 16mm, ISO800, f16, 1/60
Conscious that it has been awhile since I last posted. Been away touring through the wonderful Croatian inland and coastal areas, as well as staying on some wonderful islands enjoying the local food and olive oil and beaches. Will post up some photos when all downloaded and categorised. Great time though.
What that meant though was that I missed the 3 final Semester B sessions. I did read online all that was being discussed - one of the good things about PSC is that all class notes generally are available online - so didn't miss too much. That said, the bulk of these sessions were used for portfolio feedback which is something I did miss out on. Having seen some of my fellow students and where their images have got to, or their concepts, I realise that those feedback sessions would have really benefited my ideas as well of course. The price of a holiday during semester !
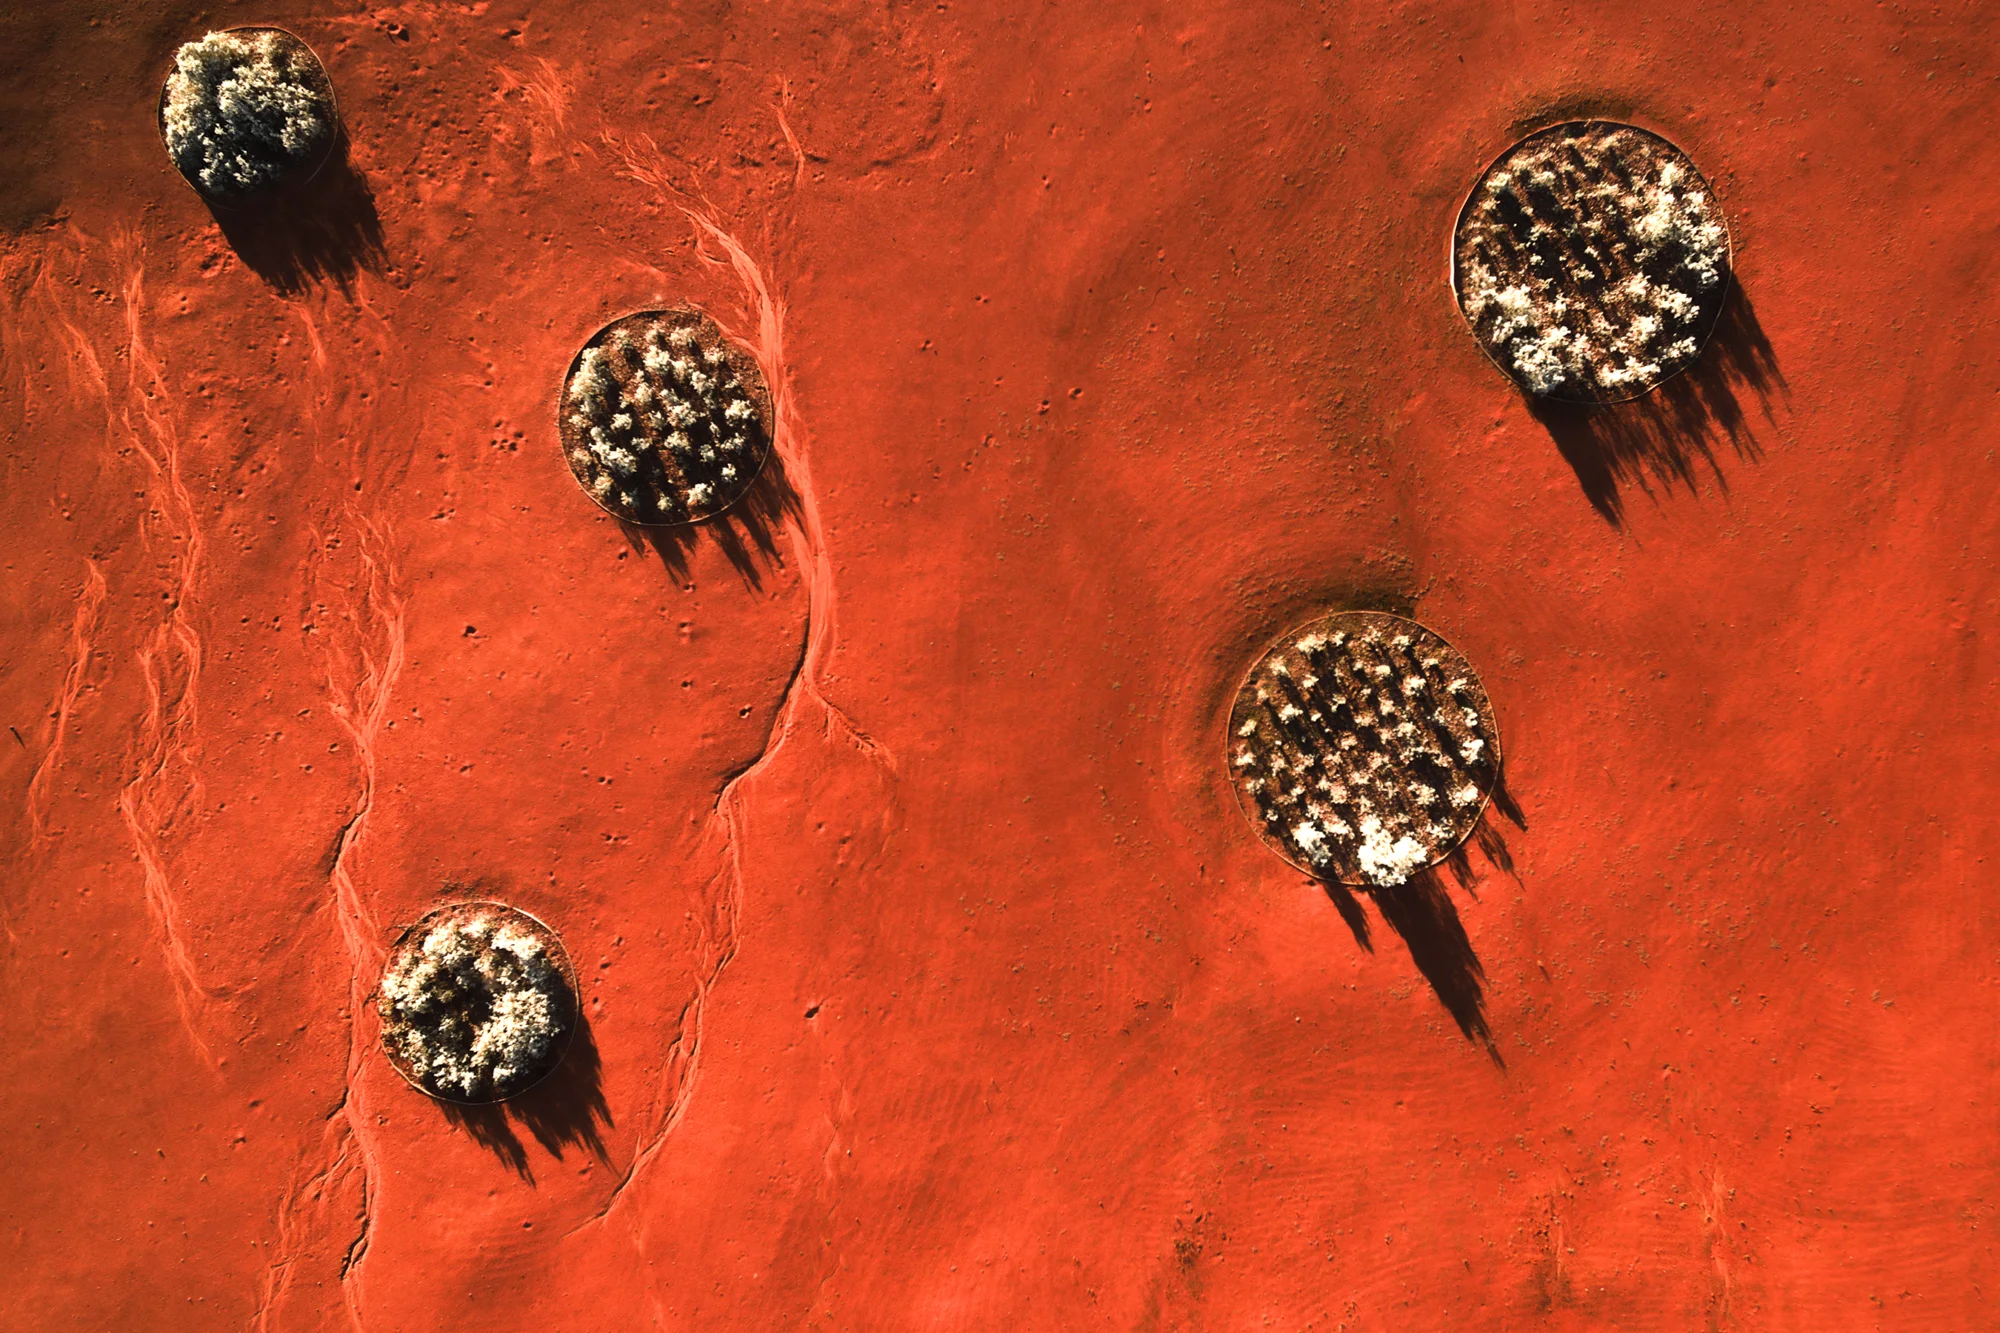
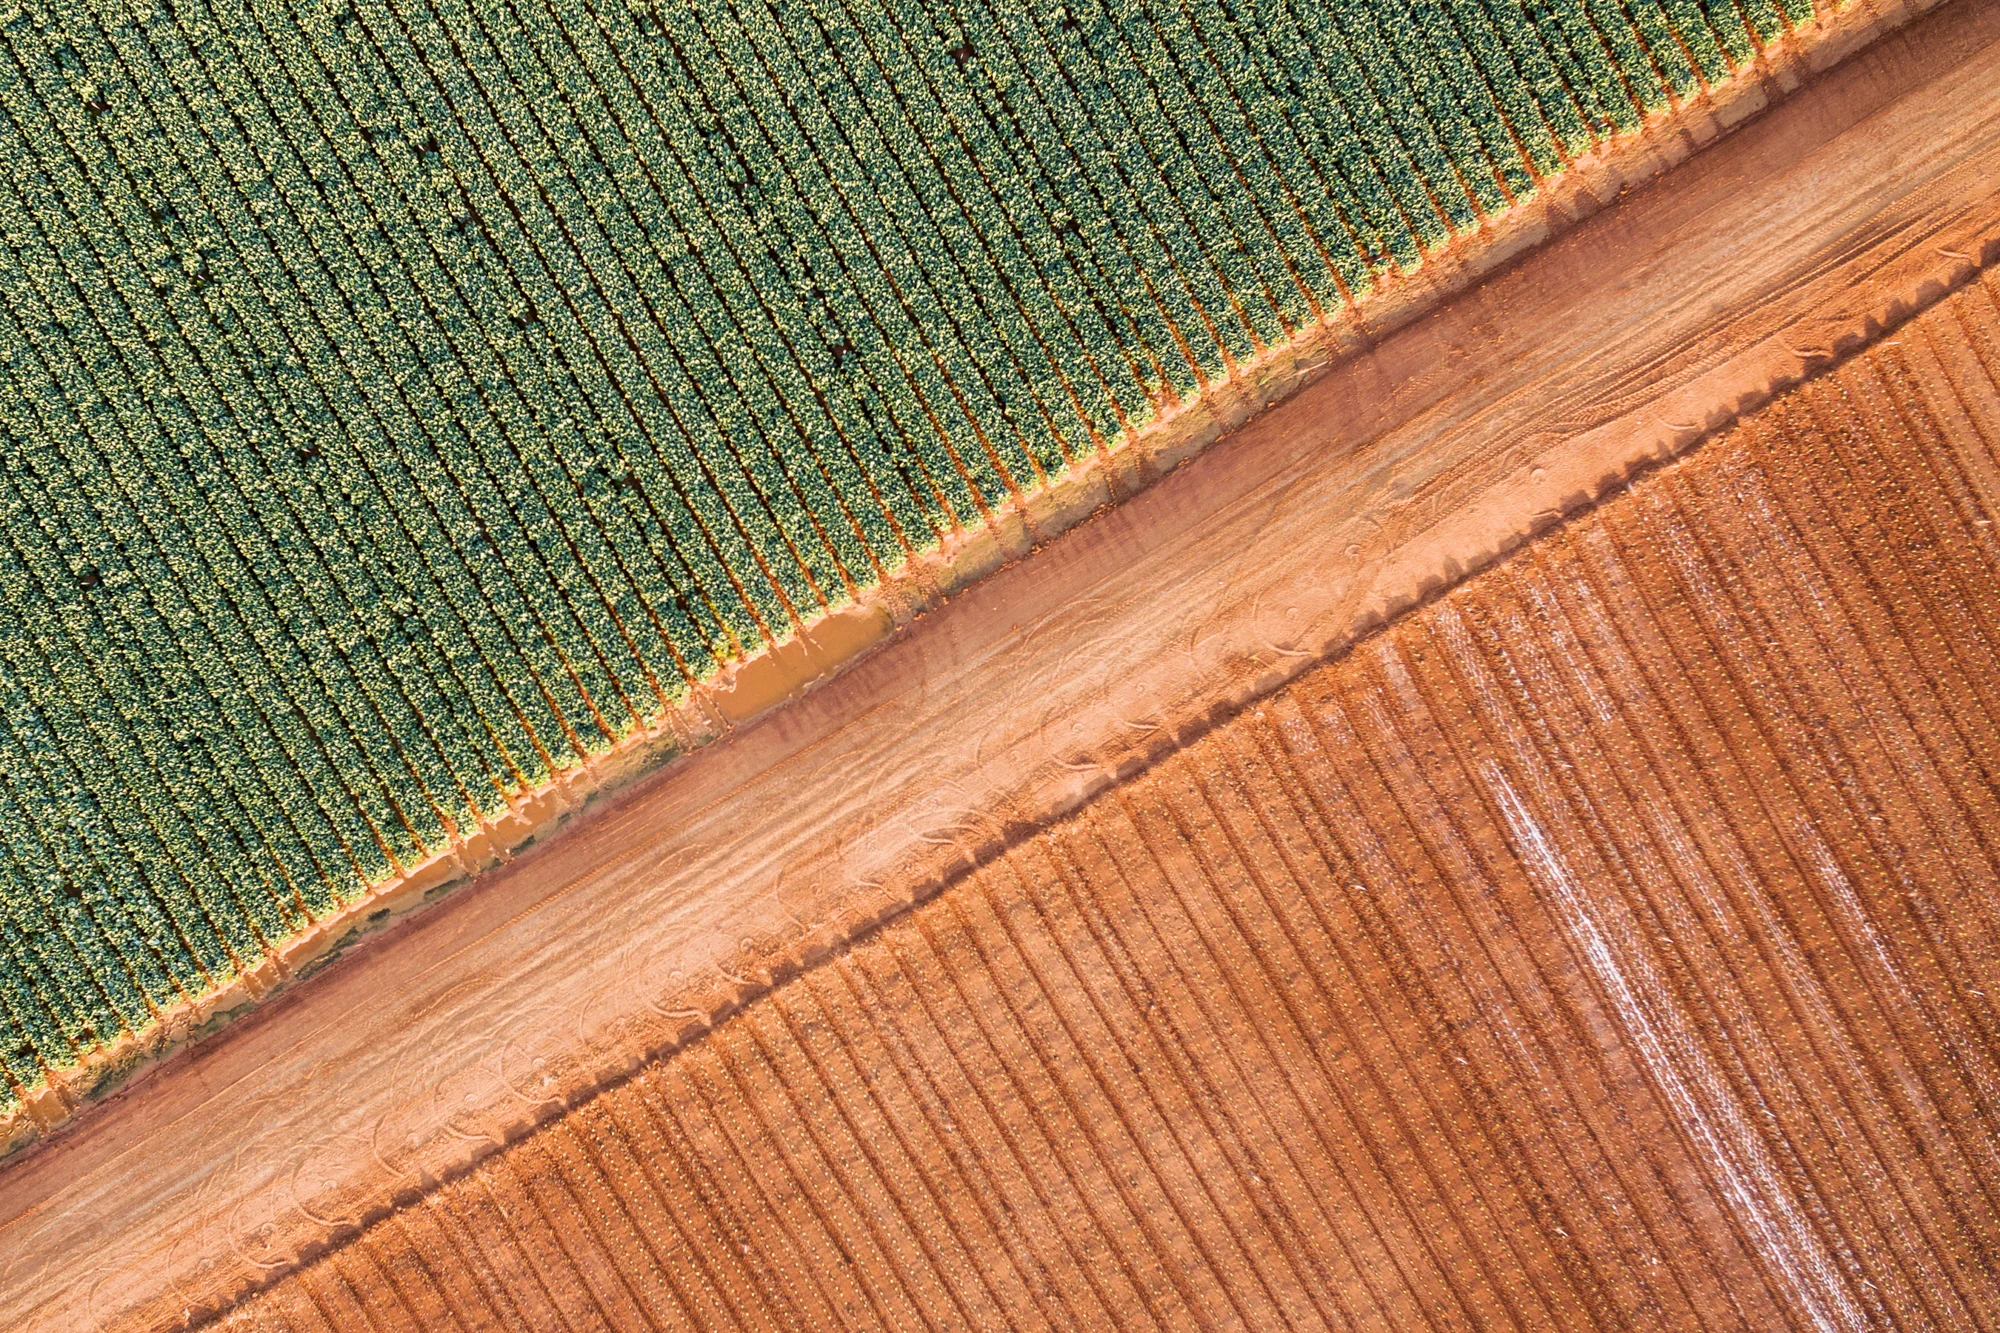
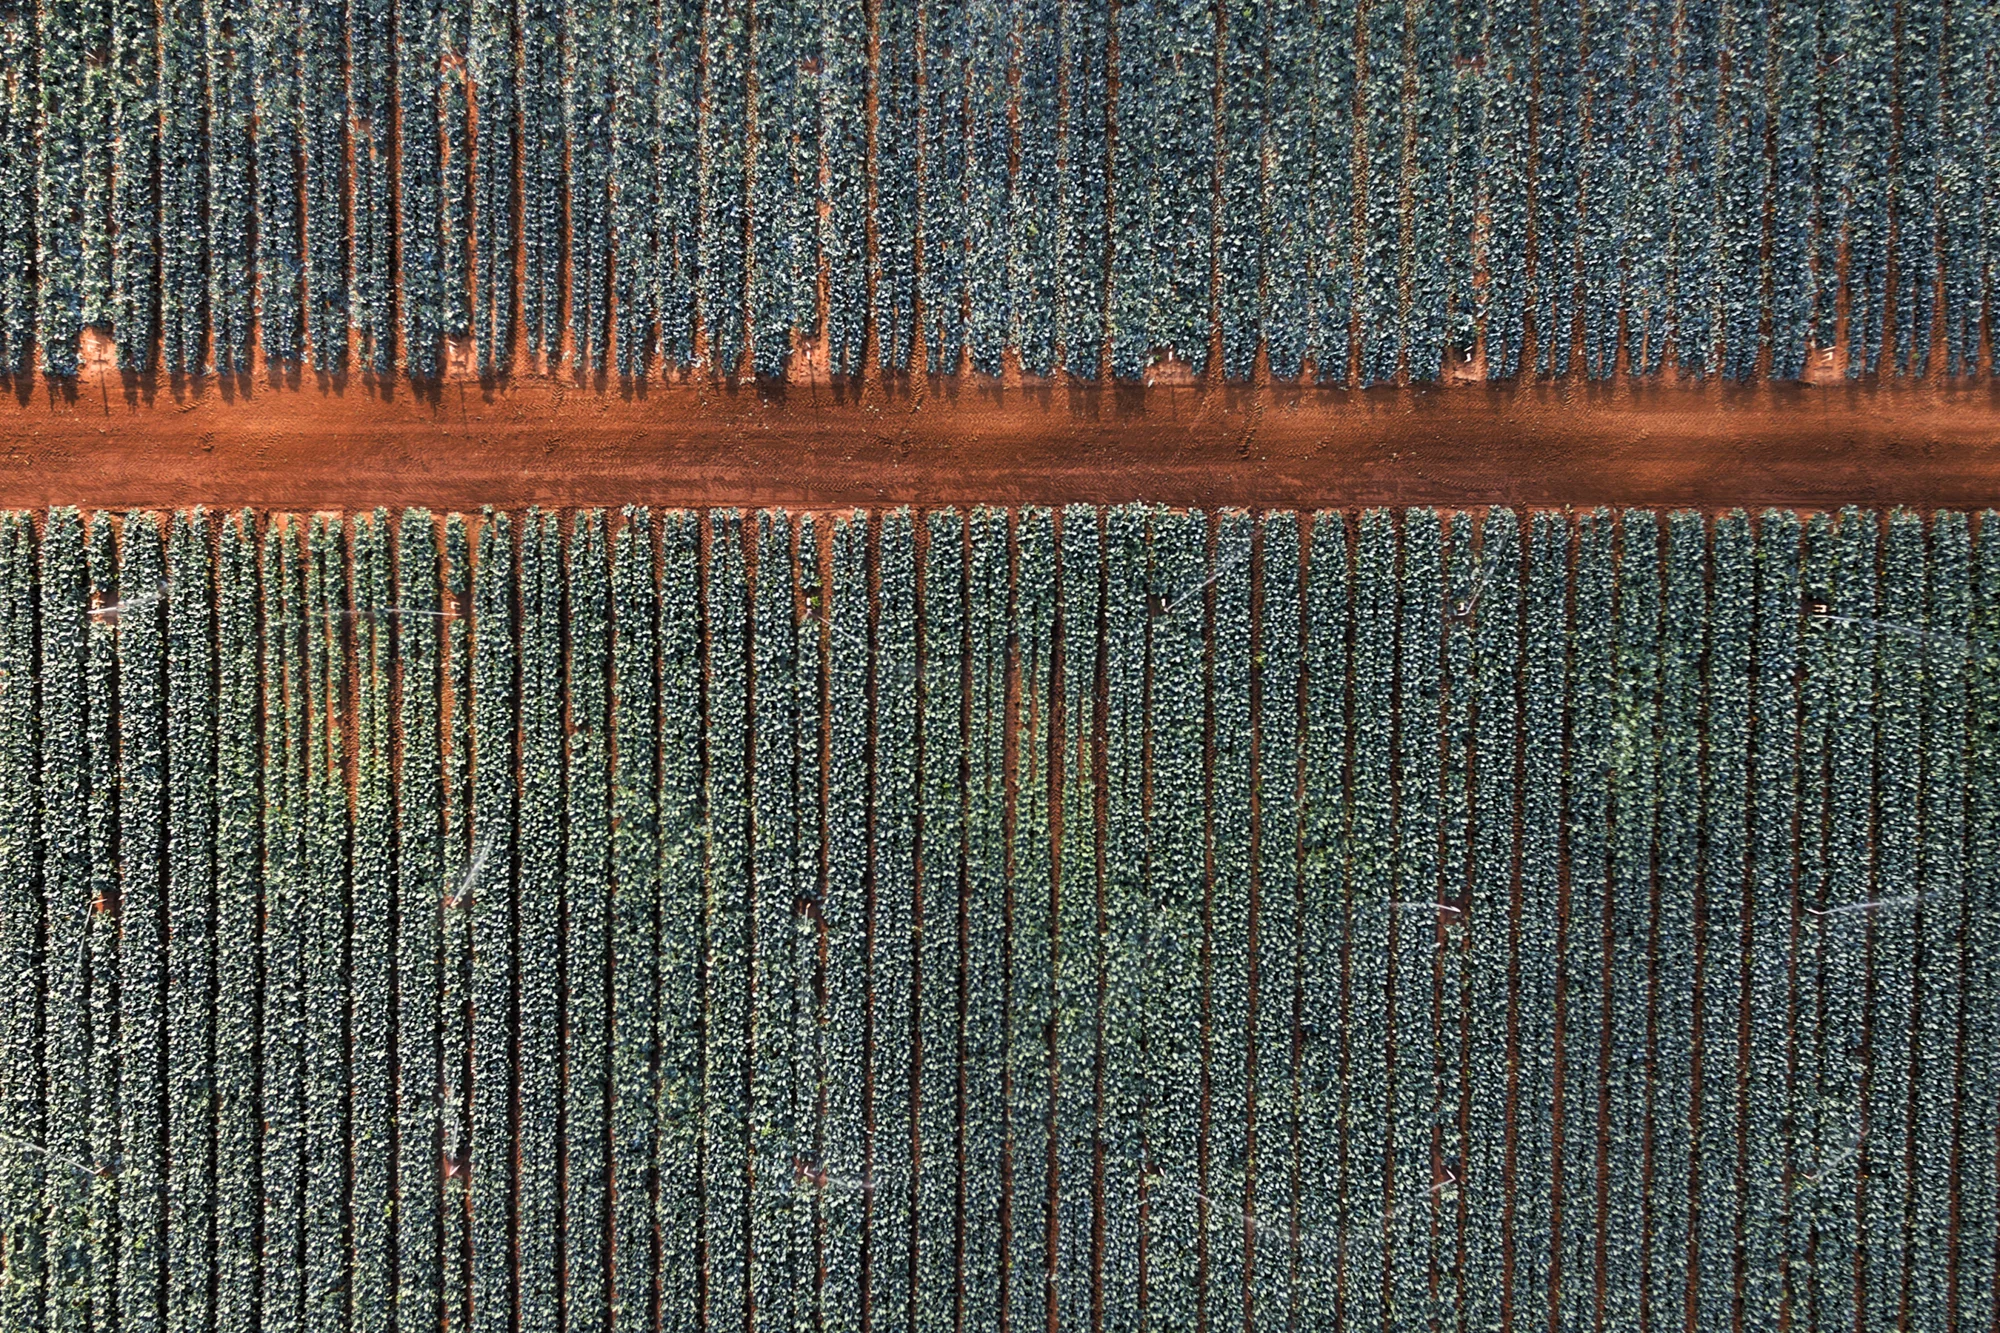
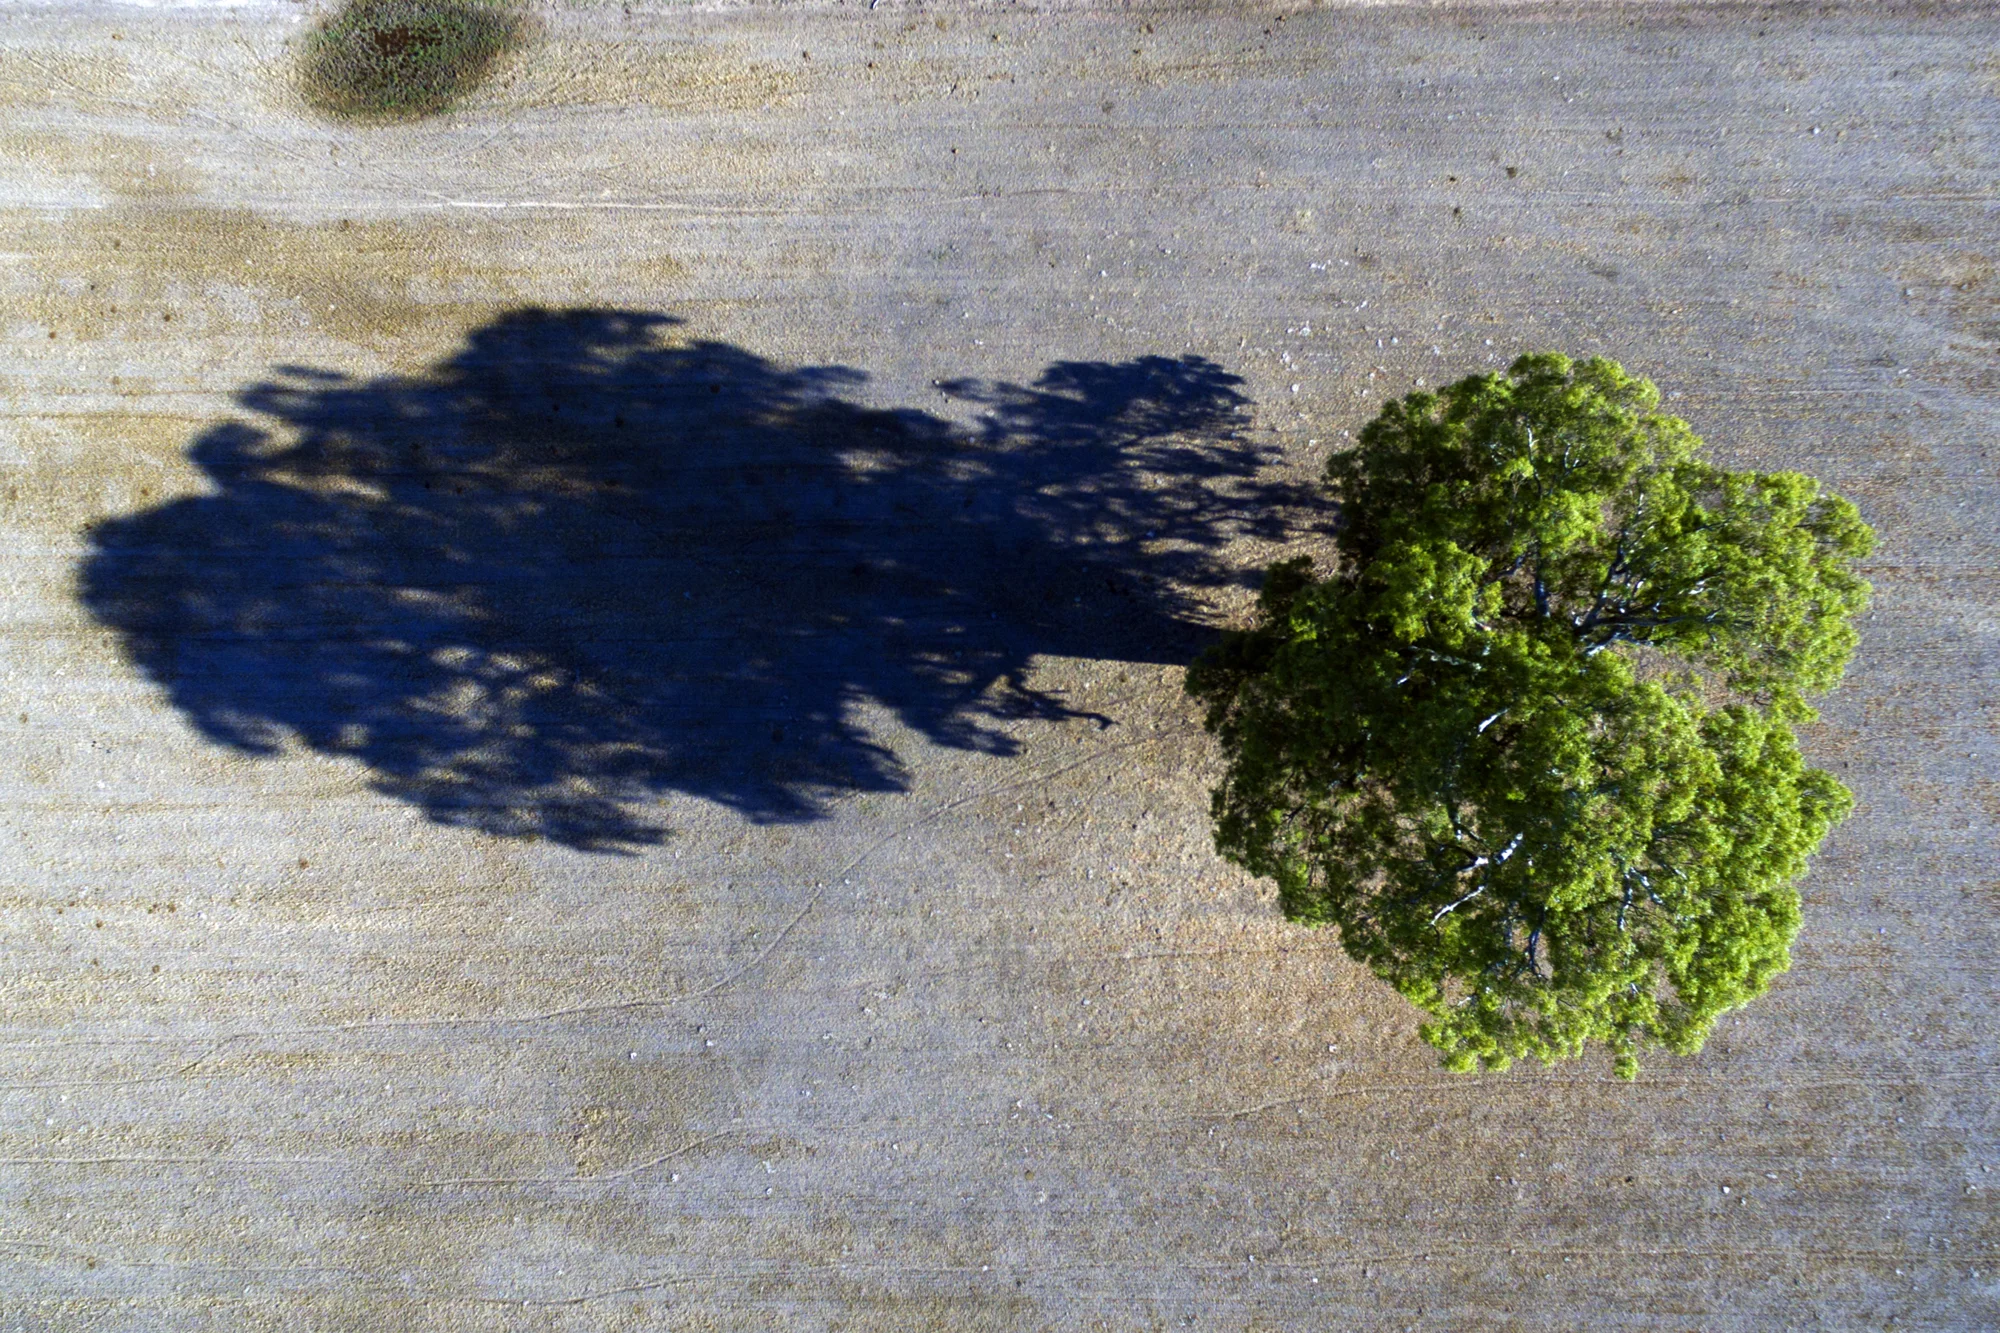
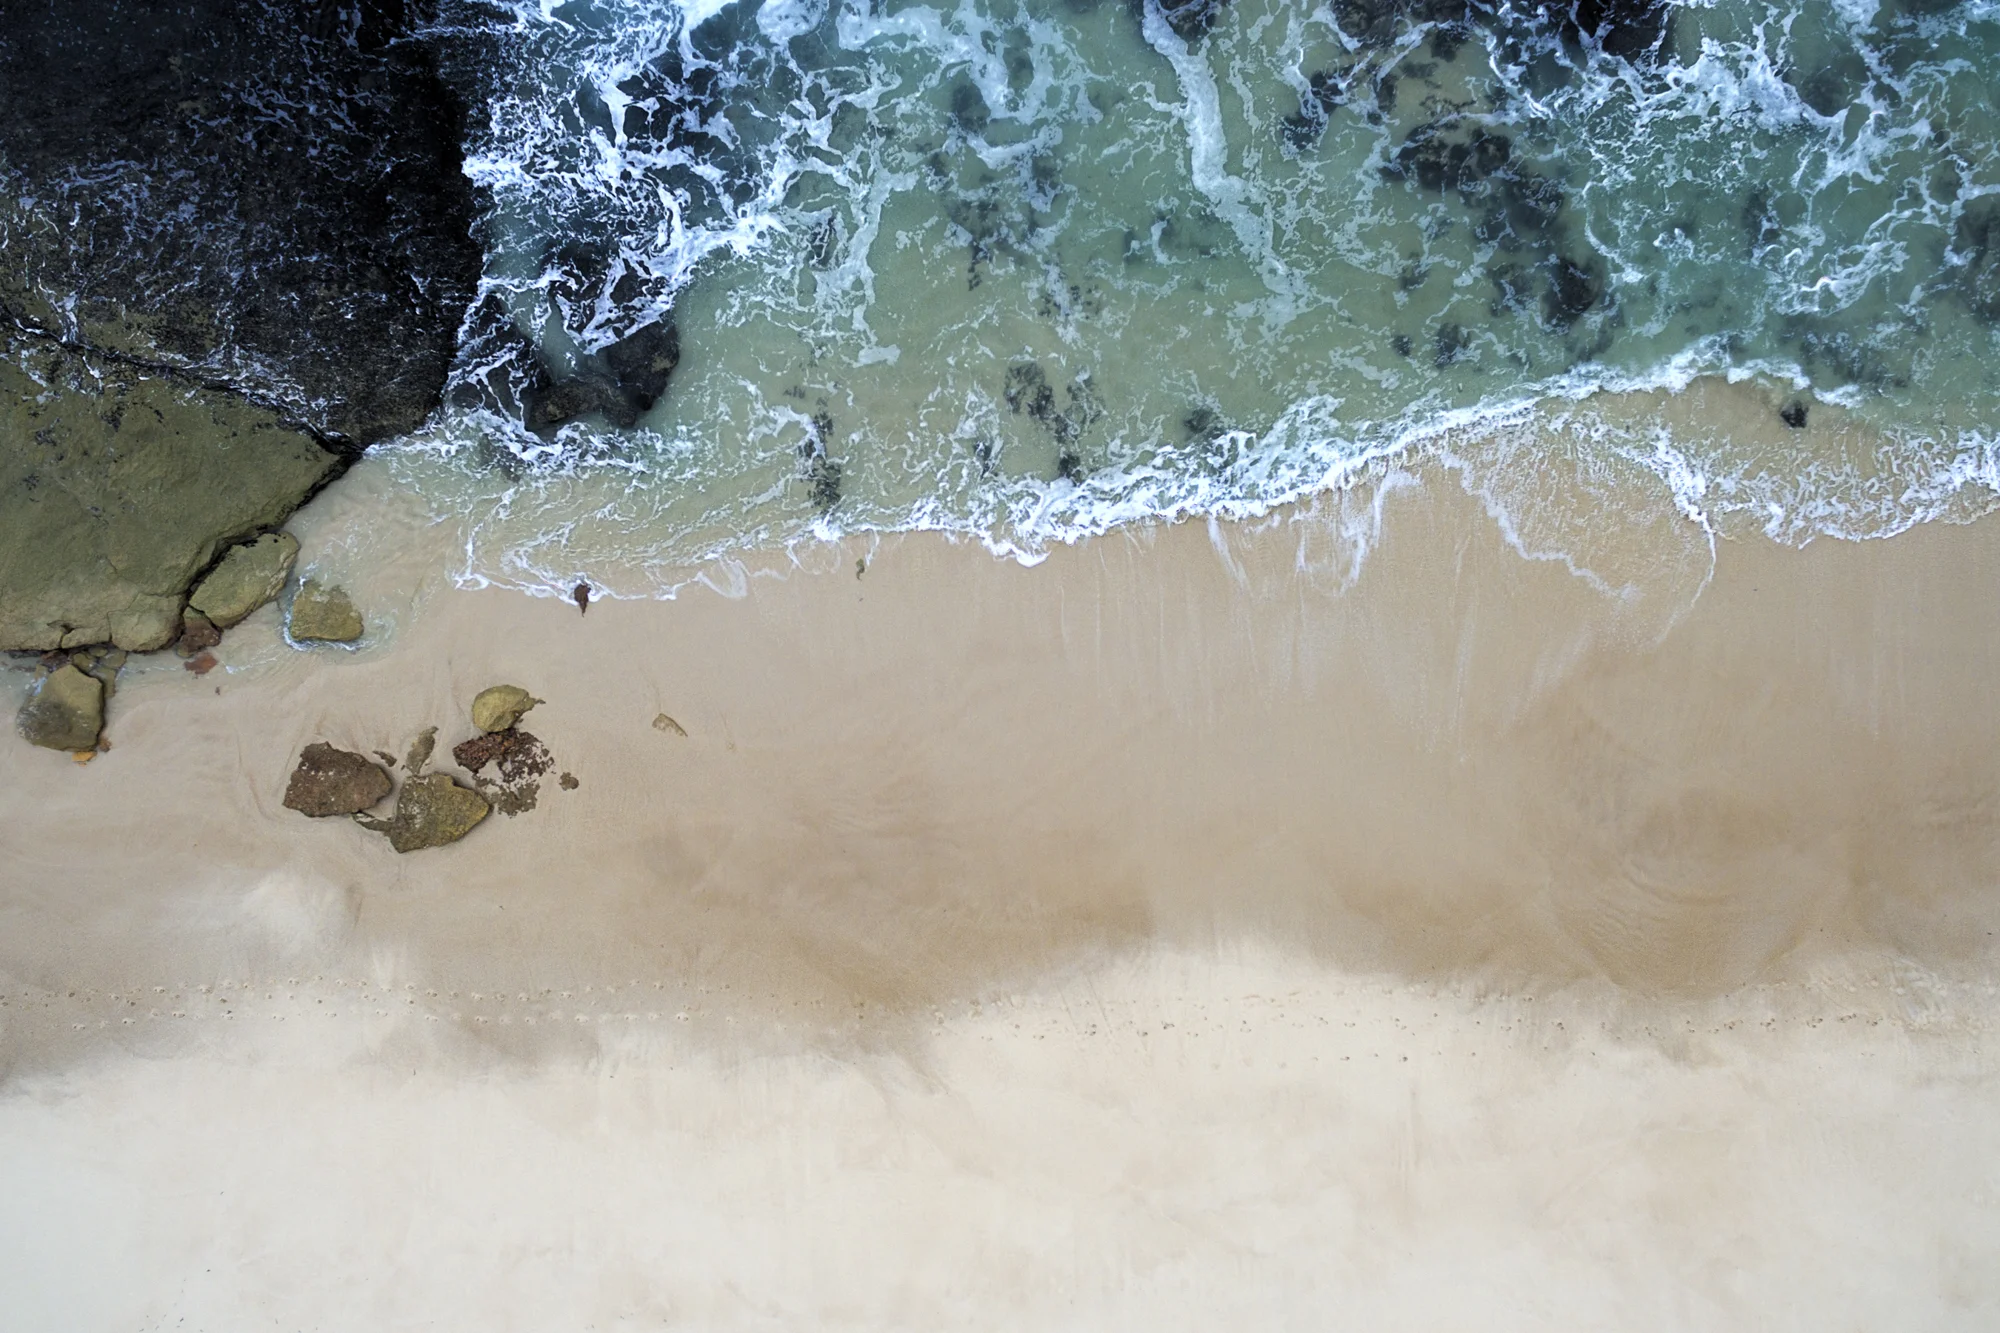
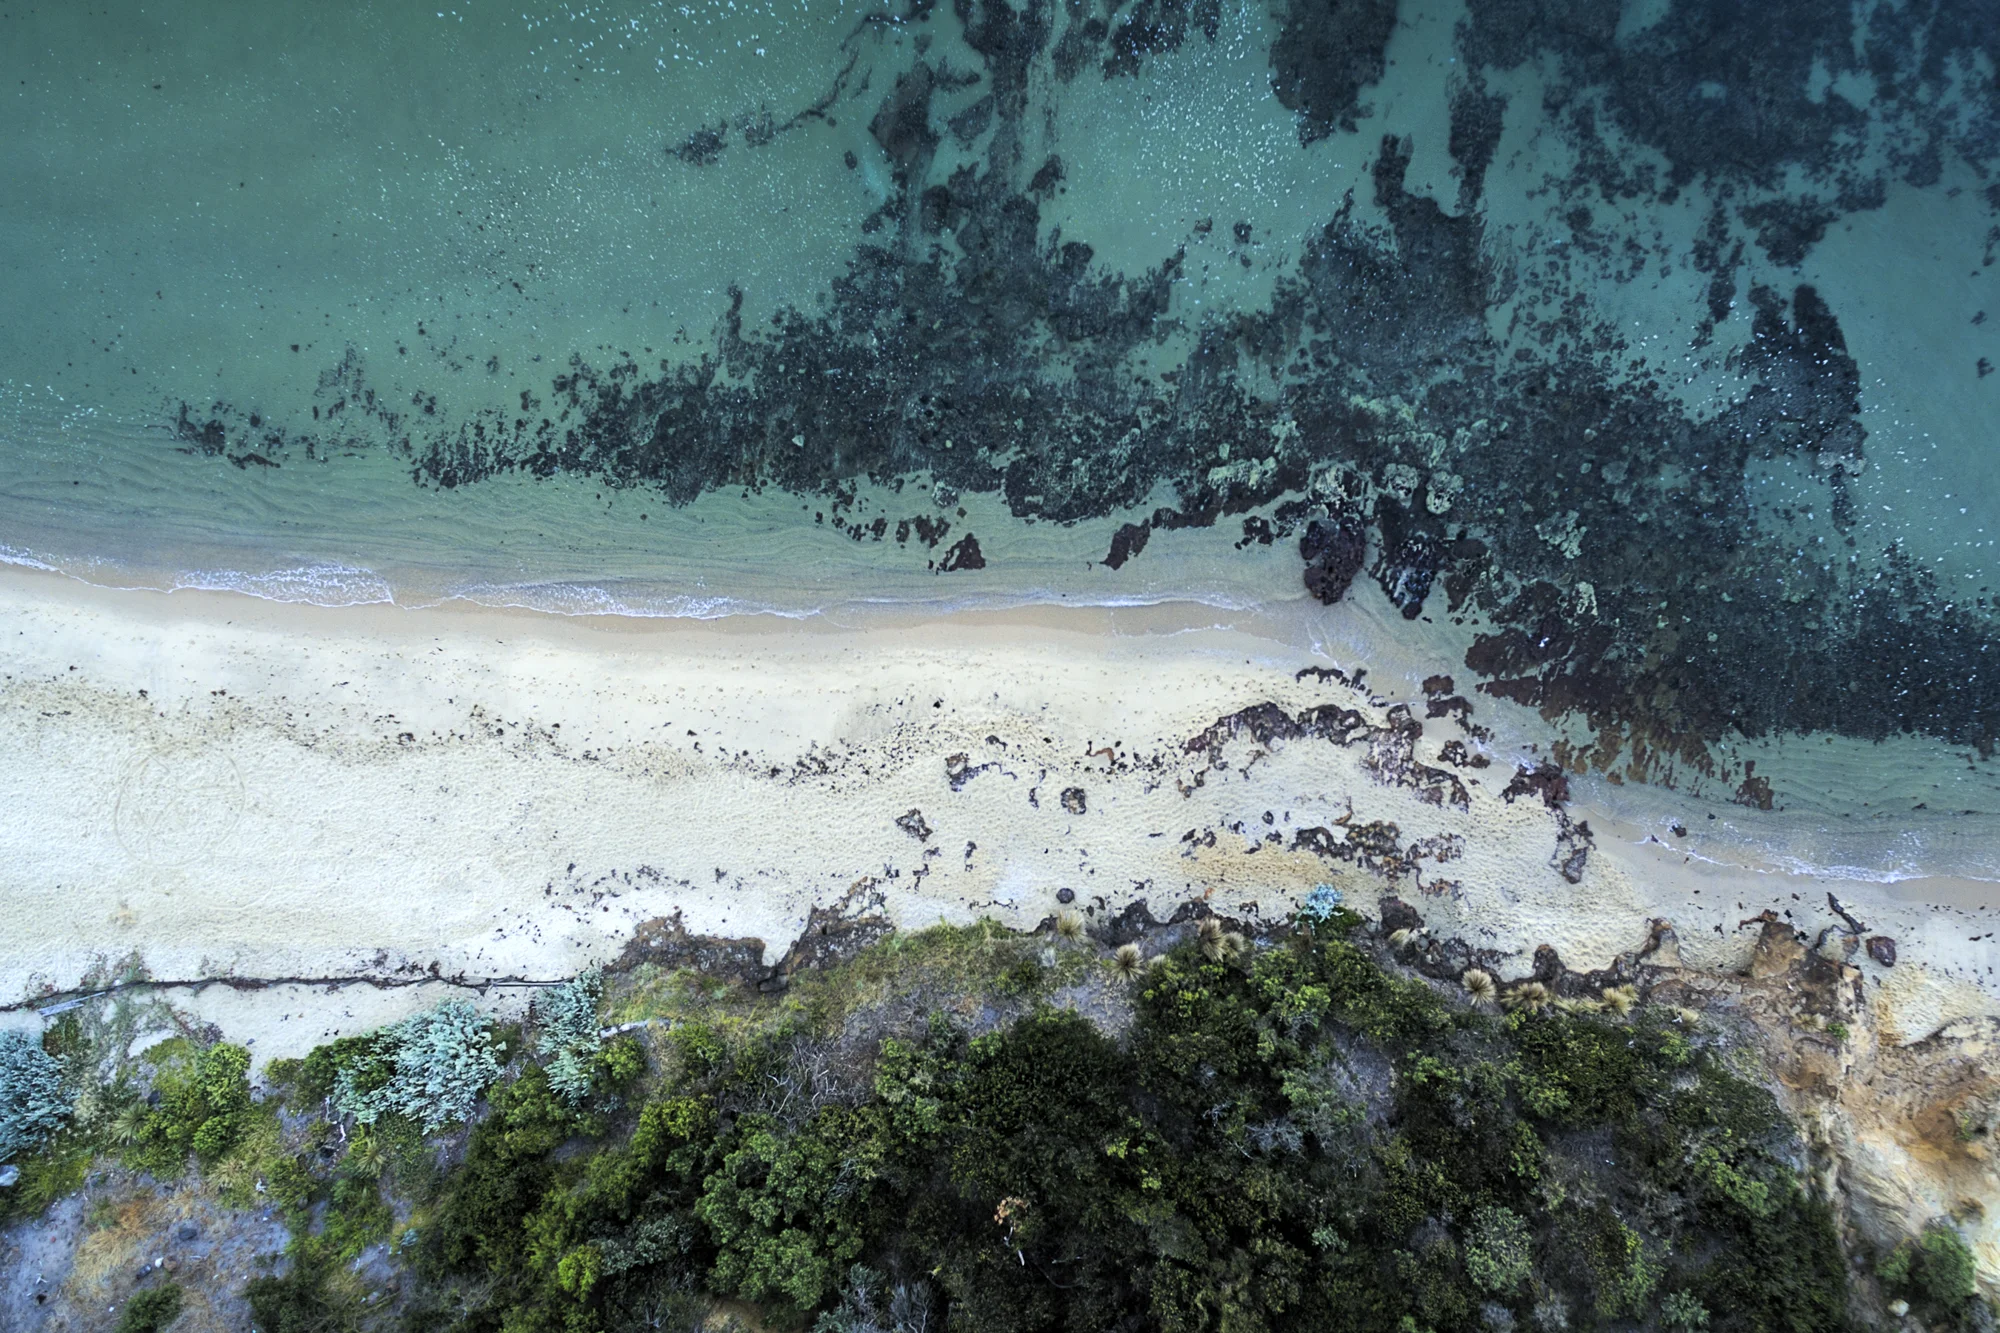
But at the end of the day have submitted the final folio for this Semester. Made up of 3 sections, categorised in Animate, Inanimate and Personal Expression, here are my submissions following. These will be presented over the next 2 weeks to two tutors, and then final assessments received and thats it for Semester B. Been another great semester with lots of new areas opened up and plenty of learning. The more you look into something, the more you realise there is to learn and understand and interpret.
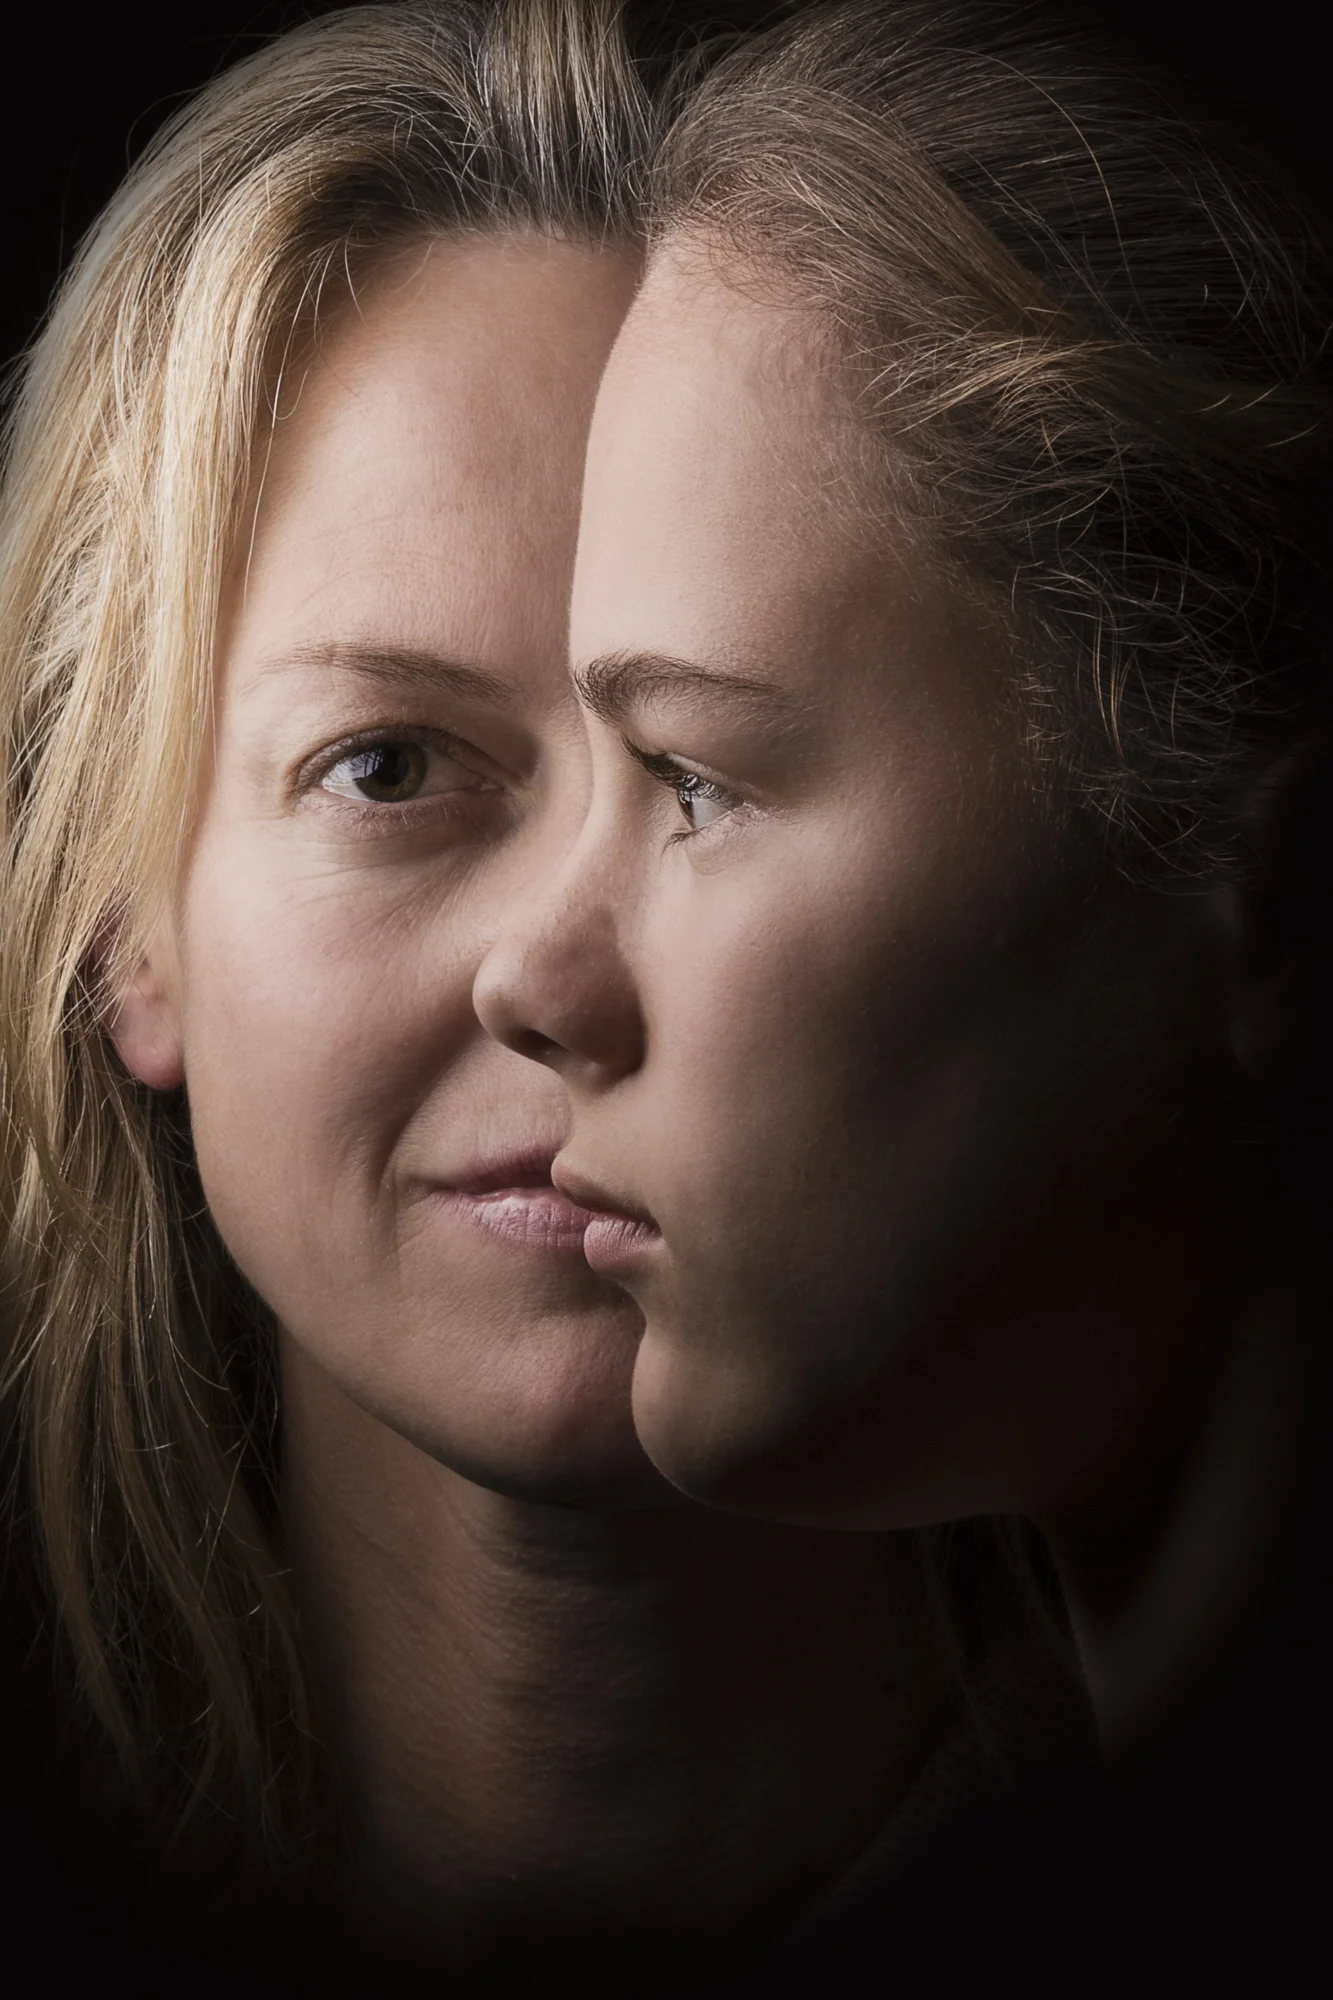
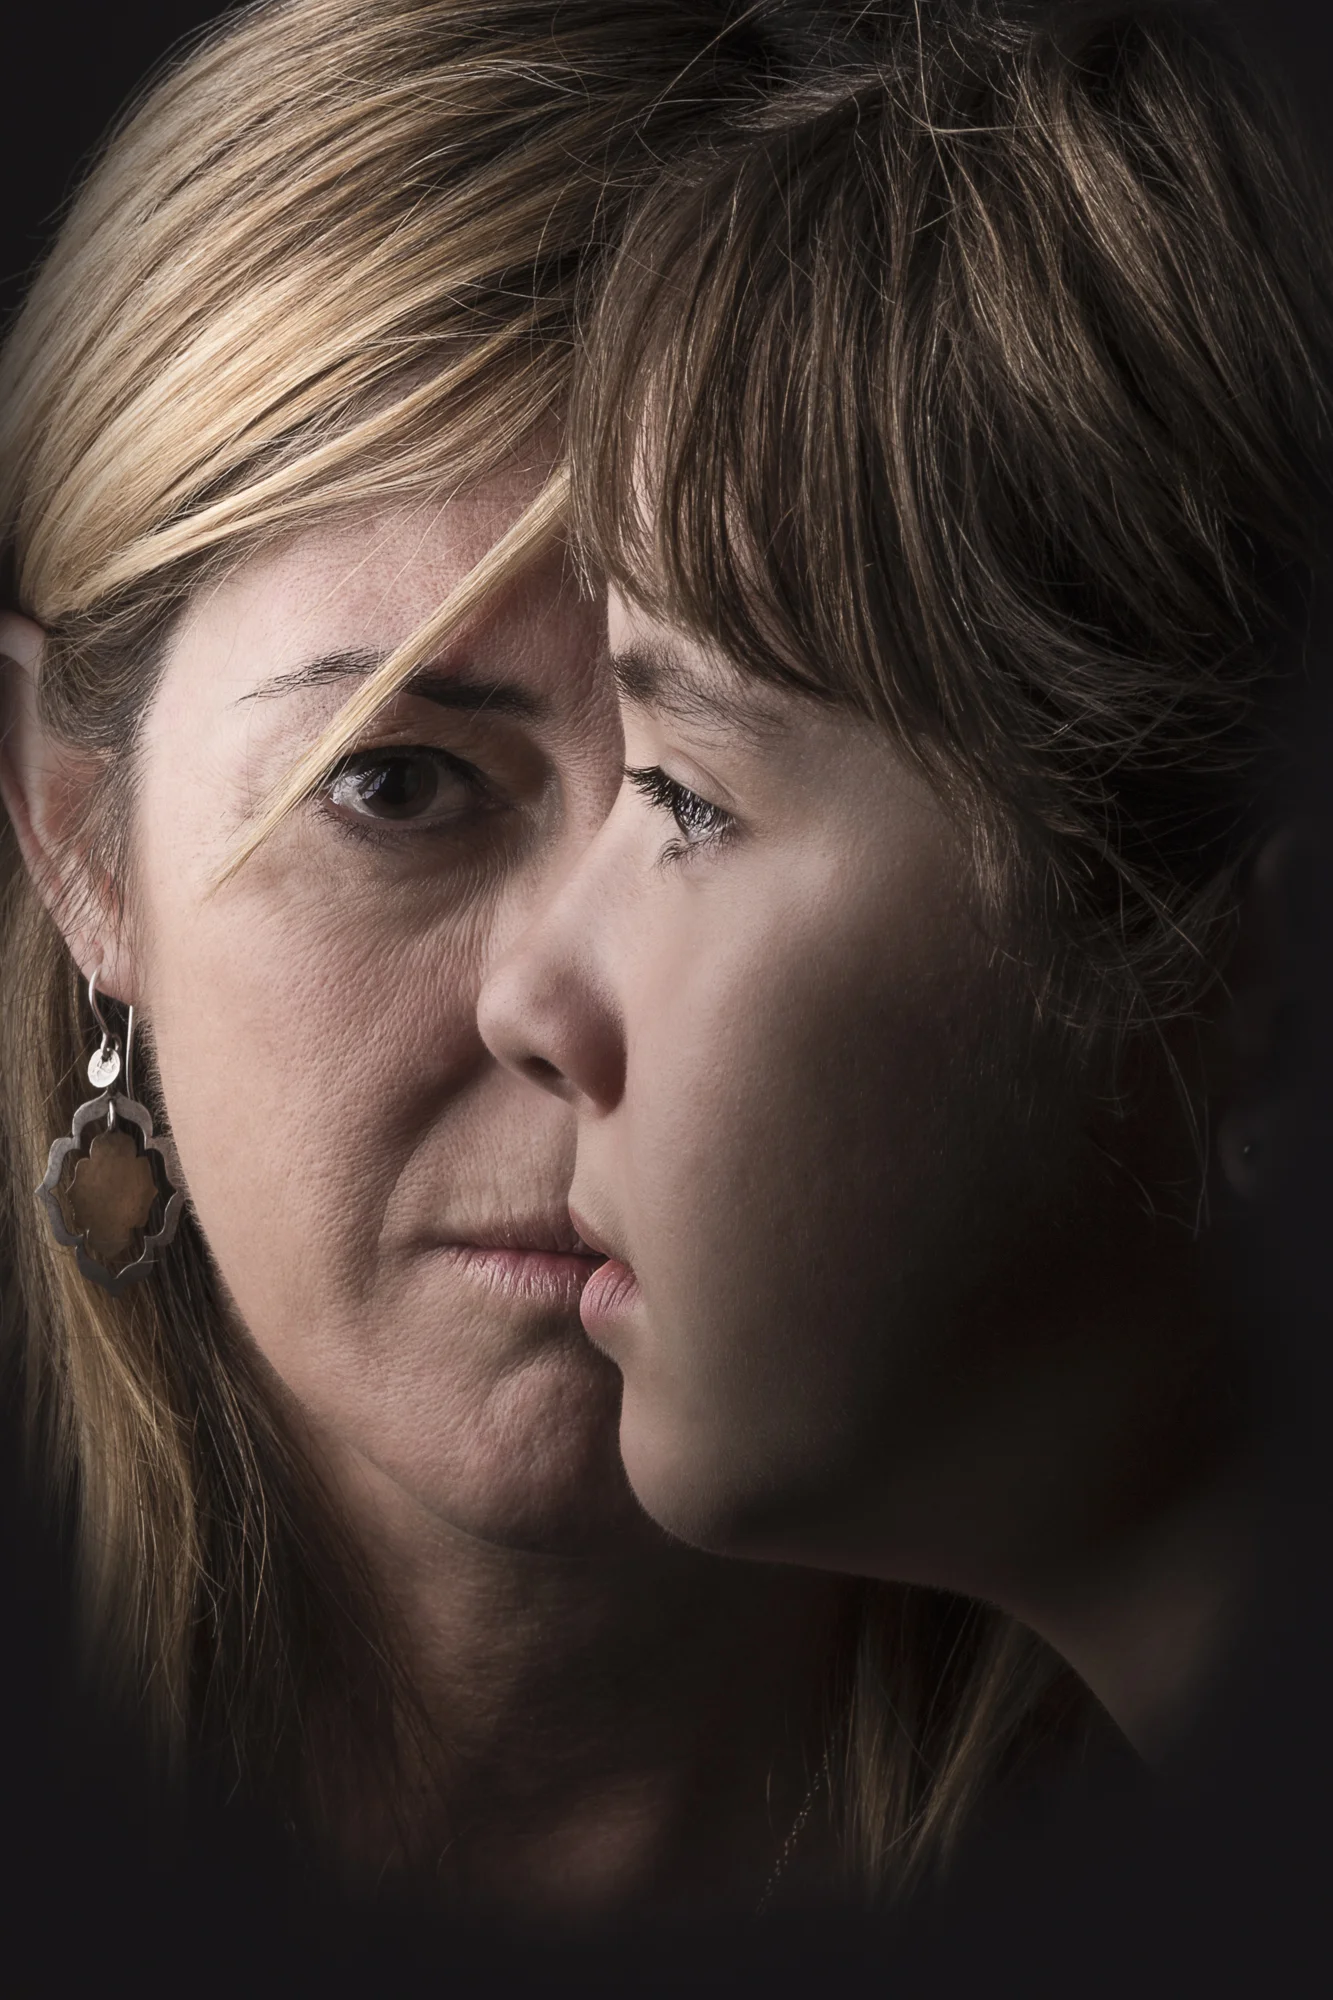
Animate Submission - Portrait series of mothers and their Daughters
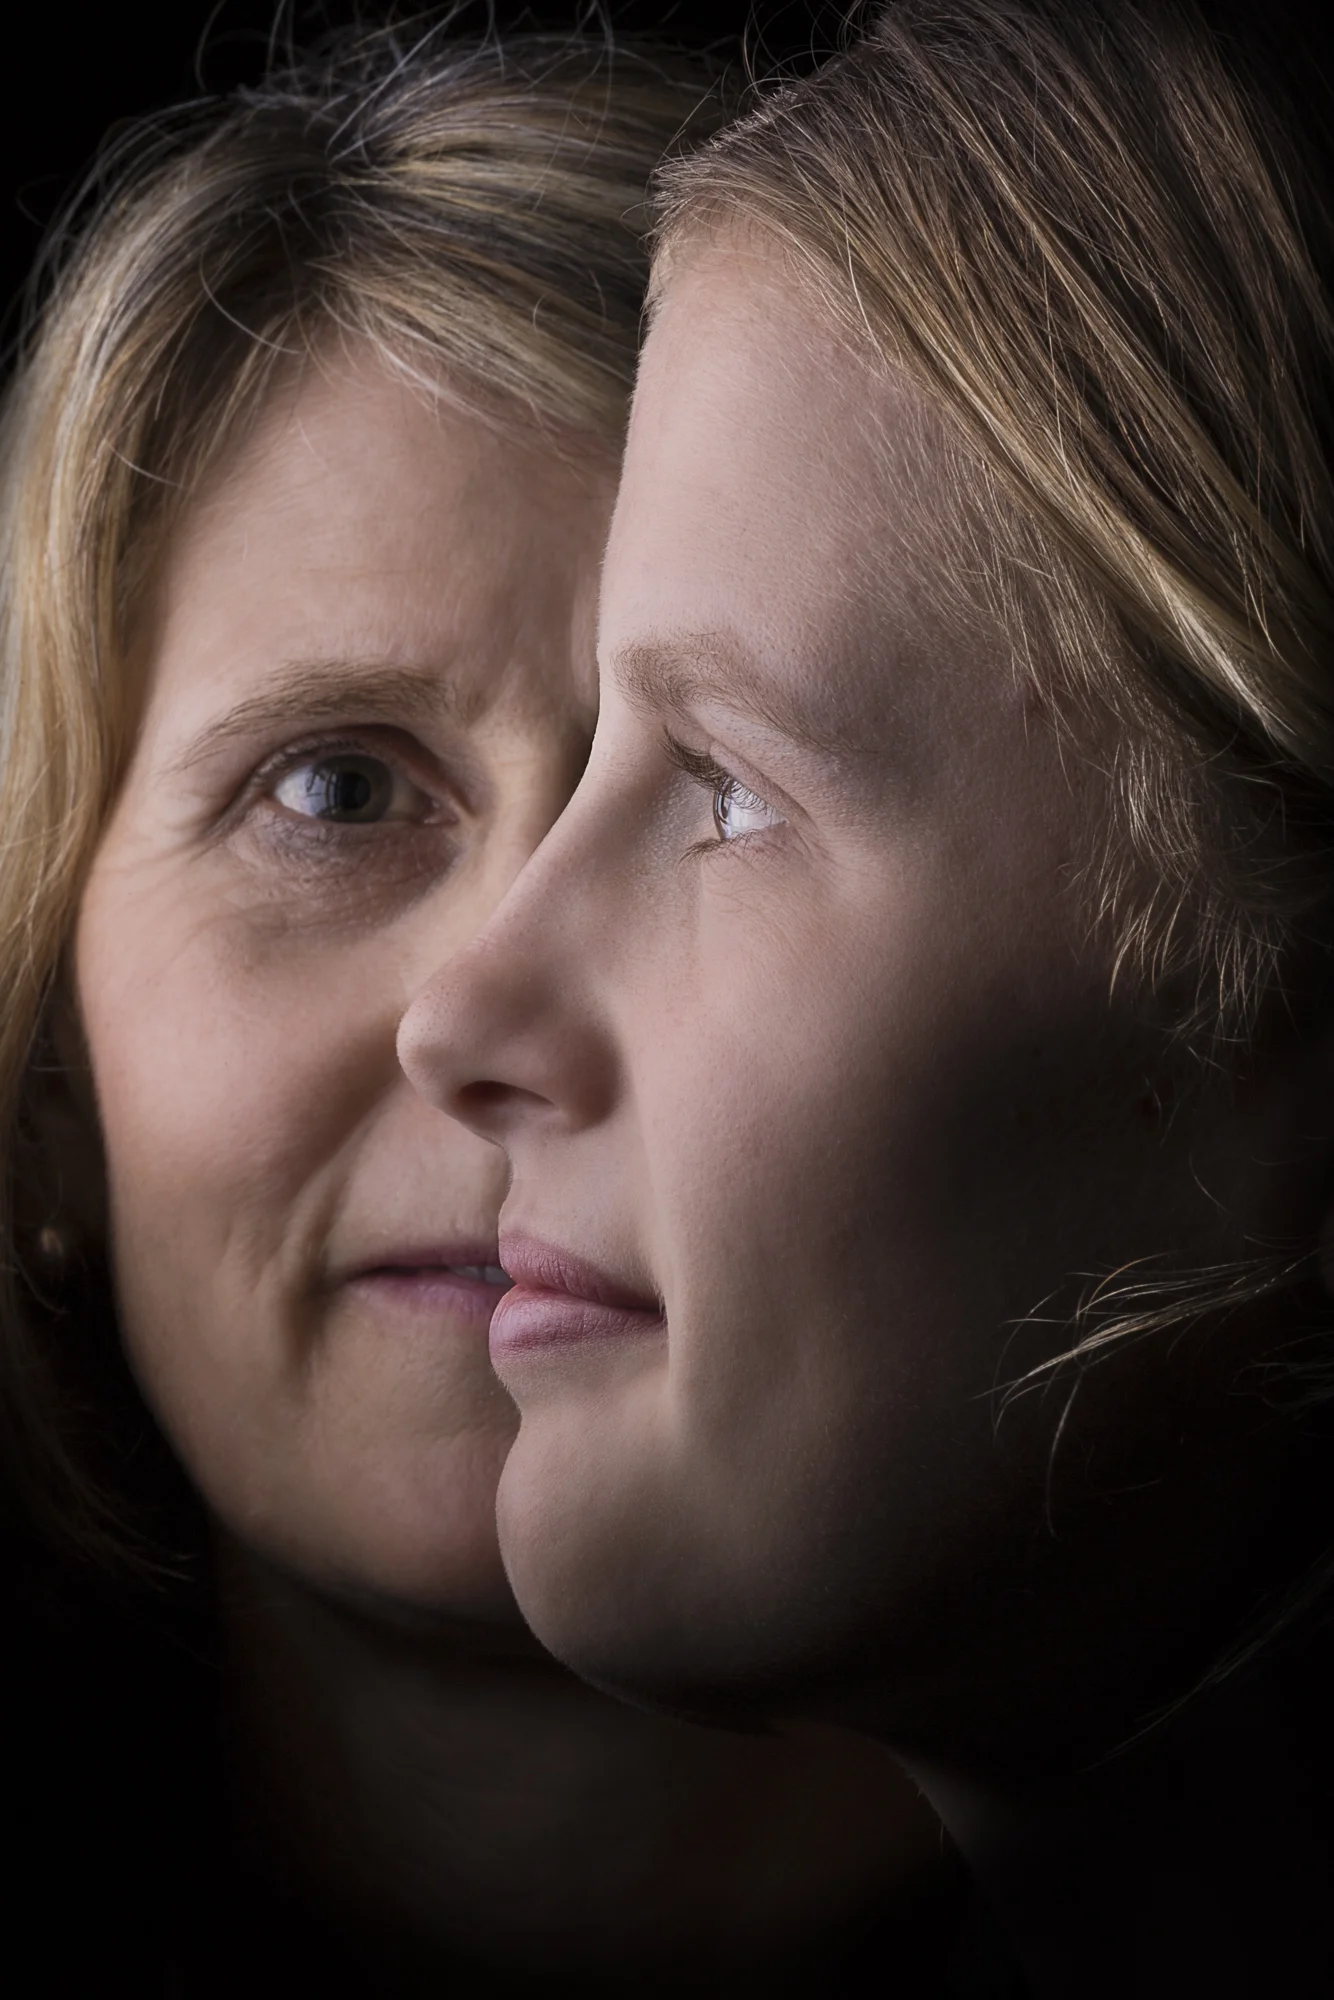
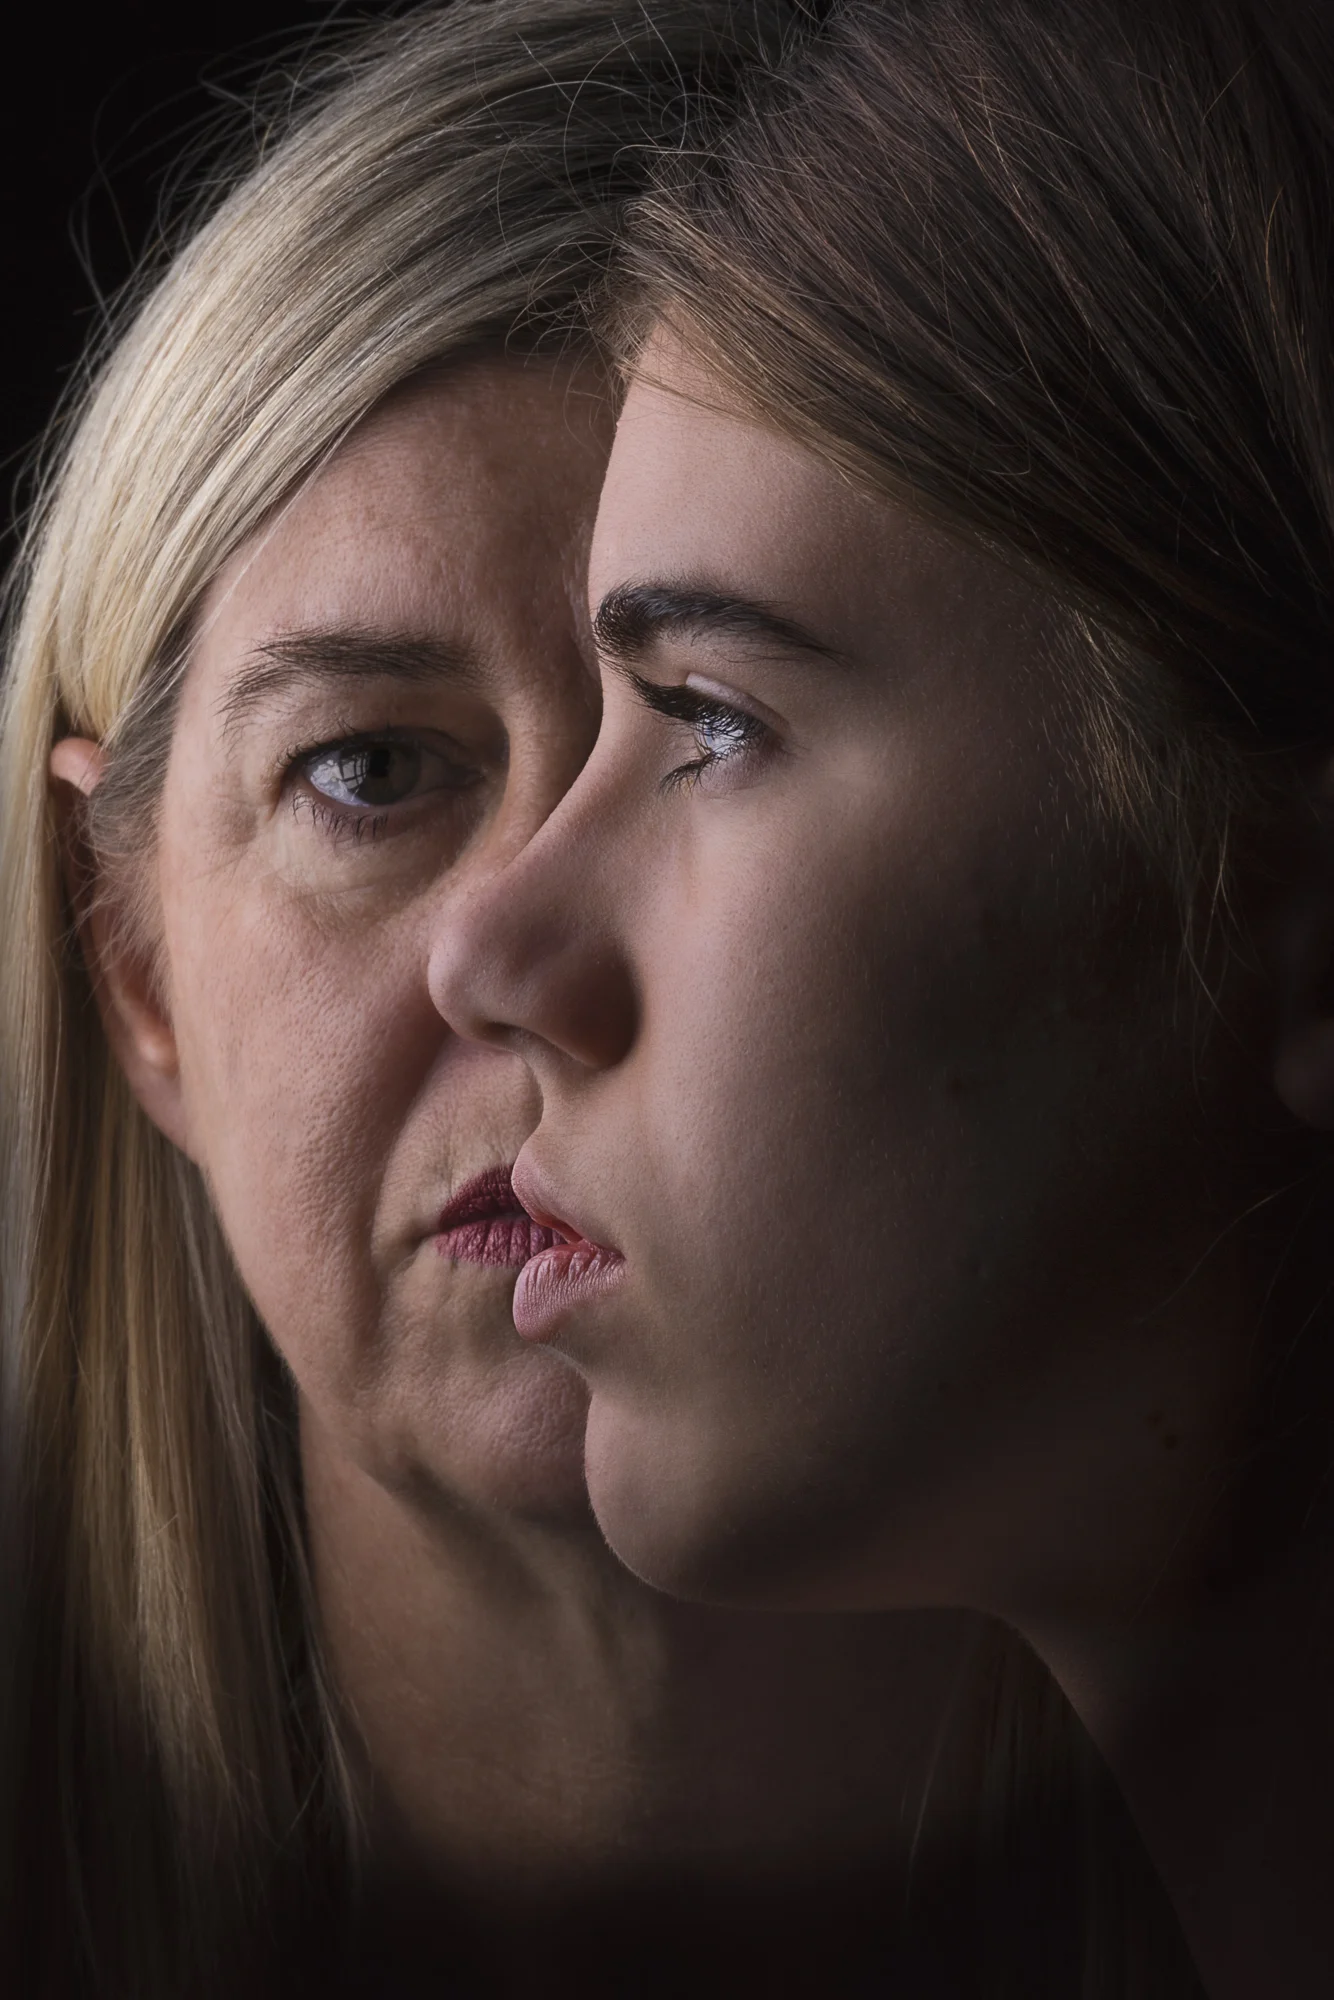
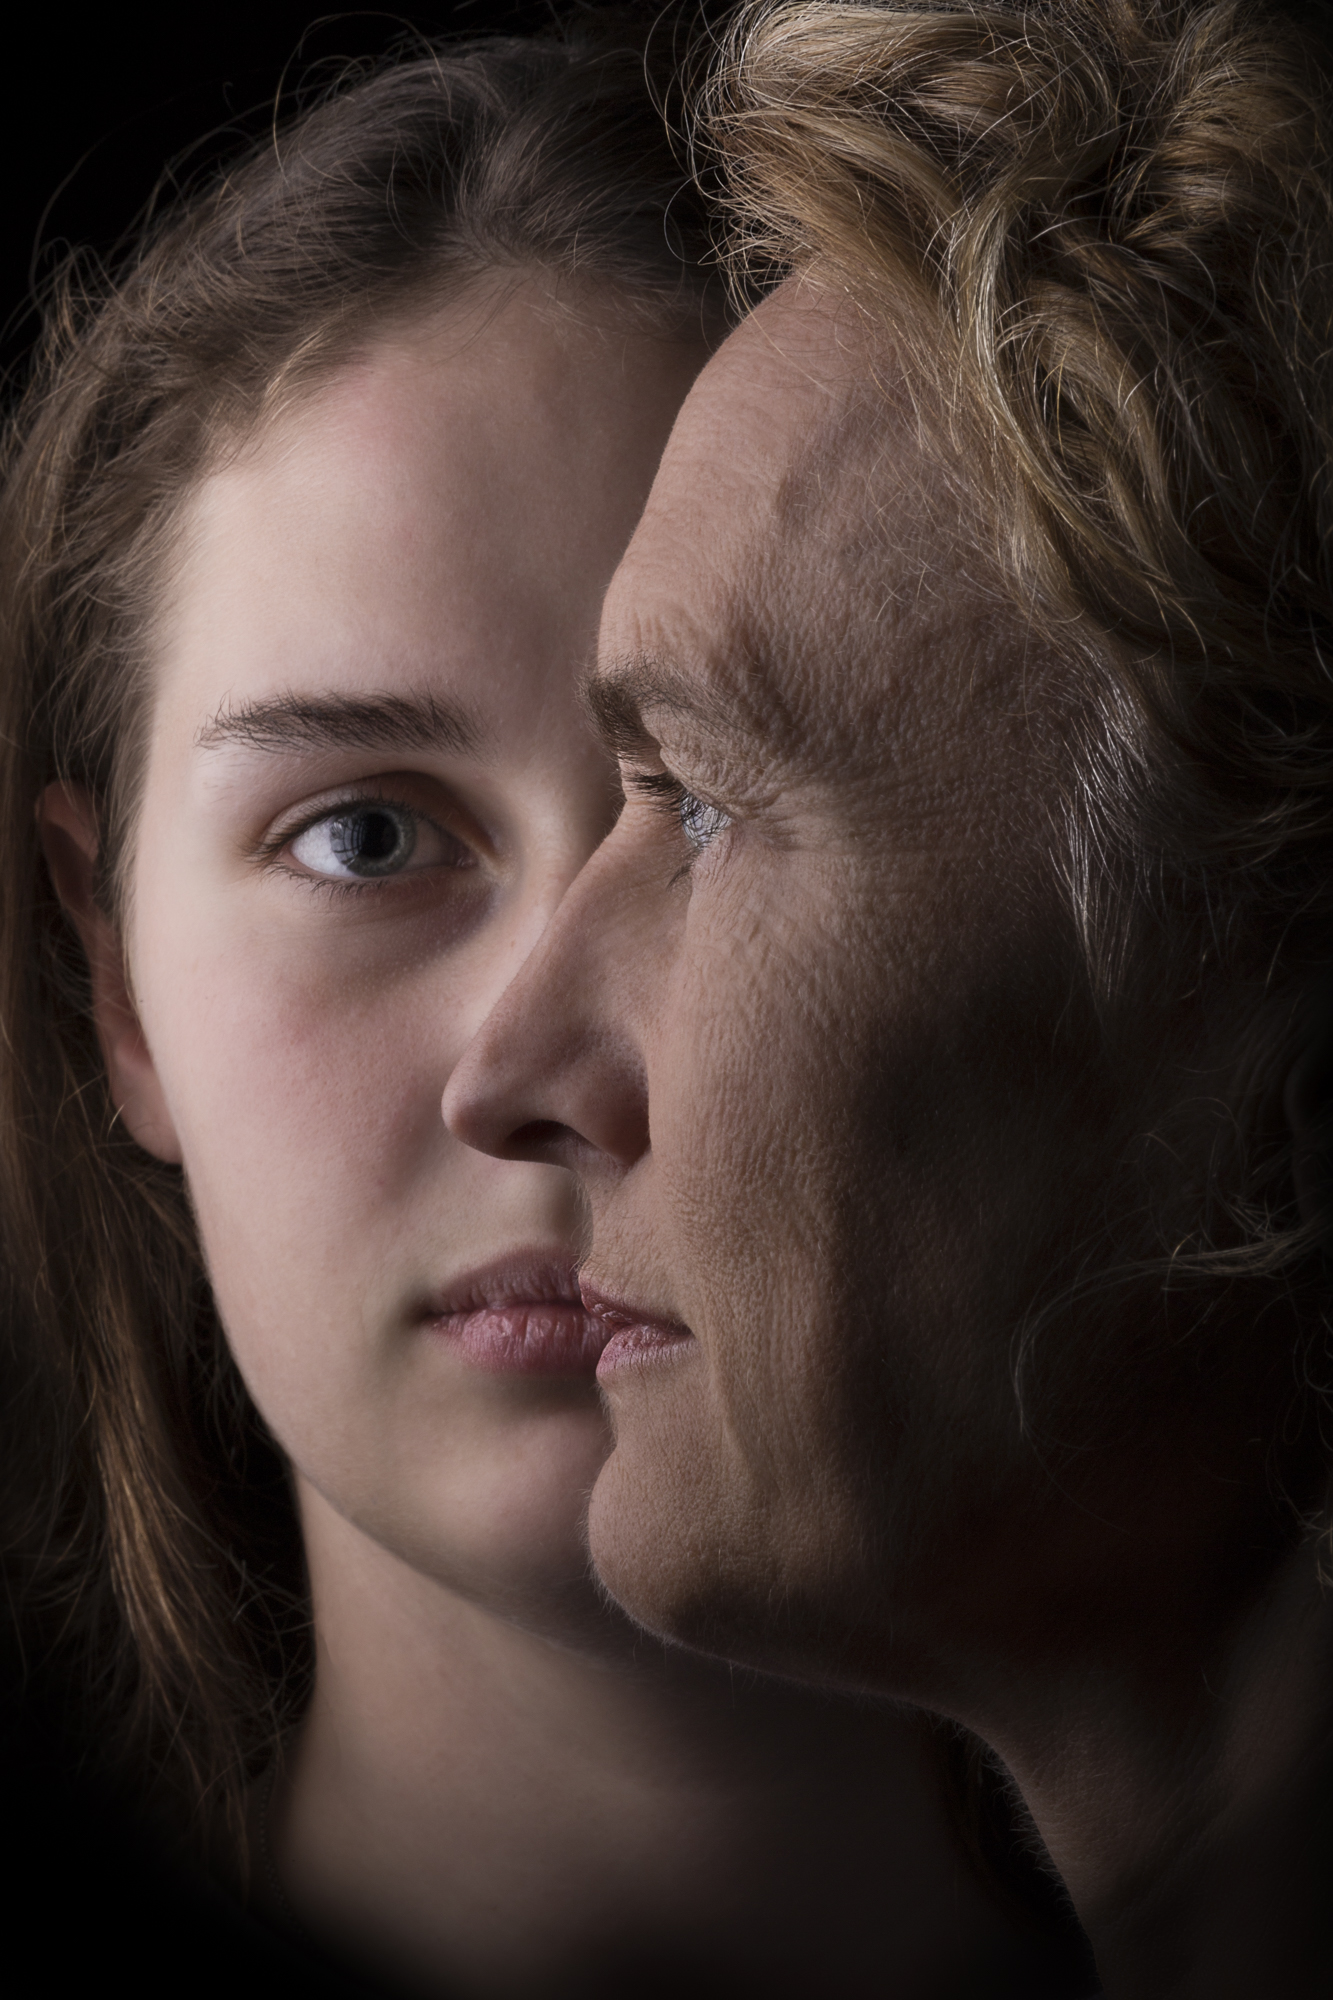
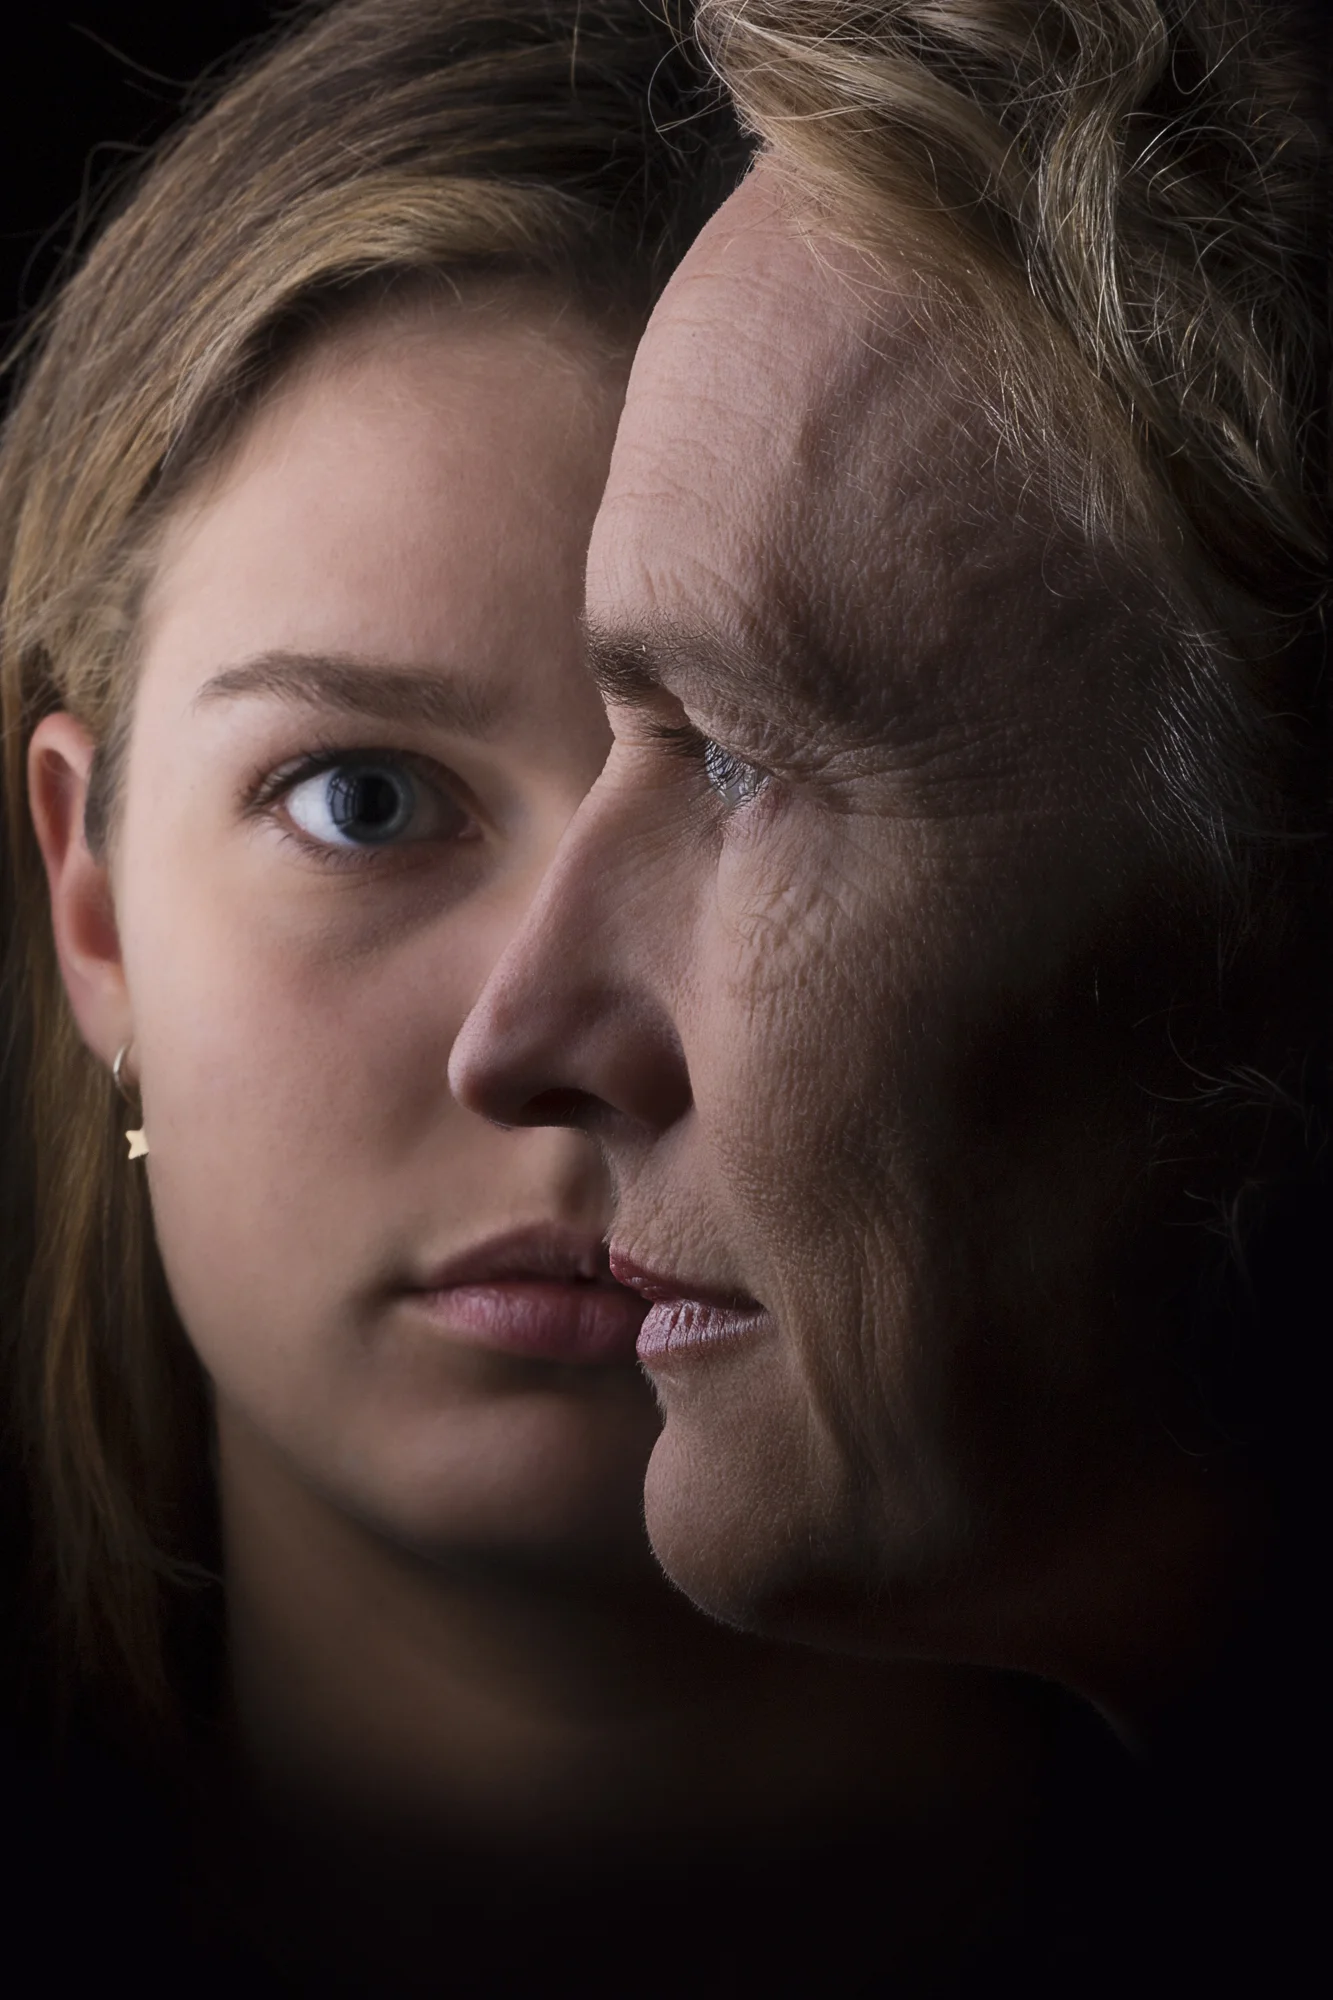
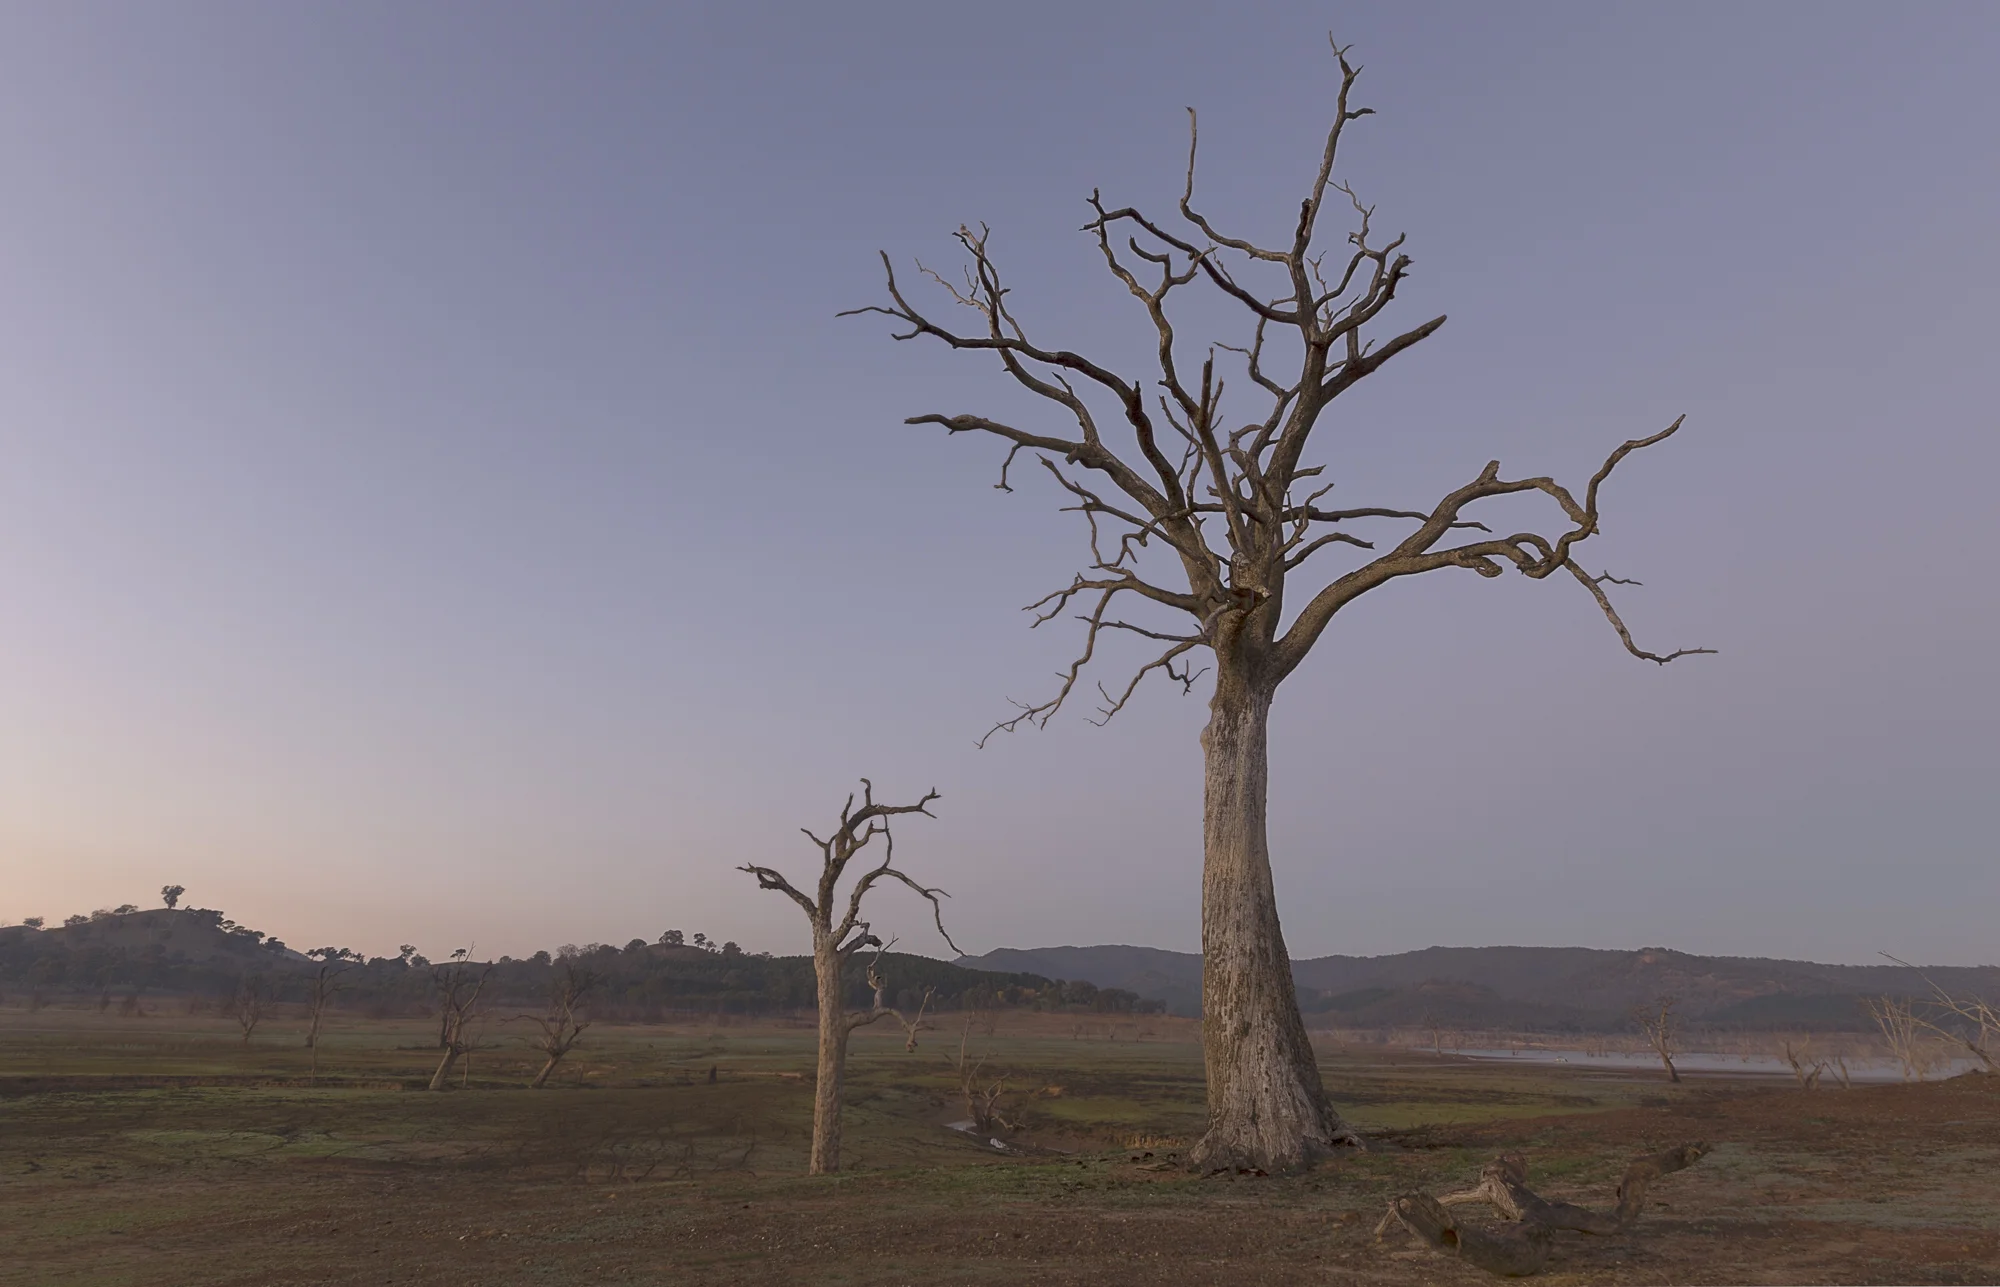
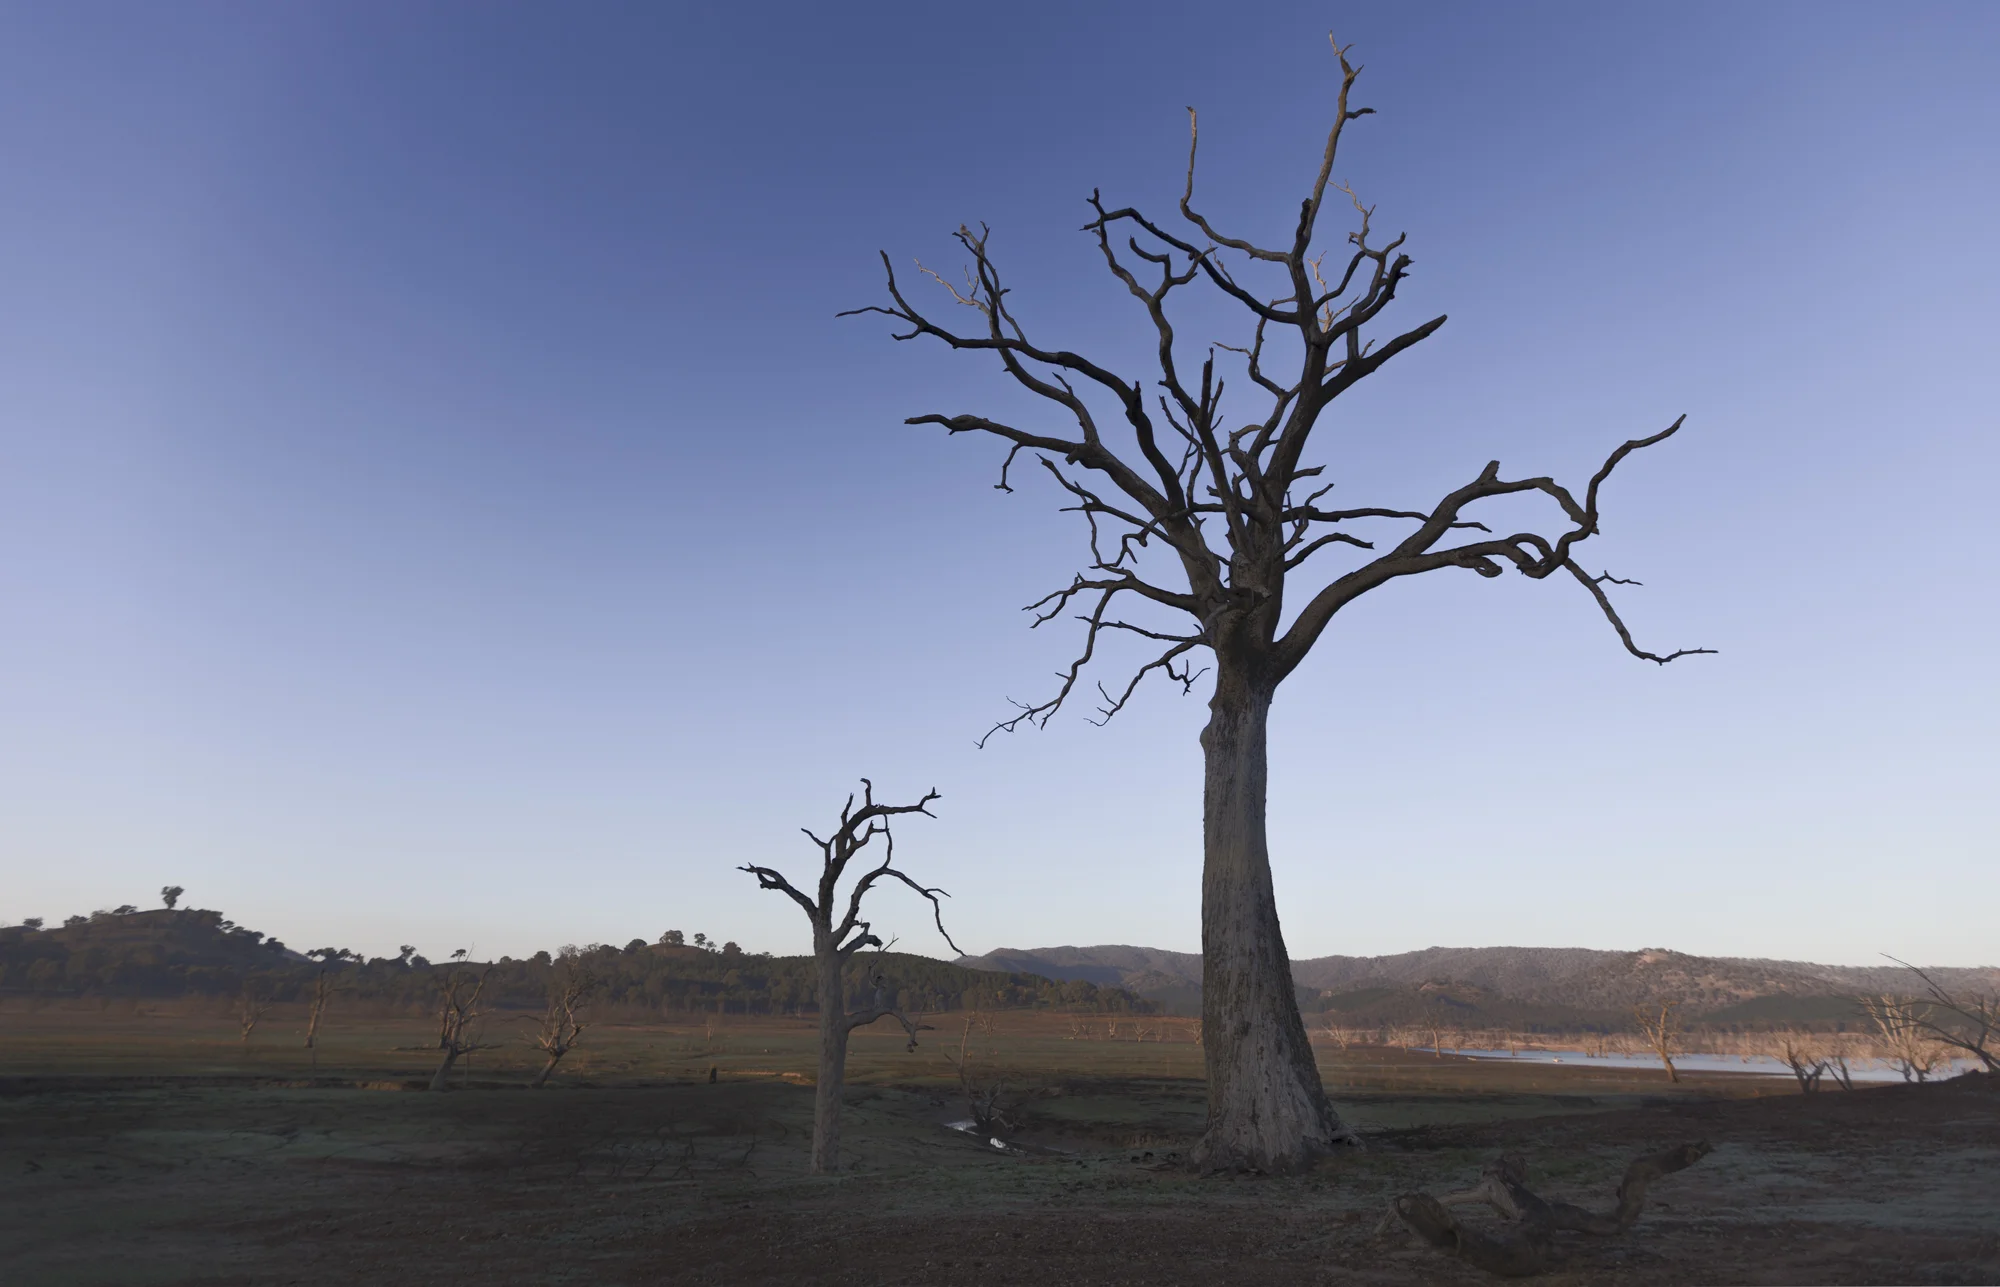
Inanimate Submission - Day in the Life of a Tree
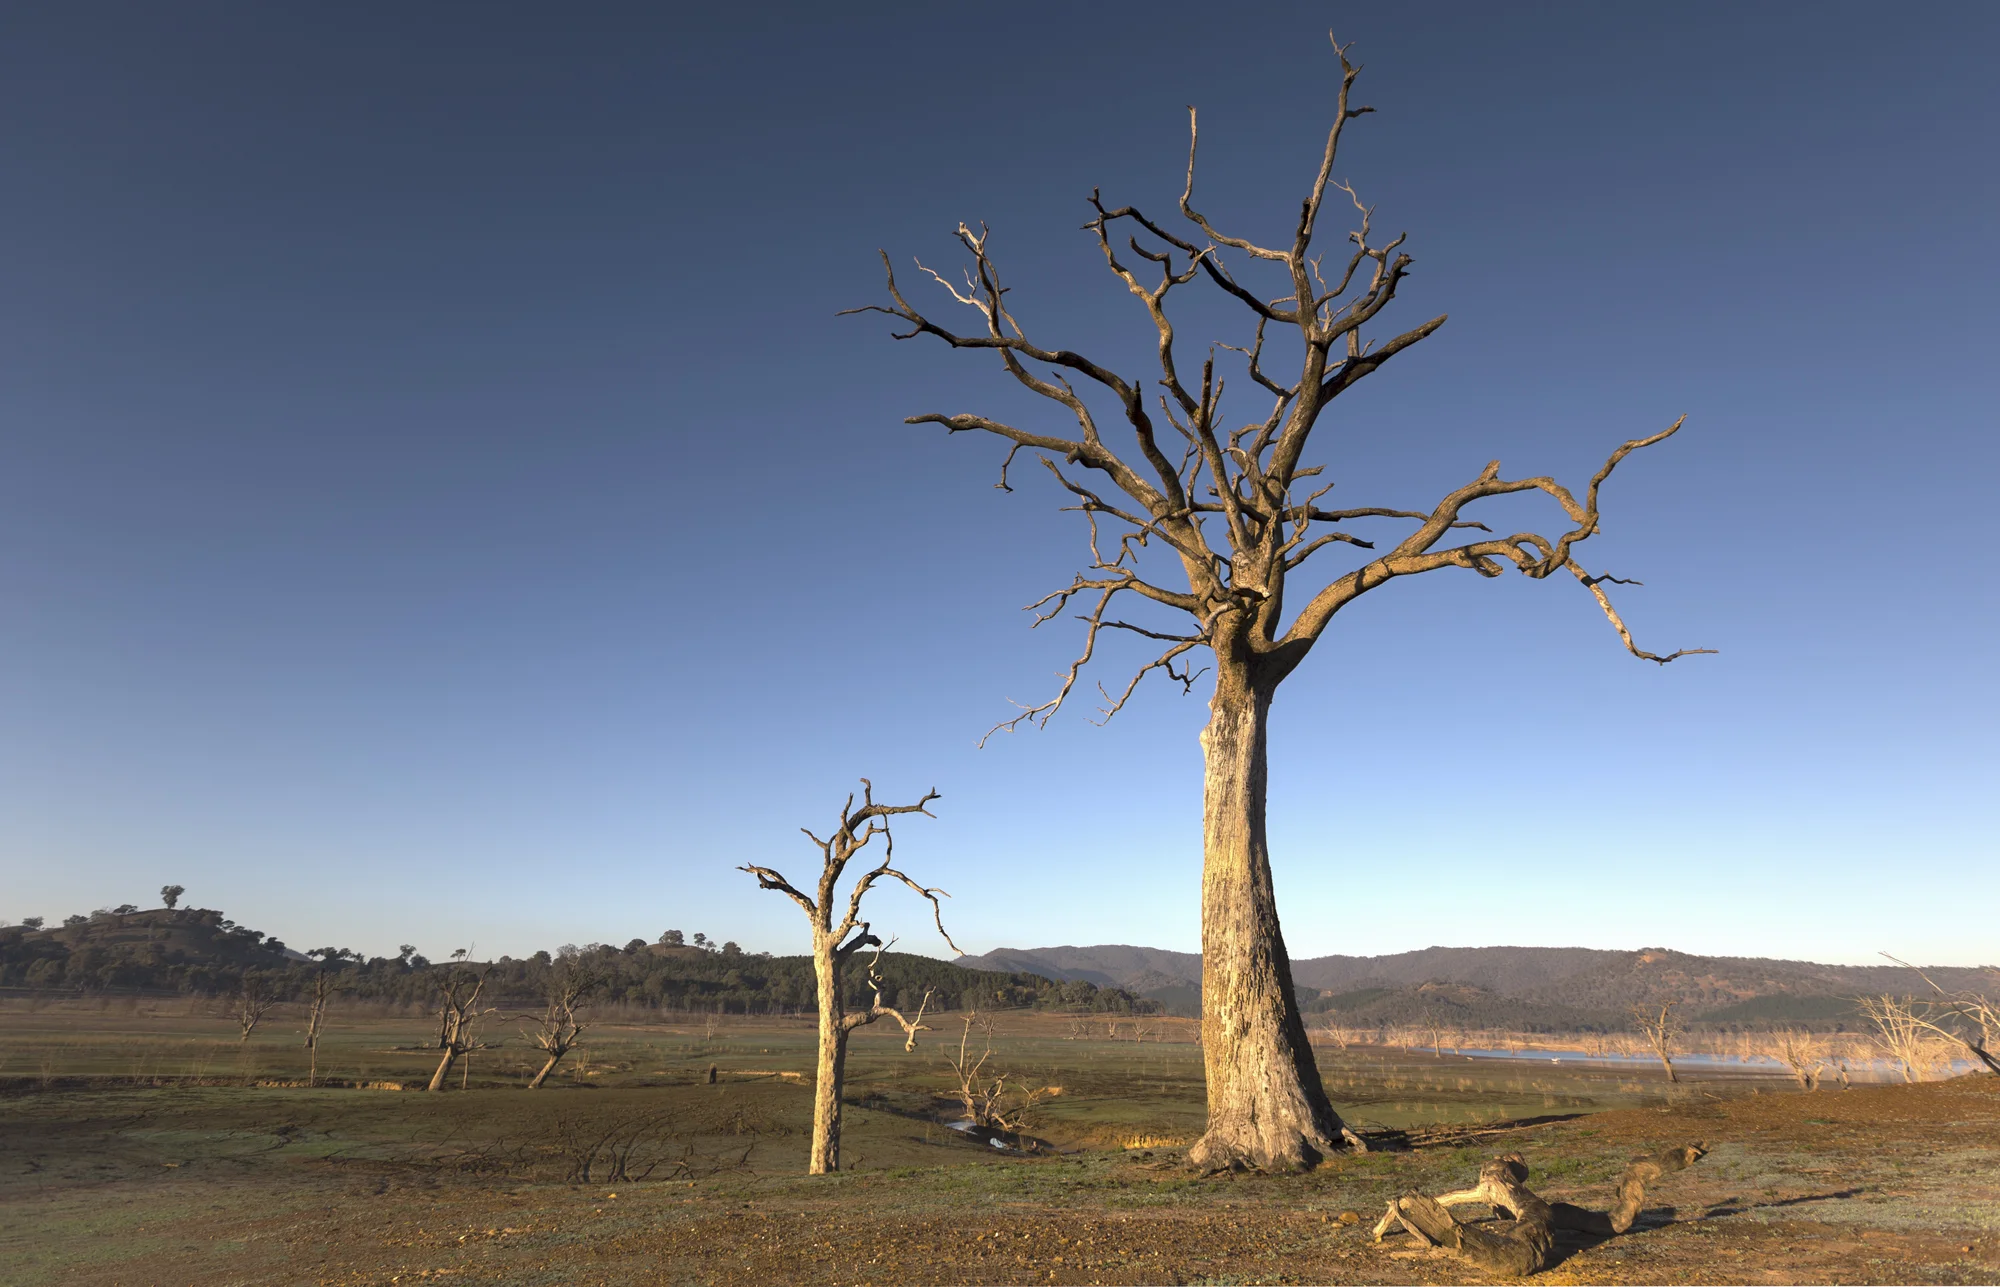
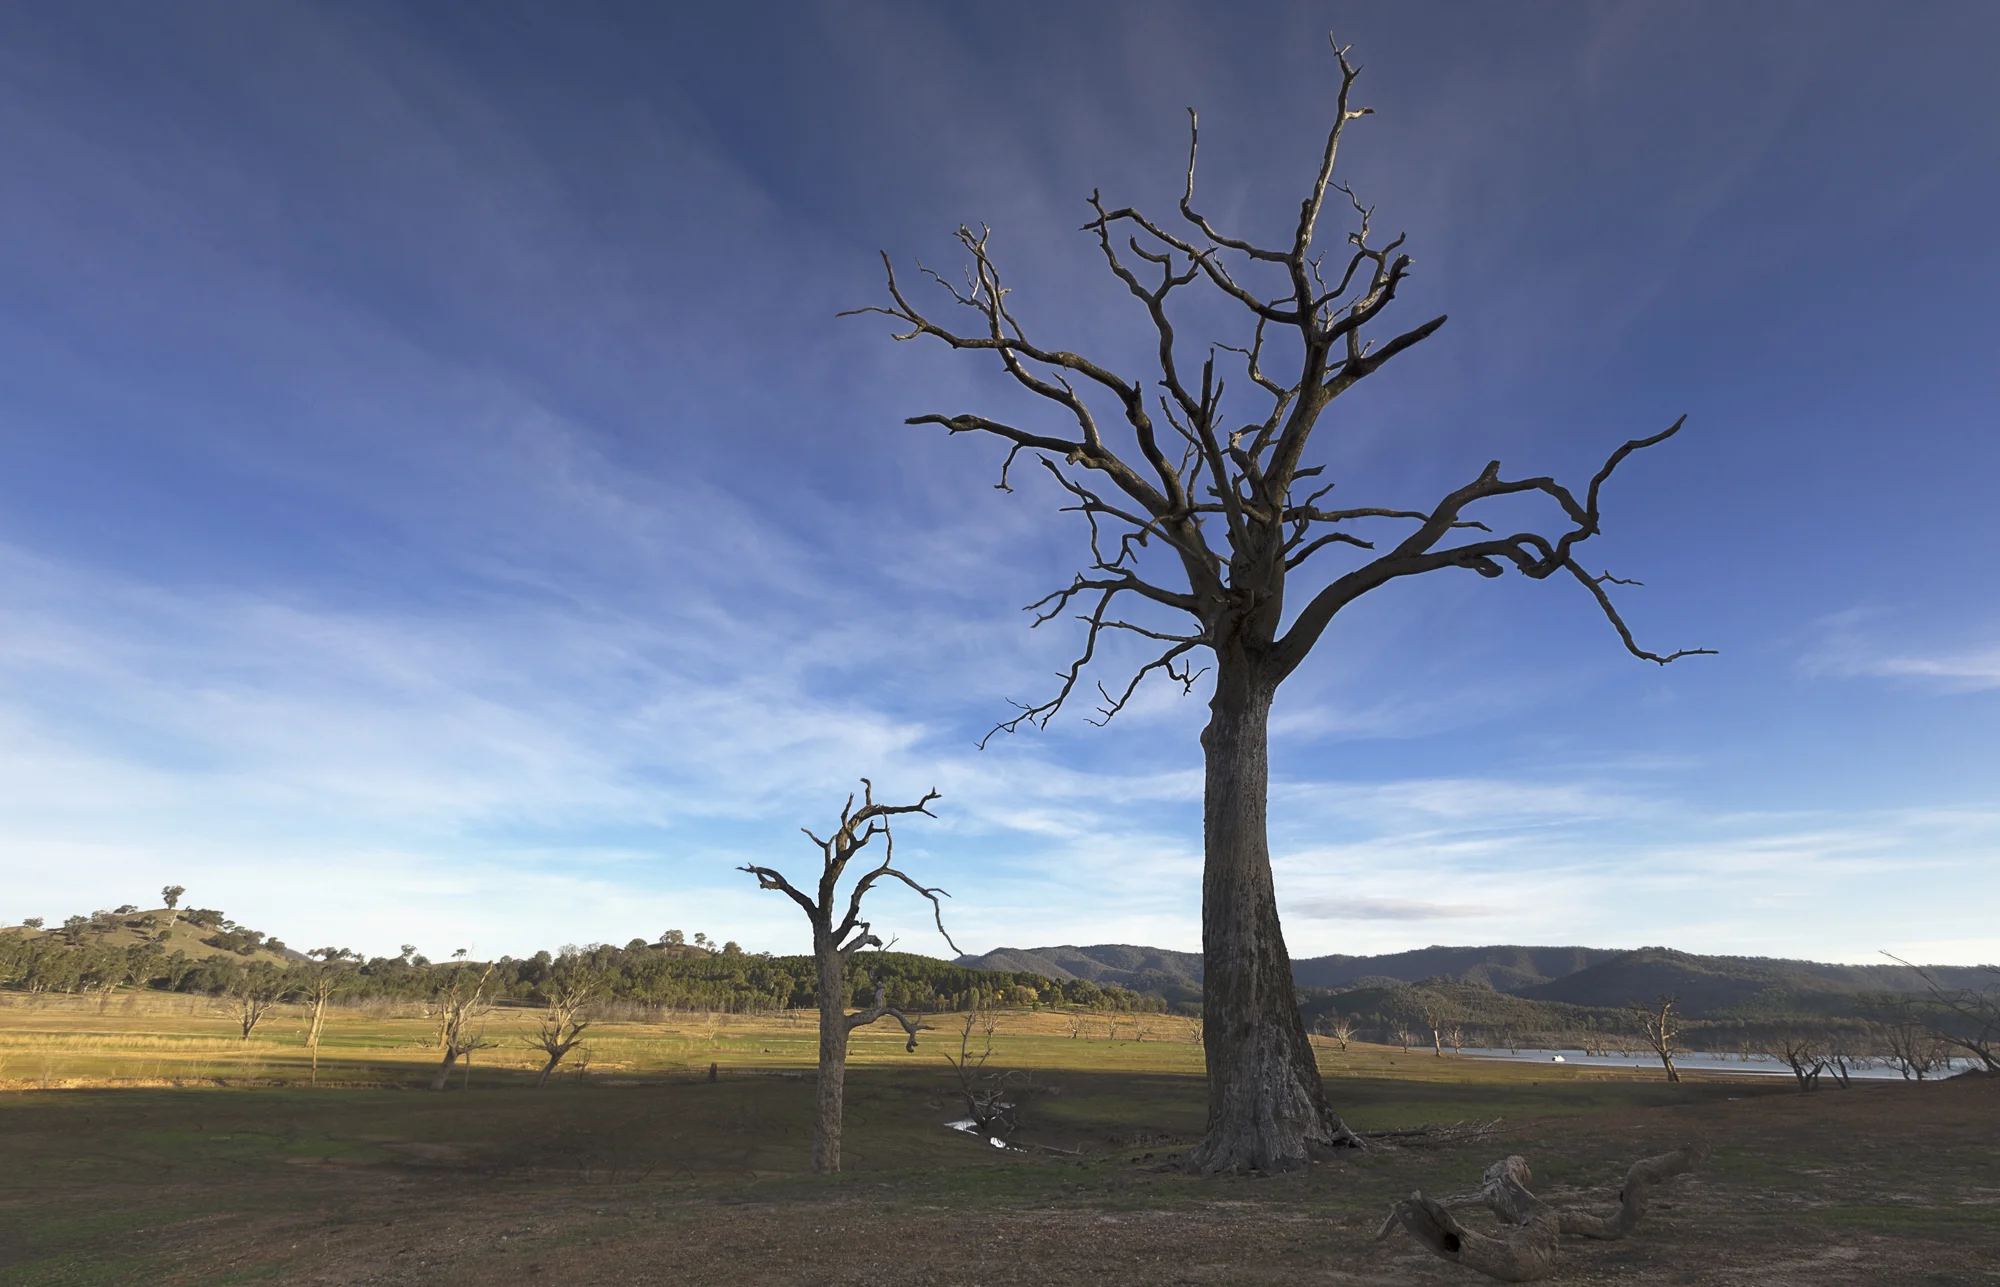
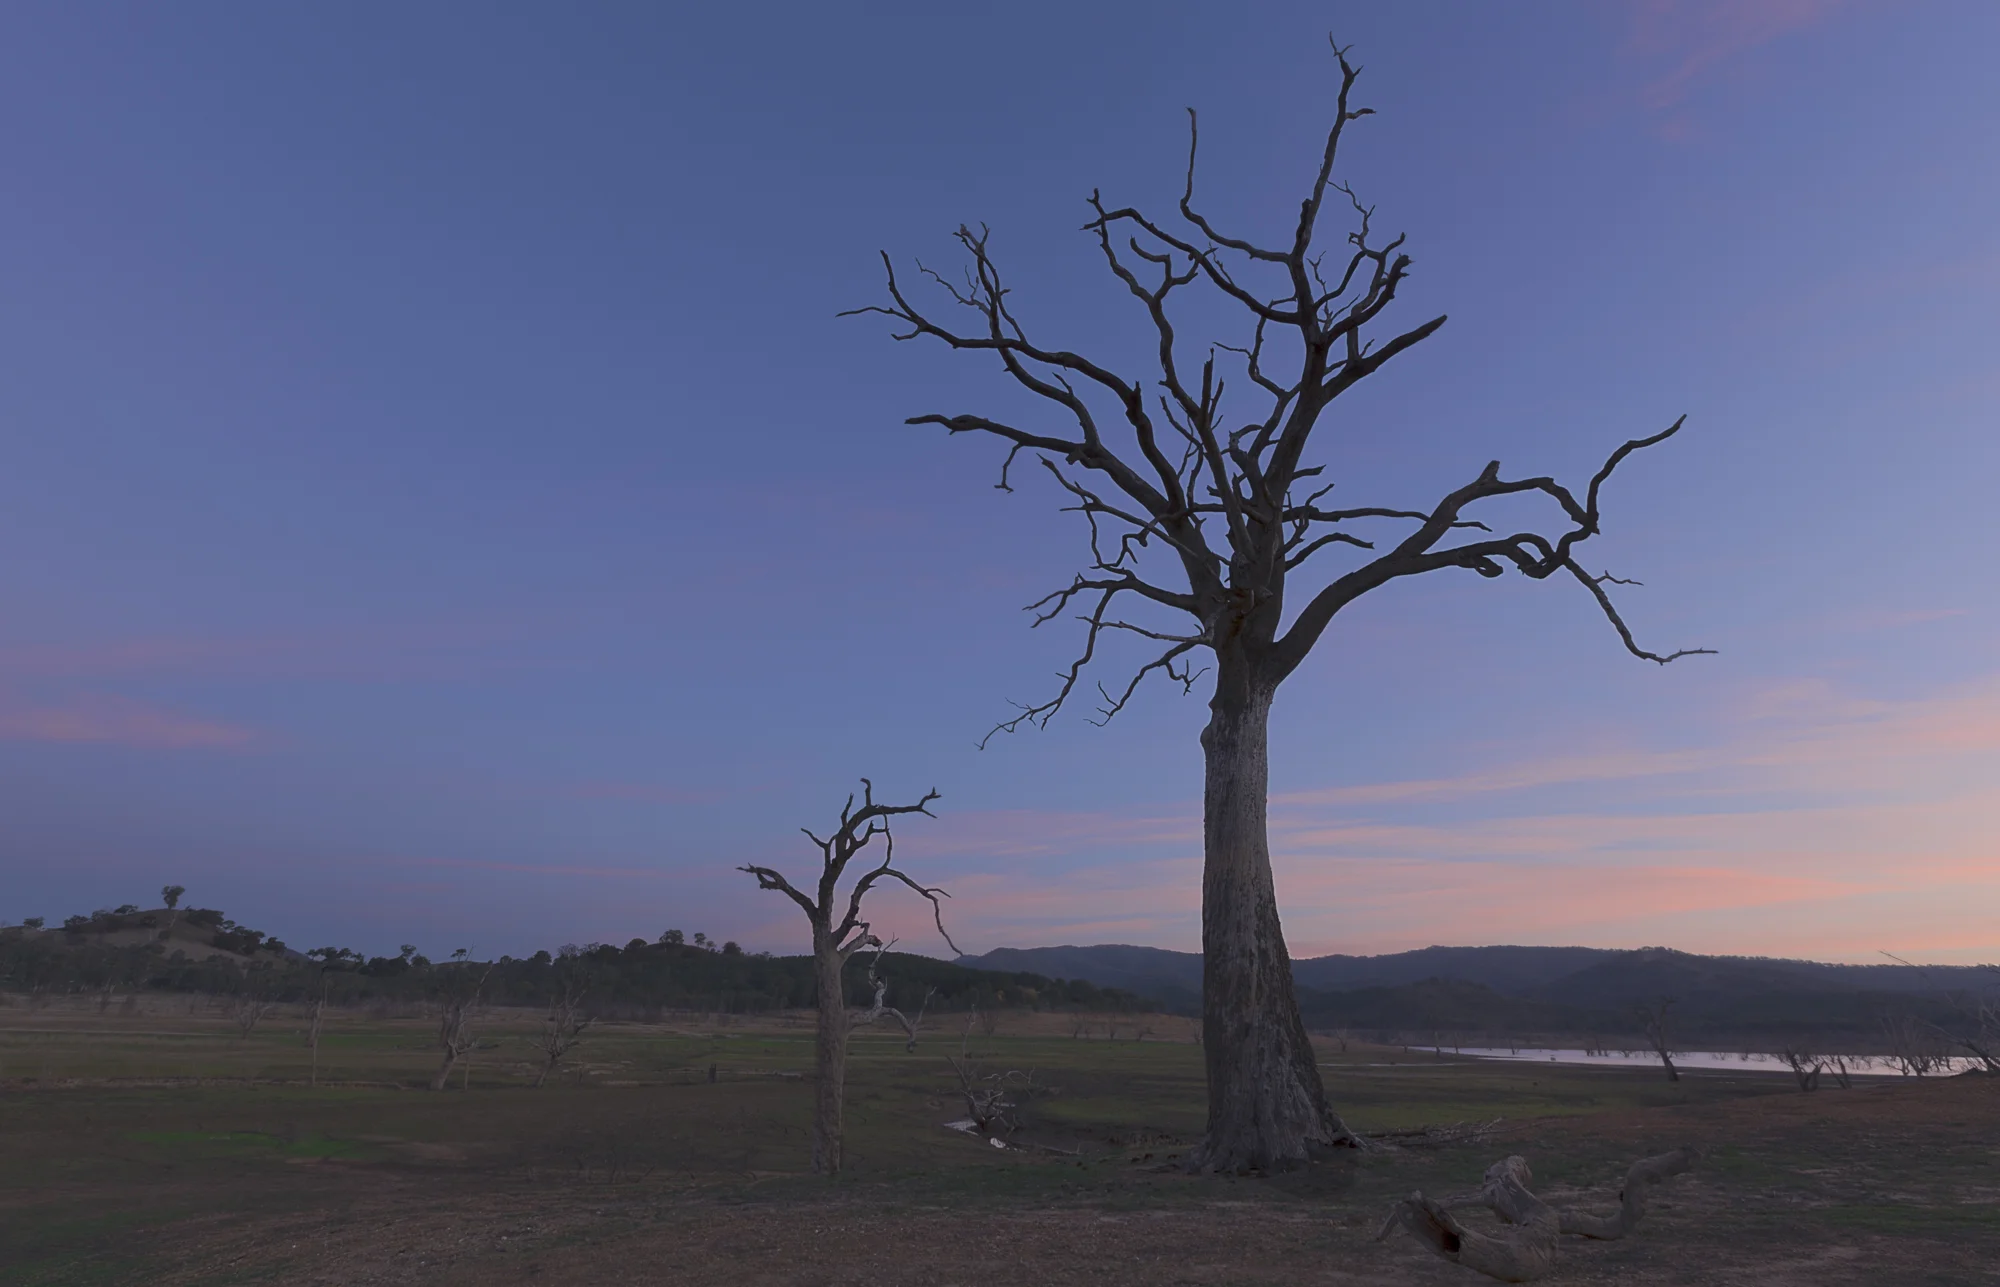
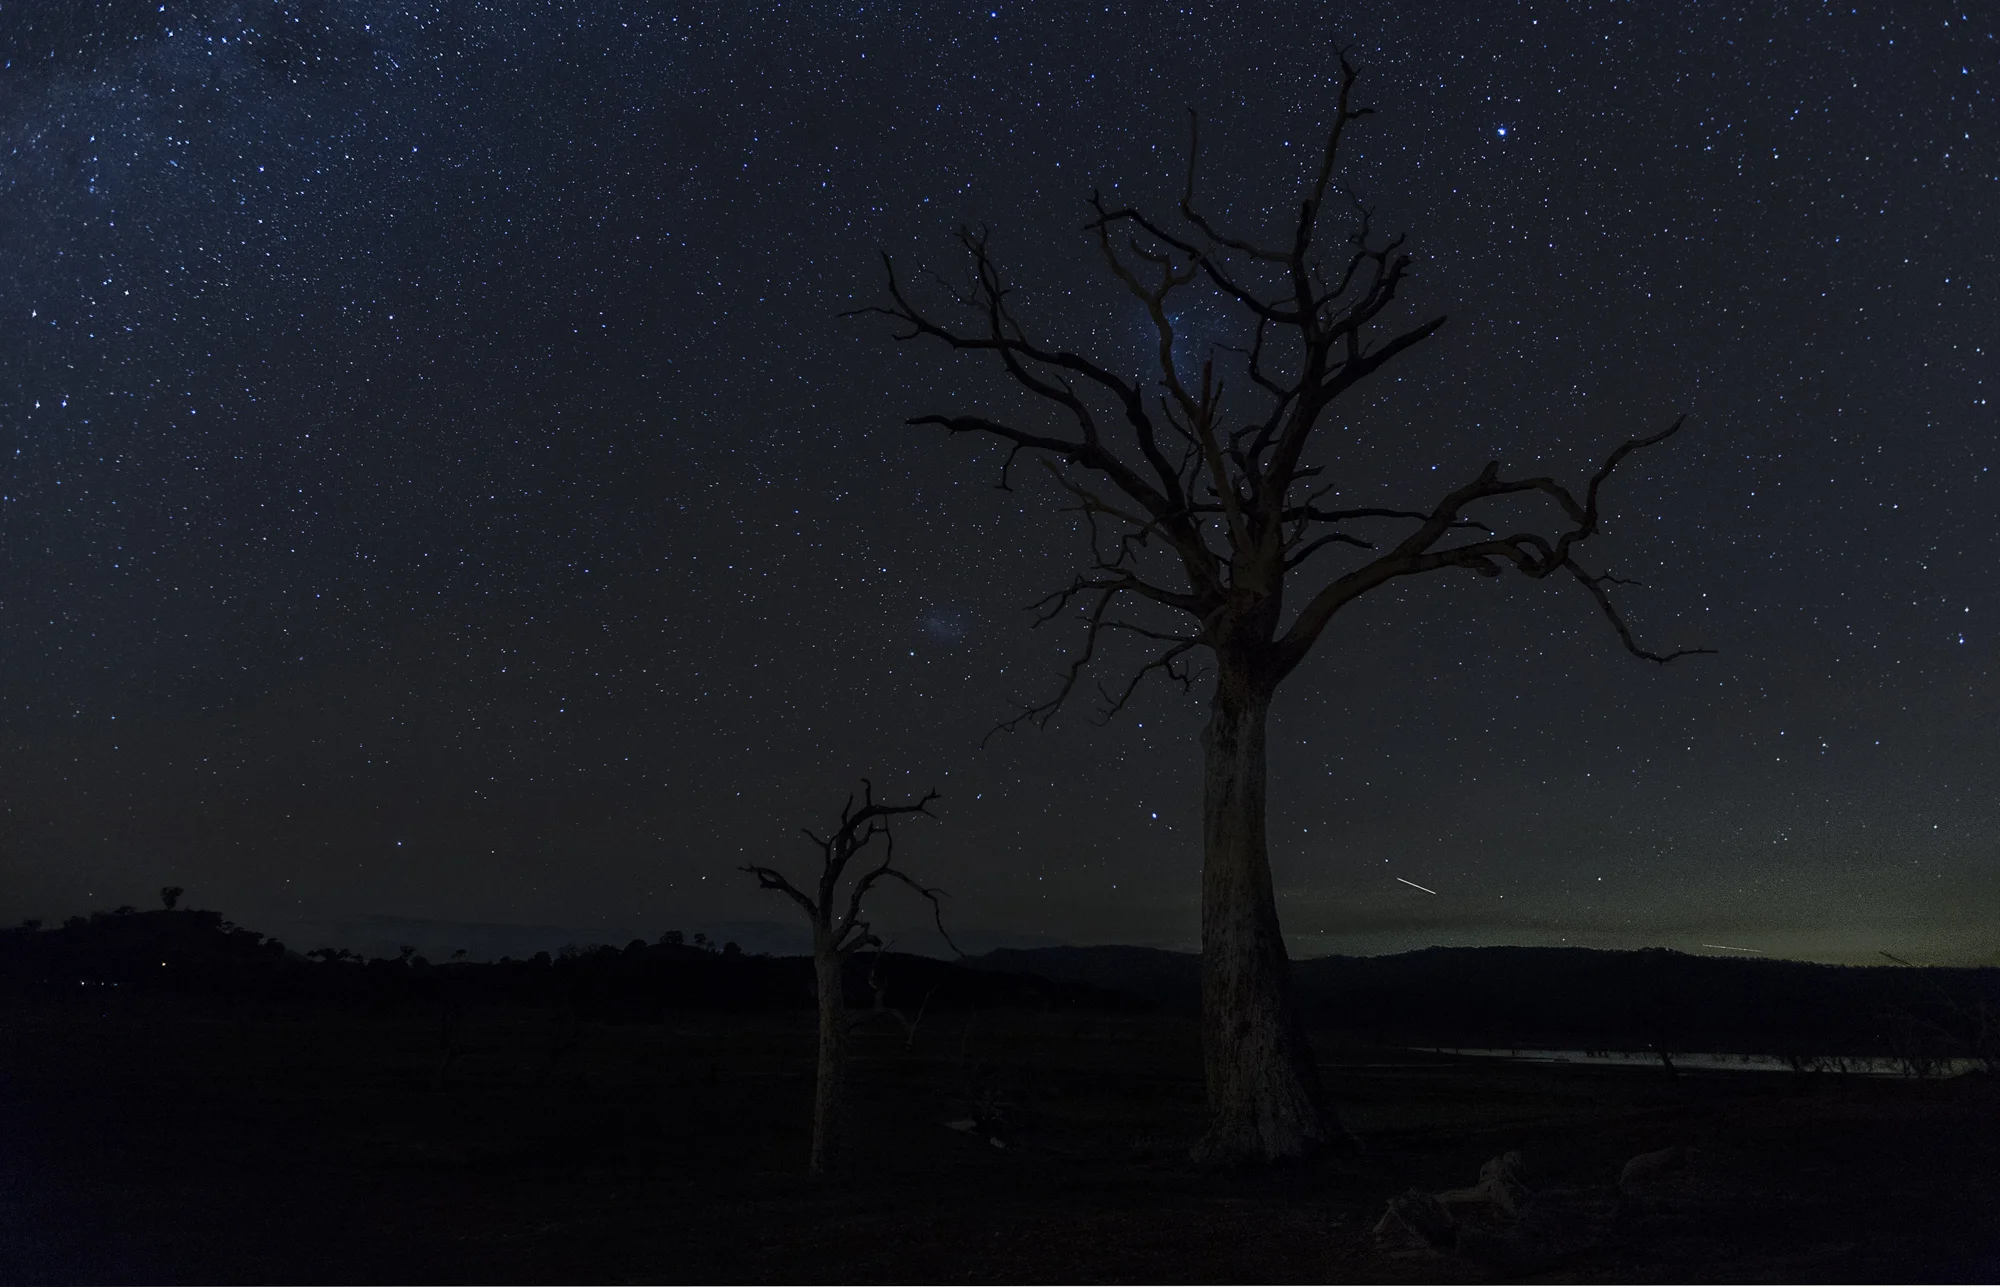
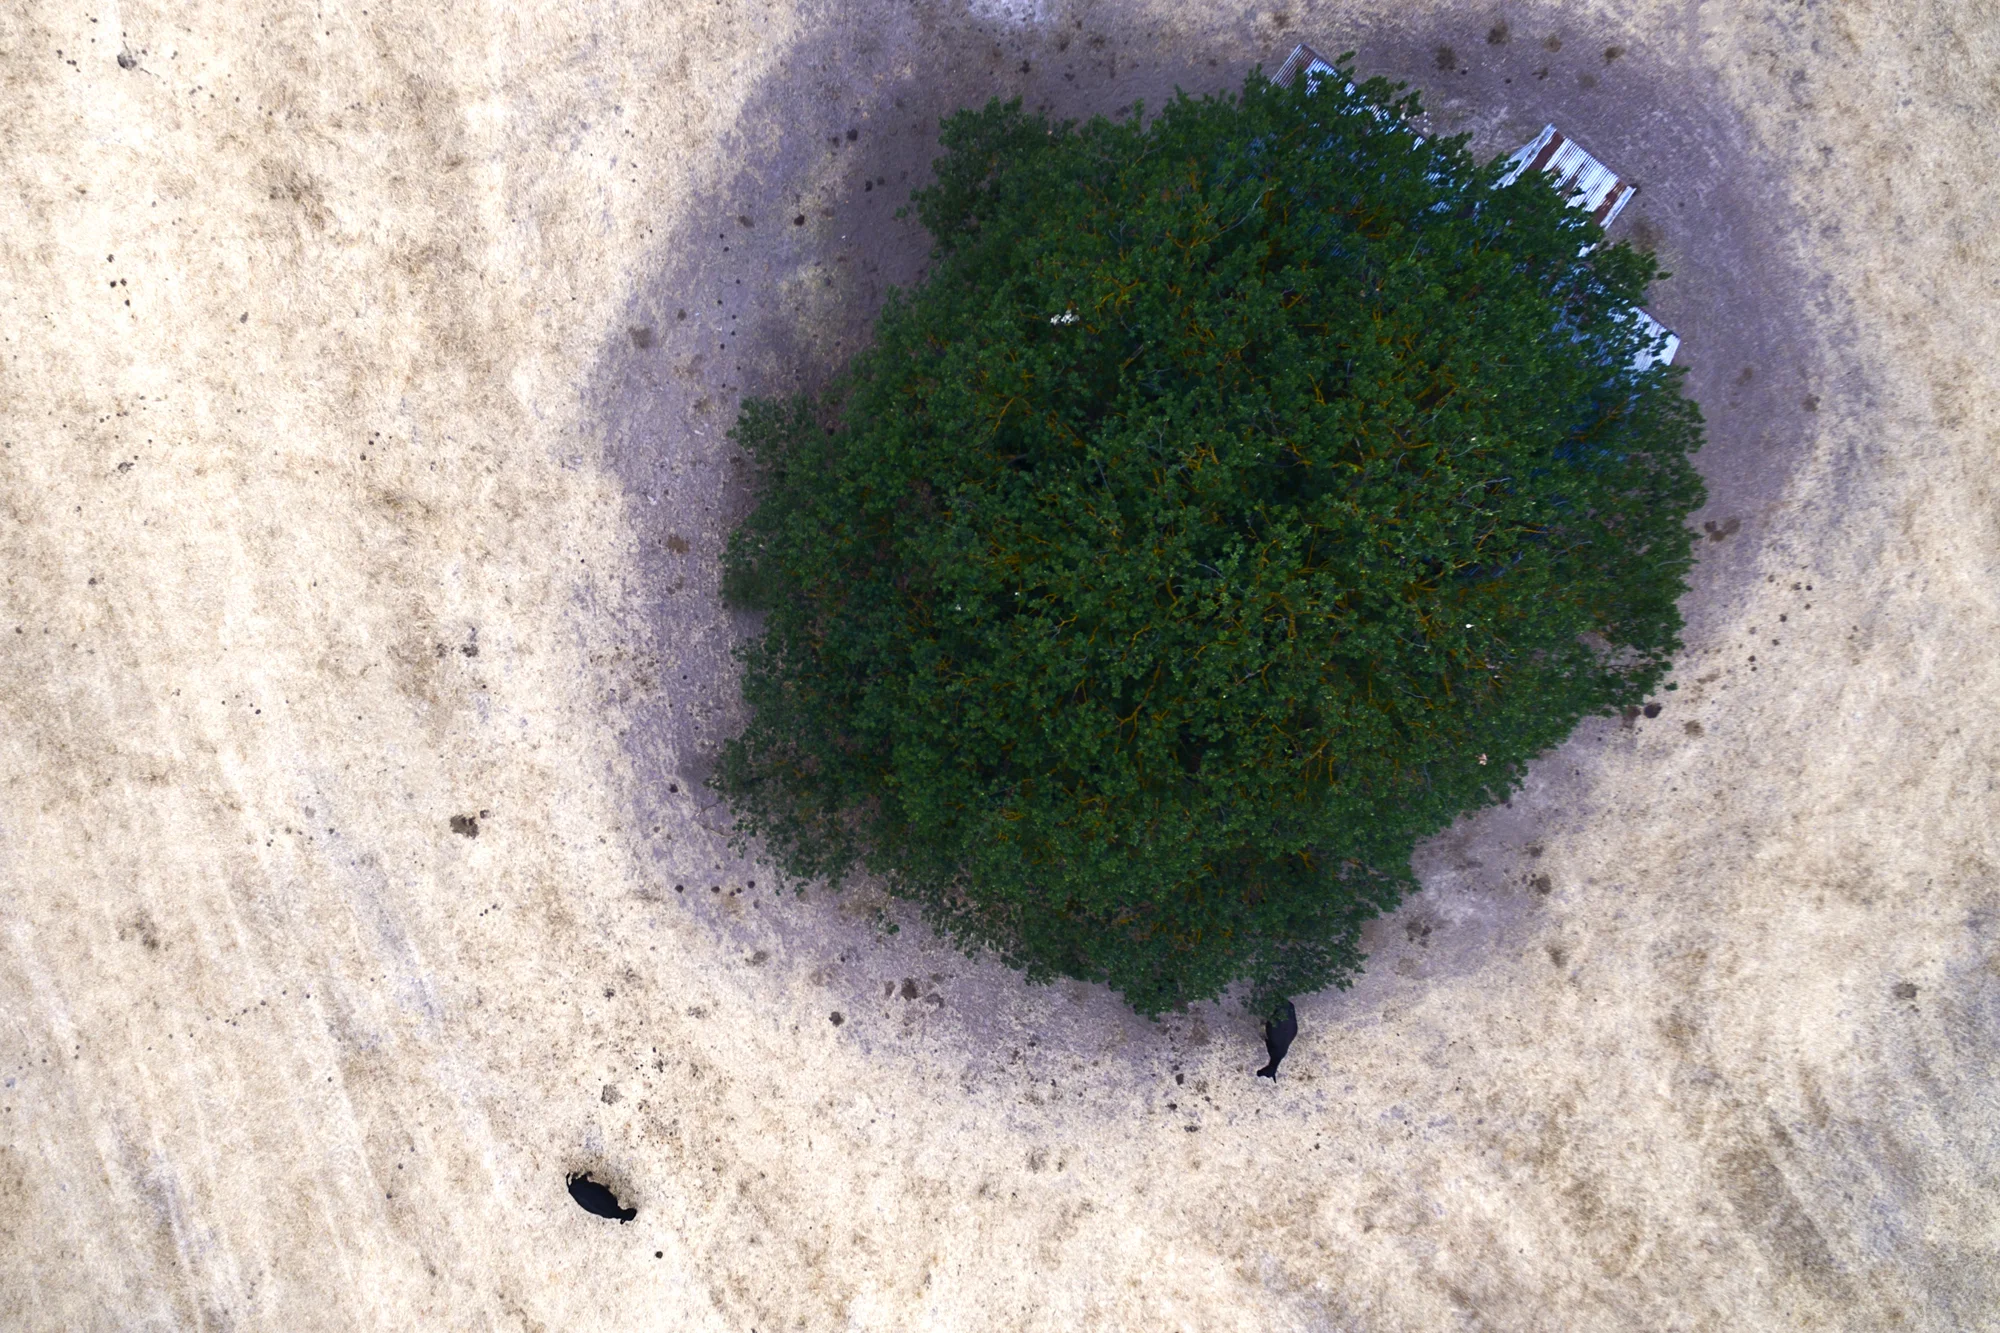
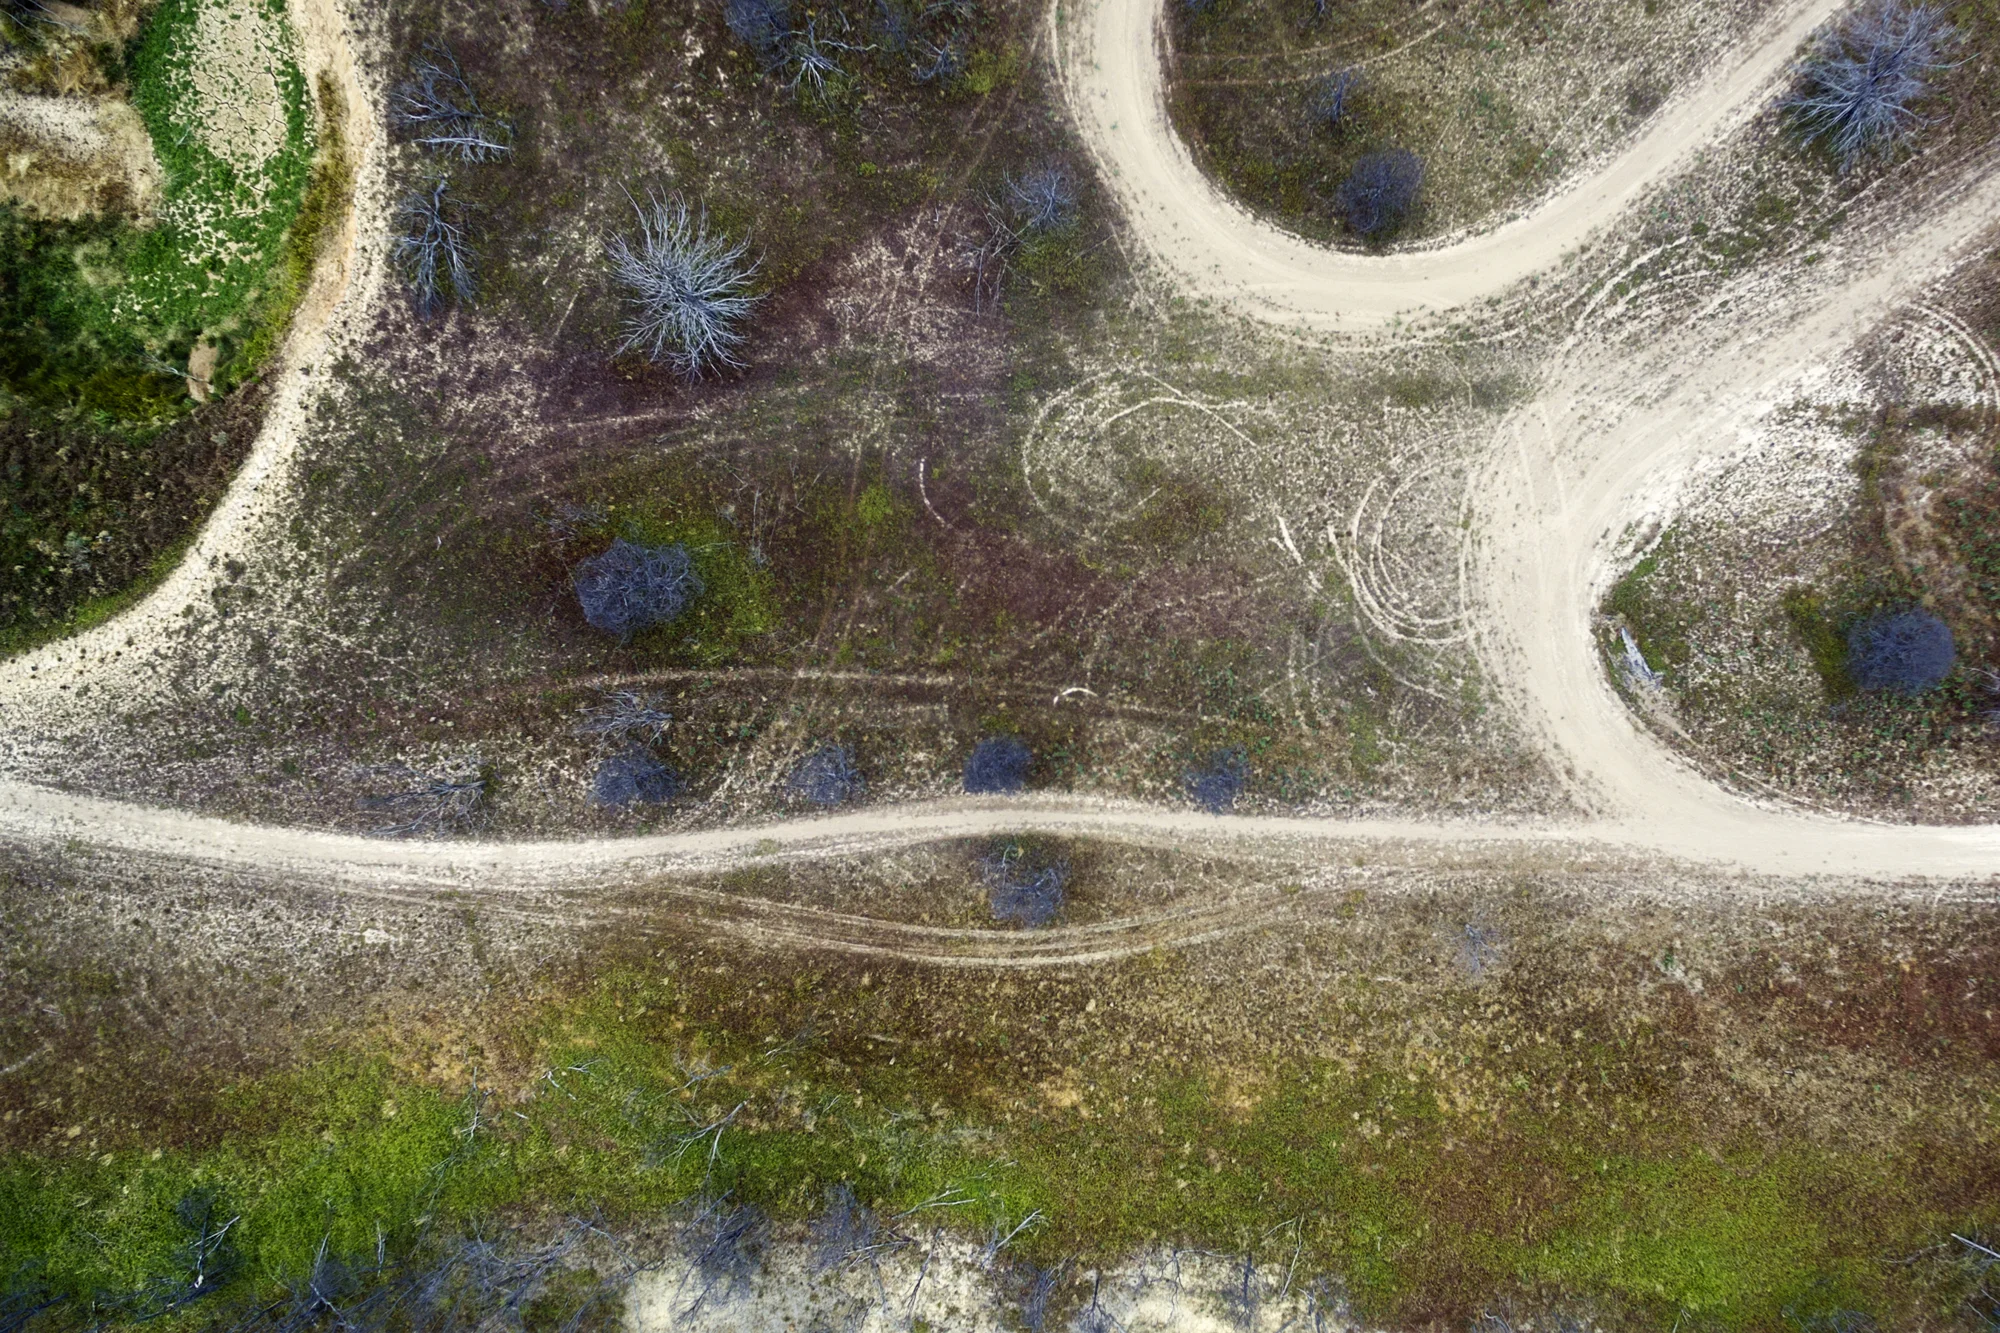
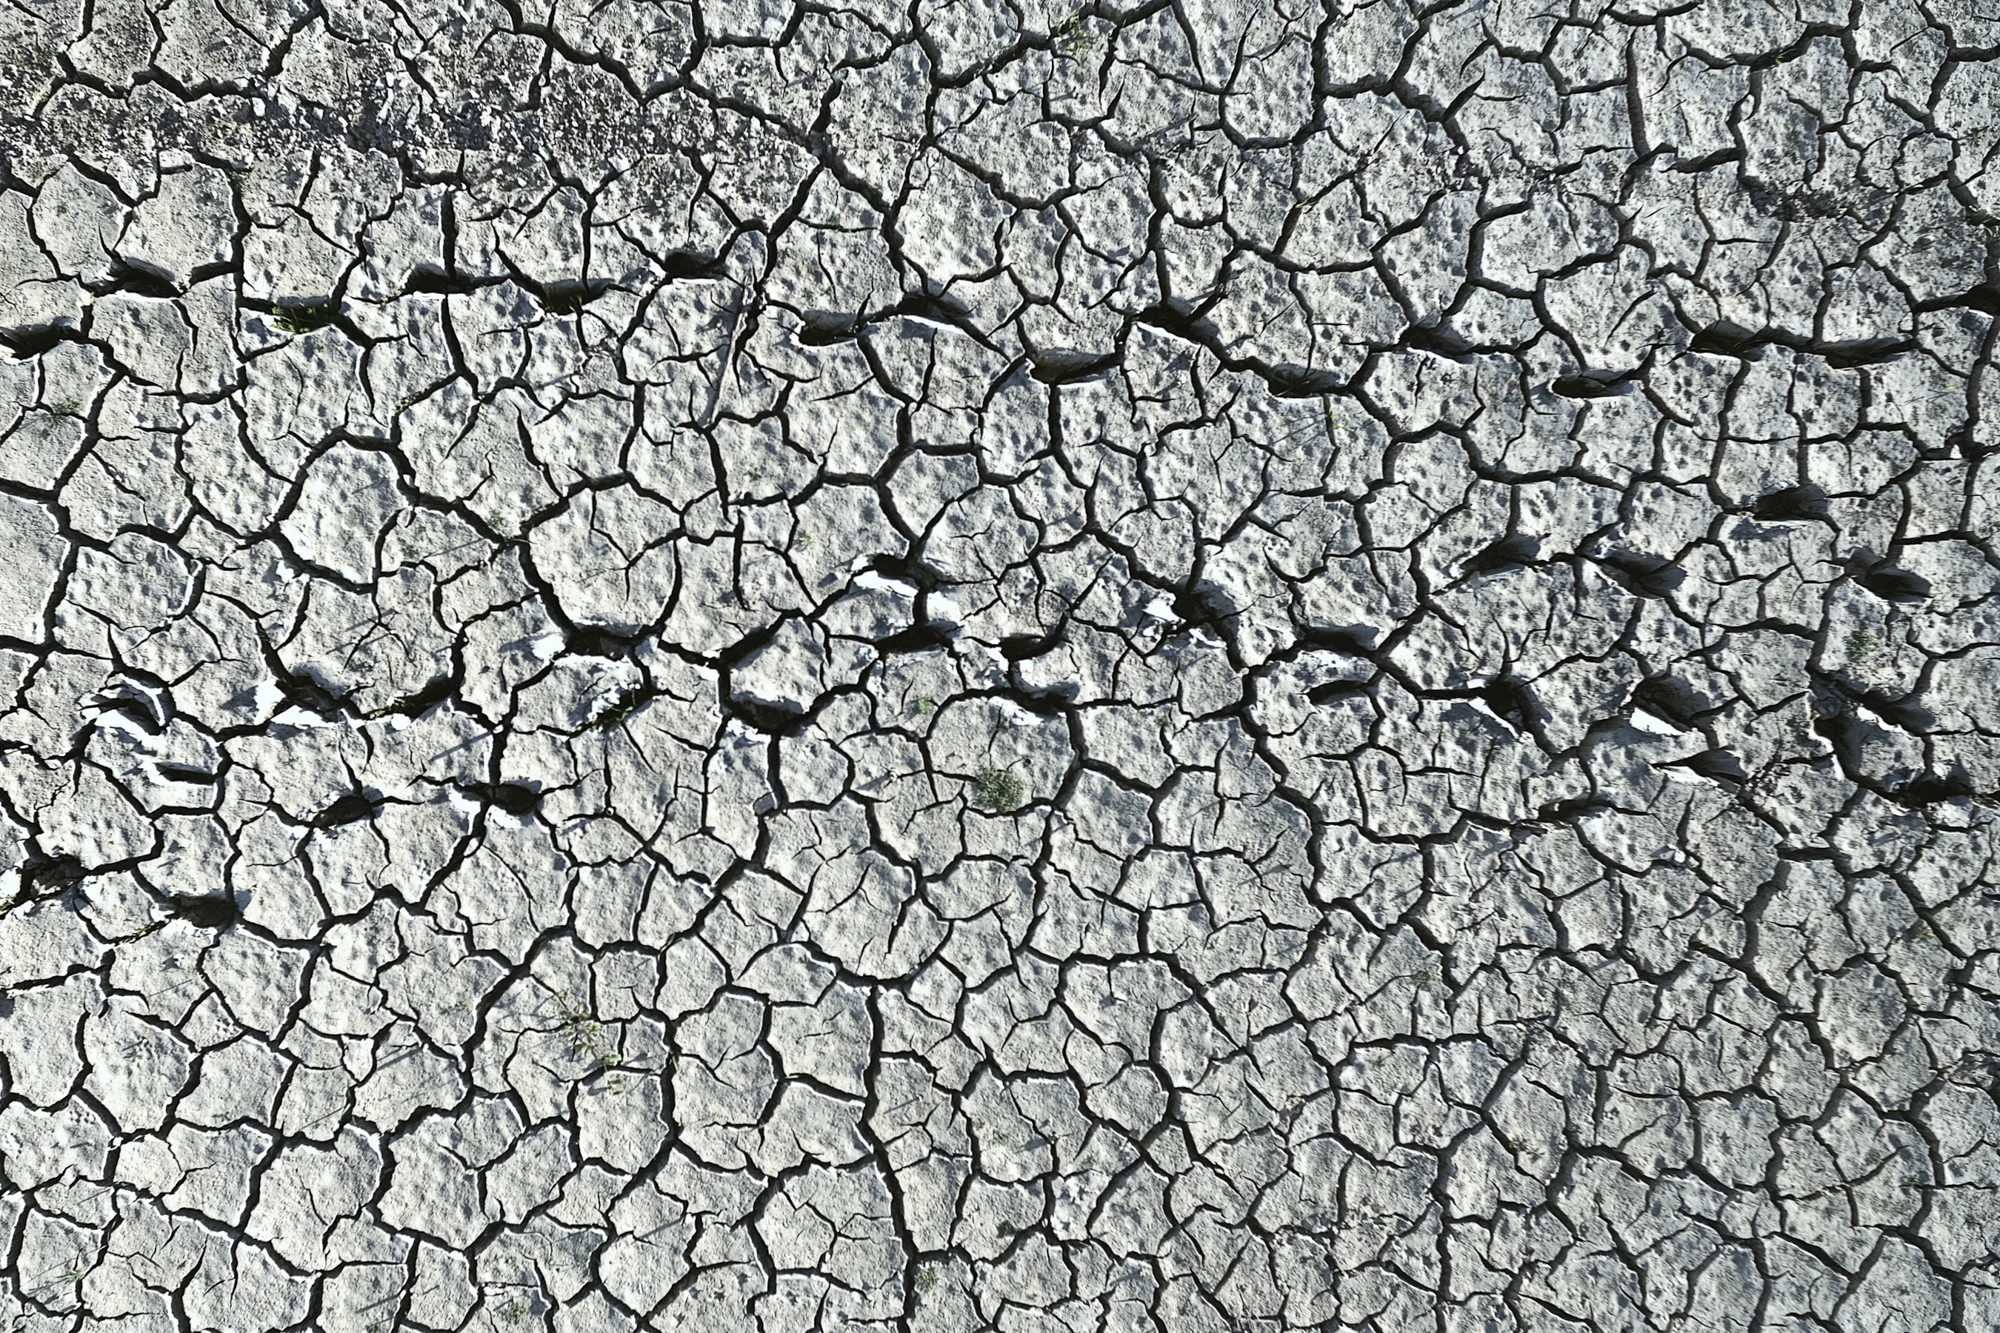
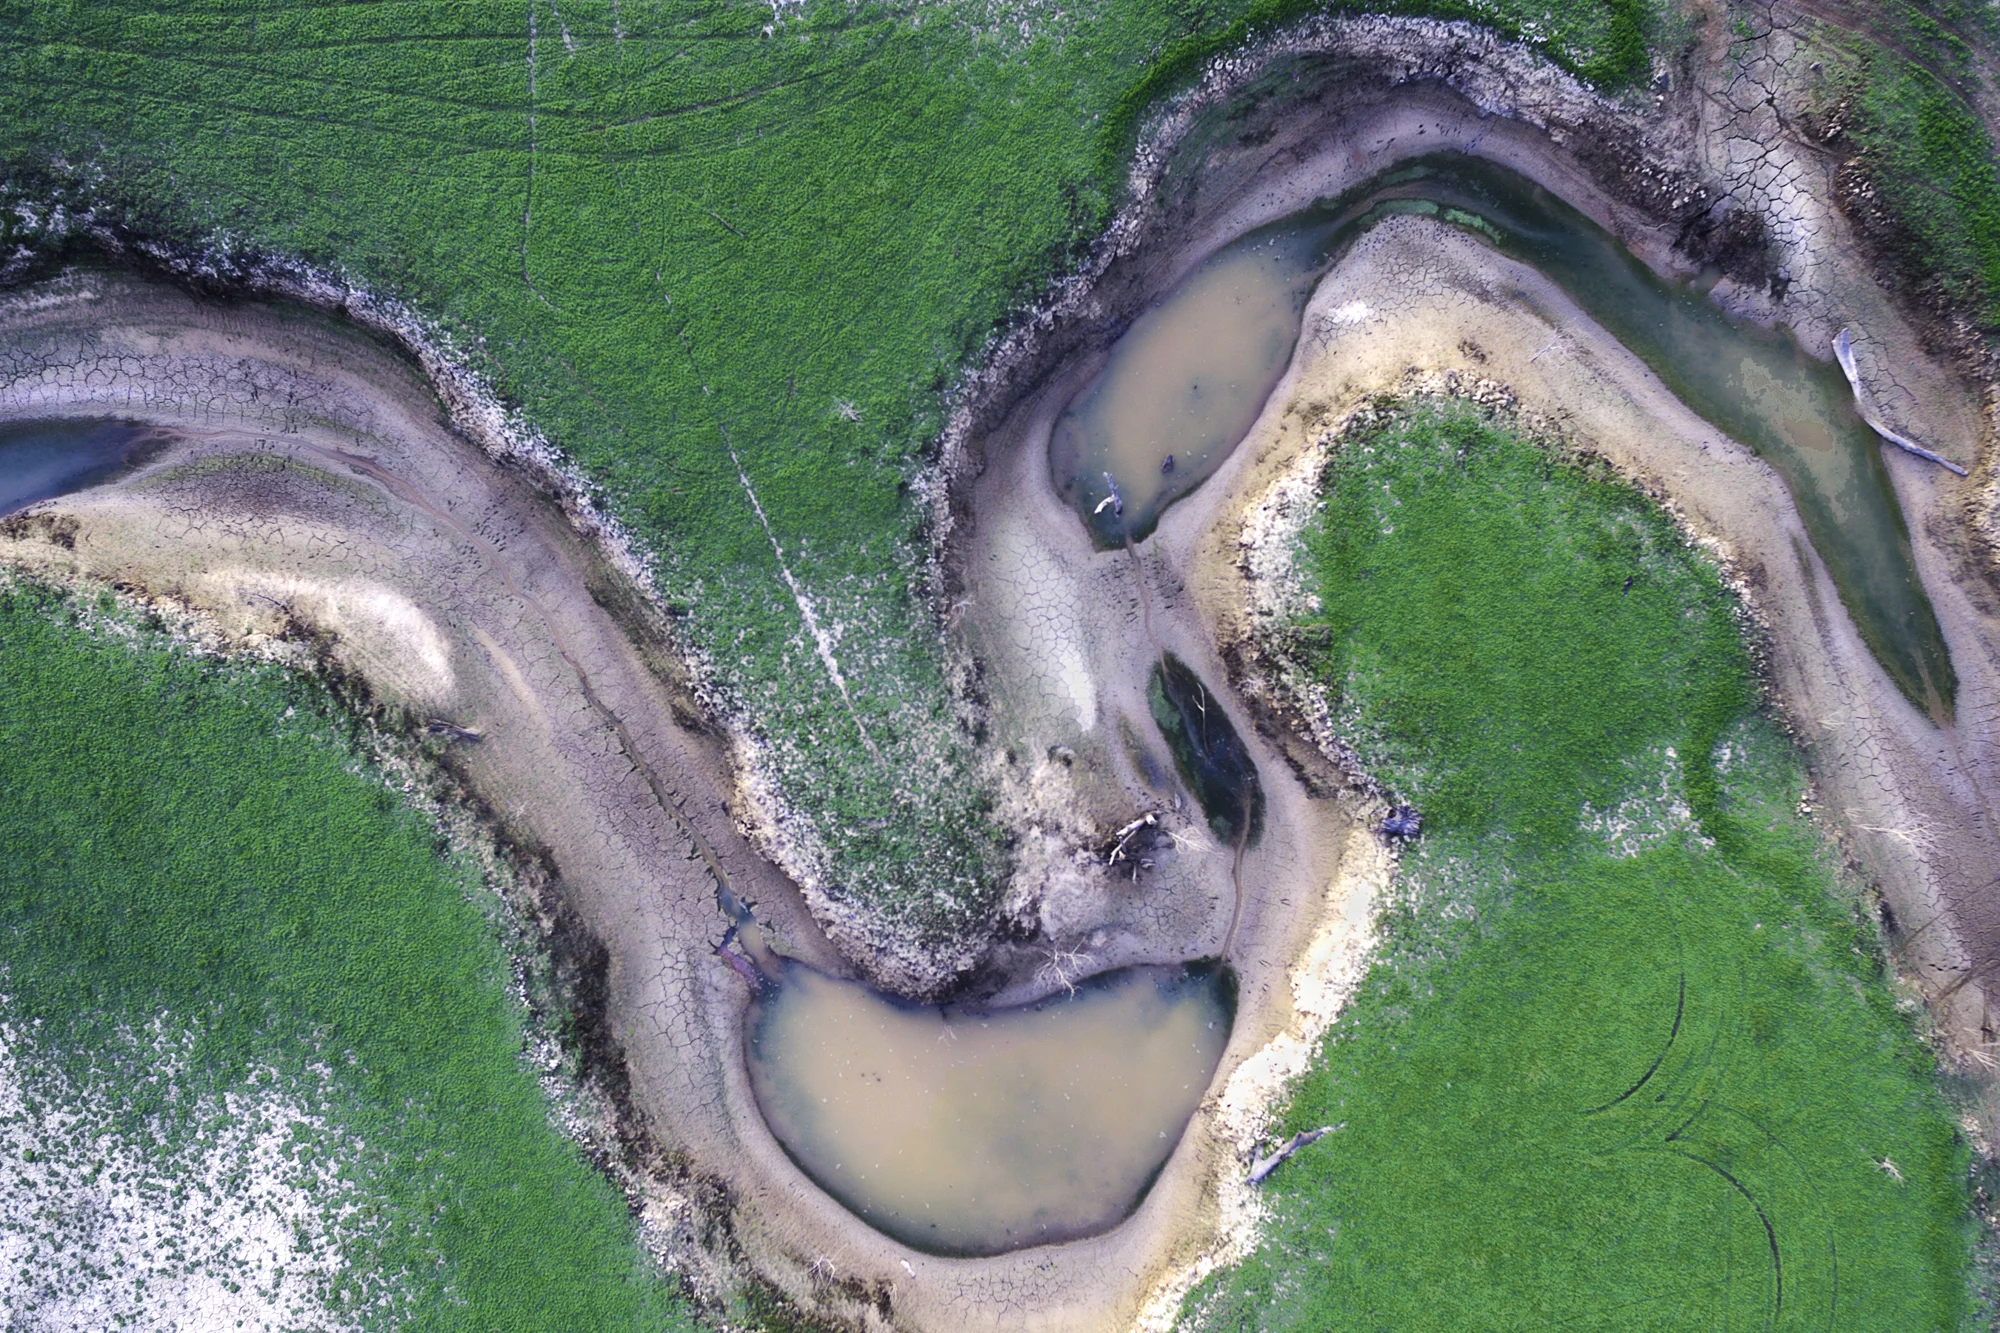
Personal Expression - Exploring Human Interaction with Earth through a series of part abstract landscapes.
Workshop Experience : Semester B Weeks 11 and 12 Telling a Story
We are now moving firmly in to the narrative and creative story telling areas of image making and have also started to spend more time on portfolio review.

©James Nachway
Well we have certainly changed a stride a little in the classes. At the start of this Semester we were just as focused on the technical craft of taking an image as much as the conceptual and aesthetic side of image making, and spent 50% or more of our class time out shooting and learning on the job so to speak.
With that behind us we are now zoning in on the creative strategies and techniques and leaving the technical craft side of things where they lay. We also split our time equally on portfolio image feedback for each of us as we start to produce and show our intended portfolio images.
We discussed and reviewed several photographers and the way they tell a story, portray a narrative, either in a single frame or in several frames presented as a series.
“Narrative is ... an account of connected events. A representation of a particular situation or process in such a way as to reflect or conform to a set of aims or values”
We reviewed again the standard photojournalistic approach to a narrative, where the photographer presents an opening establishing shot (normally wide angle), a people and or general shot, and environmental portrait, a detail or close up shot, an action and or activity shot, and then a closing shot. Outlines a linear narrative and guides the viewers through the images as a collective. Done !
As I mentioned earlier we are also spending more time on reviewing each others images and providing feedback.
For my Animate (Portrait) side of my portfolio I am thinking of doing a series on Mother Daughter portraits with a twist, as shown above. Its all about the right DOF and alignment, so I am putting in the hours on how to set up several friends that have offered to sit for it. Will see how it goes. The image above is also heavily overworked as i am discovering new and frightening PS capabilities.
Until next time!

Workshop Experience : Semester B Week 10 Sameness and Difference
Week 10 was all about Sameness and Difference - what makes a visually salient image and how do you lead the viewer through the frame as intended. Heady stuff but really interesting !

©Gregory Crewdson
Week 10 kicked off with a discussion around Sameness and Difference - how to pictorially make what matters matter. Very interesting and a bit mind bending the discussion, but really helpful in analysing why one series might work stronger over another series. We discussed visual salience - where something stands out in relation to its neighbours - such as blue amongst red, or a man made object amongst natural objects, or a rough texture amongst smooth textures. And as is the case more often than not, a single image contains several salient items, in order to guide and or lead the viewer through the frame.
Even more relevant to where we are at, was how do you make Sameness and Difference work to enhance a series of images, or a portfolio. That is, in a series of say 12 images, do you just change a little something in each frame to show that that is the important or salient aspect, but risk boring the viewer; or do you change a lot in each image from one to another, but risk confusing the viewer and losing all relevance. Its a balance somehow !
Look at the image above. On first glance you might think ok, two women, embracing, one distant and staring, perhaps they both are, actually they look similar, could be twins, actually actually - they are exactly the same person ! This image comes forma series of work done by Kelli Connell and it is amazing. Well worth looking through. Clearly she has done some extensive photoshop work to make it all come together, but the posing and setup for each image would have been even more impressive. And of course the concept. So the sameness is obvious but its also in the color palette of the series and the moodiness of the images, and the subjects!; the differences are the day to day activities and situations they find themselves in. A great exploration of her relationship with herself perhaps ? or something else ....
Keeping this in mind I put up my first portfolio review images - the landscape section of the portfolio. The theme and concepts don't have to be as strong for this minor portfolio areas (inanimate and animate), but for Inanimate I am thinking around a series of Lake Eildon or perhaps a series on Trees. Will see.


©LesWillPhoto, Aerials, f2.8, 1/100, ISO100, 10 - 50 meters above gnd
Workshop Experience Week 8 and 9 : Urban Environment and Portfolio Discussion
Two weeks worth this time around - exploring Urban environment photography and then working on the concepts I might follow for my personal expression portfolio component.

Week 8 saw us discuss and decipher the world of Urban environment image capturing. I really like this style and was inspired by looking in to the work of Stephen Shore an din particular his series of "Uncommon Places" . A very eerie and beautifully executed series that has really got me thinking around what I could attempt in this genre. Whilst our portfolio at the end of the semester is pretty broad - Personal Expressions series, Inanimate series, and an Animate series - i do want to see what mixture of genres I can use to tell some stories, and Urban needs to be a part of it for me. The idea of capturing normally inhabited places uninhabited is a good one.
Some of the other students showed some cracking atmospheric urban environments images which got me even more interested in exploring this genre further. Its sort of like capturing street shots but making the human subjects less centre of the story, and if they do appear in the frame, they are to be mysterious and non descript and non directly engaged - totally different to other forms of urban photography I have been doing. Intriguing.
Week 9 we were all asked to be prepared to give a quick verbal overview of what our ideas were for our end of semester Personal Expression part of the portfolio. This part of the final submission needs to have a strong narrative, linking 7 to 12 images in such a way as to take the viewer on a journey and exploration of whatever the concept is that you are trying to convey.
The "linking" narrative can be personal, conceptual, thematic, just about anything as long as it grabs the viewer and leads them through the images in a story telling fashion.
Some of my fellow students had great ideas, ranging from a series exploring support and medical dogs and their connections to their owners, a concept of capturing small personal items that have meaning to people and photographing both the item and the person to engage and tell the story, through to ideas to explore food in its various states of the cooking process.
I am thinking of a series along the nostalgic lines I suppose, where I try to capture images that portray the emotional state I was in when I lived in certain places throughout my life, starting from birth. I envisage a series of images showing either the house and its environment to portray the feeling, or a detailed interior shot that conveys the emotional response i had.
Feedback was supportive but cautionary as it may fall flat or disconnected. Will drive on to see what some test shoots produce. Other ideas could be showing the cycle of Lake Eildon from plentiful to dry and where the water goes and what it is used for. The other parts of our portfolio are Inanimate 7 -12 images and Animate 7 - 12 images. Should be able to collect some images around each of these areas. Will see what plays out, but I only have 9 weeks left ! Gulp.
Update : We had to submit 2 assignments this week too. One assignment was 1 image from each of these genres : Straight Portrait, Group Portrait and Environmental Portrait. The second assignment was to be 3 images from one or any of these genres : Traditional Landscape, Urban Environment, and Architectural.
Following are my submissions. Until next time!


