
Workshop Experience : Photography Studies College Week #6

We are in full swing now as the course gets in to Week 6. This week we covered subject awareness and panning techniques, as well as looking at the concept of The Frame and the principles and elements of design. Enjoy.
Week 6 and the course is in full swing now. Expectations are higher on the amount of shooting we should be doing outside of class and some of us are feeling under the pump in a few areas.
For the Wednesday night session with Scott we kicked off by discussing Subject Awareness and the differences between Interpretative and Representative images. Scott used one of my fellow students images of last week as a good example of interpretative - a factory reflection in a puddle from above, followed by a view of the factory from the puddle location perspective. Nice one!
“The whole point of taking pictures is so that you don’t have to explain things with words.”
We then looked in to a few differing photographers and their use of subject awareness. We looked at Rodchenko and his blending of drama and design through the use of off-axis (tilt) positioning.
We also looked in to Edward Weston and his amazing use of vegetables and shells, shadow and light to produce humanistic sensual forms. Hadn't come across Edward before this and found it really interesting blending of still life and portraiture.
Our image review session this week was simply any 5 images we wanted to submit. I thought I would try and follow the theme of our end result portfolio of 7 images each in the 4 categories of Landscape, Portrait, Still Life and Personal Expression. I ended up submitting the following 2 Landscapes, 2 People shots and a single Still Life attempt.


Everyone is really starting to shoot improved images although you still find yourself going back one step before progressing. Great process though in incremental steps..
We then discussed the panning technique and its value showing movement and pace to images. Our tutor Scott showed us a few he had taken recently and one was a cracking school of fish shot with the head fish crisp and the rest blurred din motion, shot at the local aquarium. Solid work.
And that has now become our assignment for this week - a few random panning shots as good as we can get.
For what it is worth, the general settings to get a good image are the following, but it takes a lot of adjustment and trail and error !
- 1/15 to 1/30 kids moving around (good luck)
- 1/30 to 1/60 for a push bike rider
- 1/60 to 1/125 for a car at slower speed
- and 1/80 to 1/250 for a fast moving car or motorbike etc
- use zone focussing for a rangefinder else single focus point for your quick digital camera
- a pretty wide lens makes it a lot easier - I am using the Q @ 28mm
- set ISO and aperture to get the right EV
- physically try and twist yourself towards where the object is coming from, such that as you pan and they go past you, you end up in a normal balanced stance with your camera
- use single or continuous shot (purists will say only use the single shot!)
- and plan to press the shutter release when the object is directly in front of you for maximum effect, the object being to try an get one aspect of the image sharp whilst the rest is blurred showing motion
- and practise as much as you can - as I need to do !
Then on to the Thursday night sessions where we are exploring the creative and composition areas of art and photography, and this week it was all about The Frame - this little rectangle we photographers try and represent the world we see through.
We talked about the Principles and Elements of Design, where the principles are the concepts behind what we are doing, and the elements are more the tools we use to express it. We focussed on a simplified set of principles, being B.U.R.P.E. :
Balance, the visual equilibrium of the frame
Unity, referring to the coherence of the whole; ties it all together
Rhythm, the timed movement through the space
Proportion, the relative size and scale of all the elements in the frame
Emphasis, the point of focus or interruption; where the viewer is drawn
We then as group discussed the elements of design, with particular focus on :
Placement, Lines, Weight and Cropping
For Placement, we looked at works from Francesca Woodman and Guy Bourdin and discussed the placements of subjects in the frame, be they symmetrical, edge of frame or extreme edge of frame.
For Lines, we discussed the difference of horizontal lines (restful, death, peaceful, etc) versus vertical lines (power, growth, etc). For Weight, we spoke of if the subject is at the bottom of the frame, it implies heavy and if at top, weightless. Alignment refers t the stability of the frame and then finally Cropping is all about whether the frame is Open (more things happening outside of the frame) or Closed (all information is contained within the Frame).
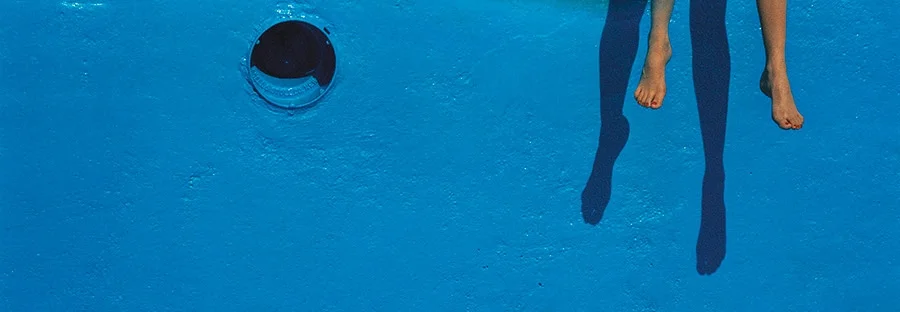
Image by Guy Bourdin
All really interesting and inspiring and gives deep insight in to why some images or a lot better than others!
Our assignment from Lucia for next week is to present in some images that explore these 4 elements of design.

Workshop Experience : Photography Studies College Week #3

Week #3 at the PSC course sees us getting in to workflow and reviewing slow shutter speed hand held images.
Well week 3 has rolled on already. Again, still in the "ground setting mode" mainly - this week we all focussed on workflow basics and LR setups etc in the PSC Digital Lab. We also went through some portable hard disk setups for mobile workflows.
Aside from a couple of random public share folder deletions. all went cleanly !
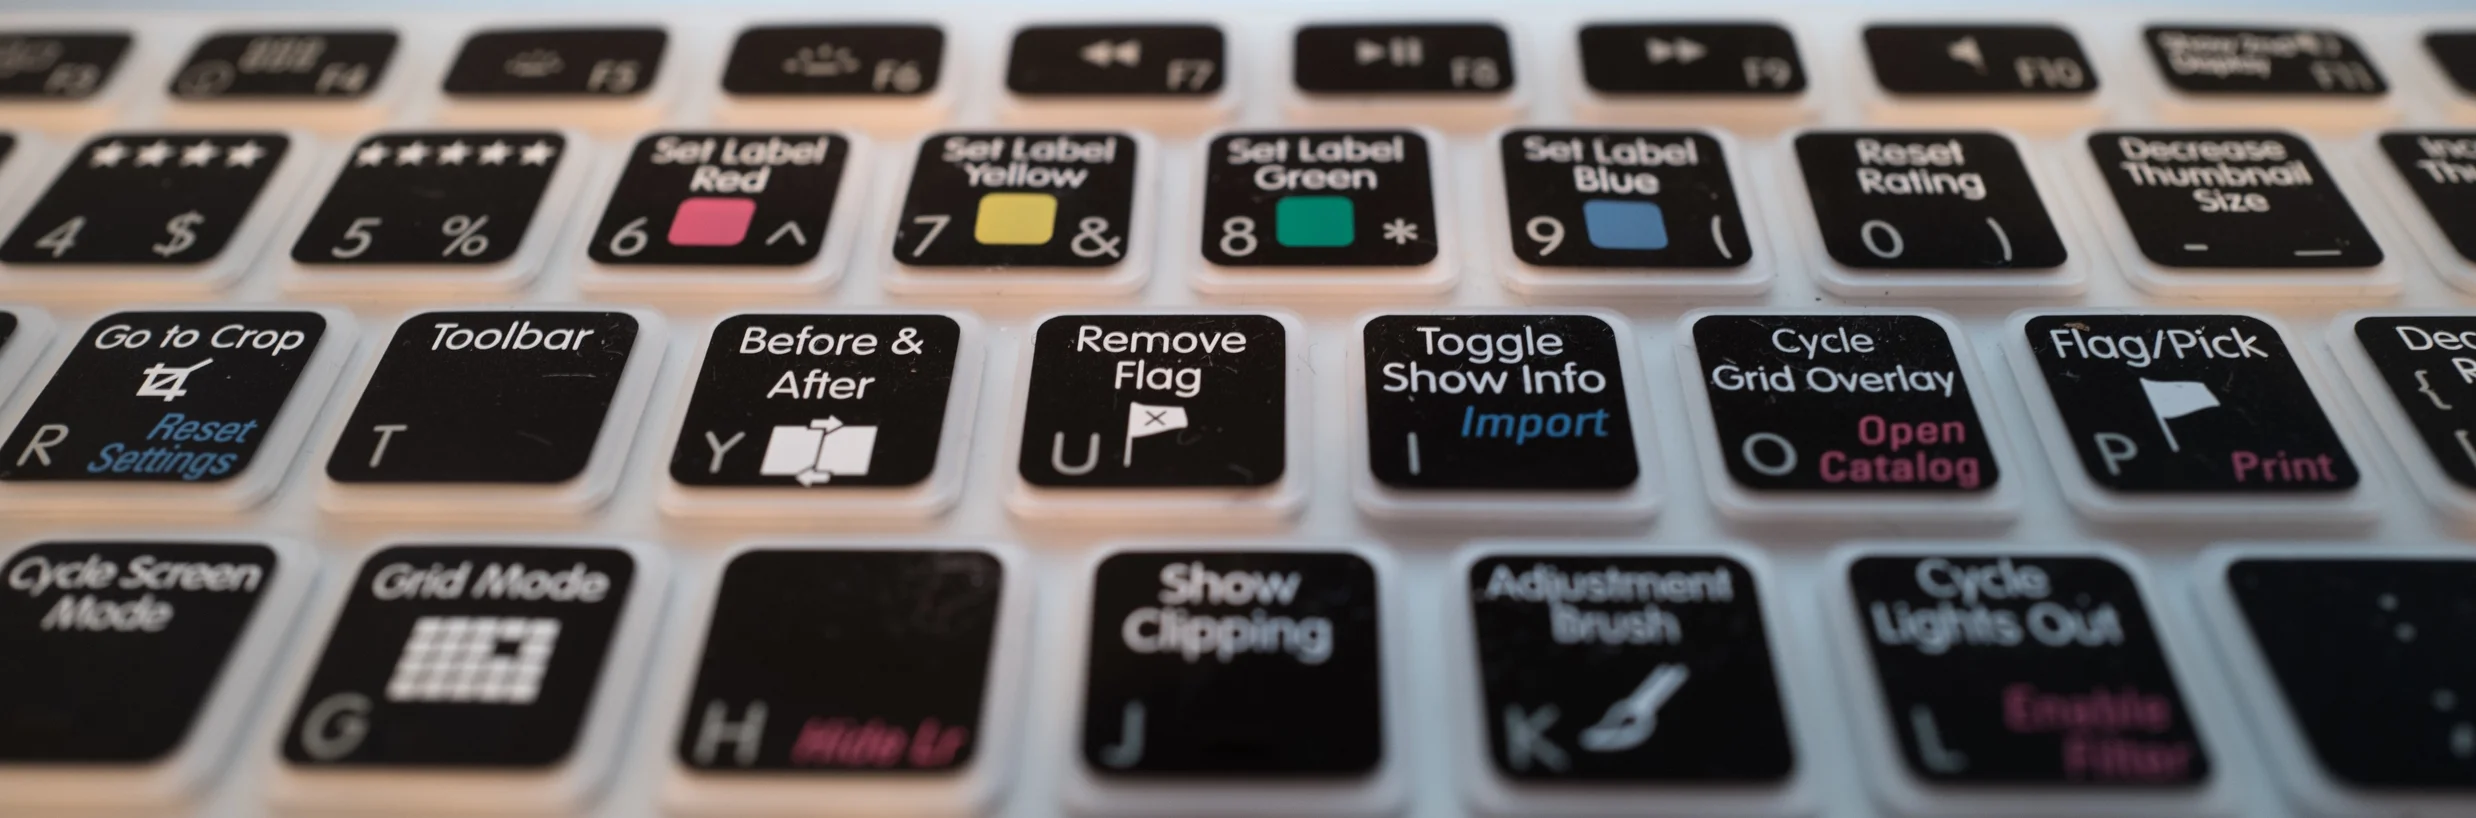
[For me I use Lightroom Creative Cloud and really enjoy its flexibility and structured workflow. There are plenty of great tip sights for Lightroom, as well as many video based learning sites. I always bring in my images as DNG (of course Leica cameras already do that for me); I import into a separate and uniquely named folder under the main heading of each year (e.g. 2014, 2015, etc); I use the date then location as my folder name (e.g. Aug122015-Lygon Street); I apply keywords during import as well as creating smart previews; I then do a quick filter and flag the keepers, delete the non keepers, then set about my editing routines as needed.
Backups of the catalog and the individual folders of keeper images are spread across my two 5 Tbit RAID NAS boxes. I only rename upon export to either Facebook, Instagram, 500px or someones email etc. I also use the handy dandy keyboard overlay for Lightroom found at KB Covers]
All the students then shared their 2 slow shutter (ISO400, 1/4 sec) shots for critique by Scott our tutor. Here are mine.
Leica Q, Handheld Standing, ISO400, 1/4, f5, AFocus, Macro, Straight out of camera, cropped
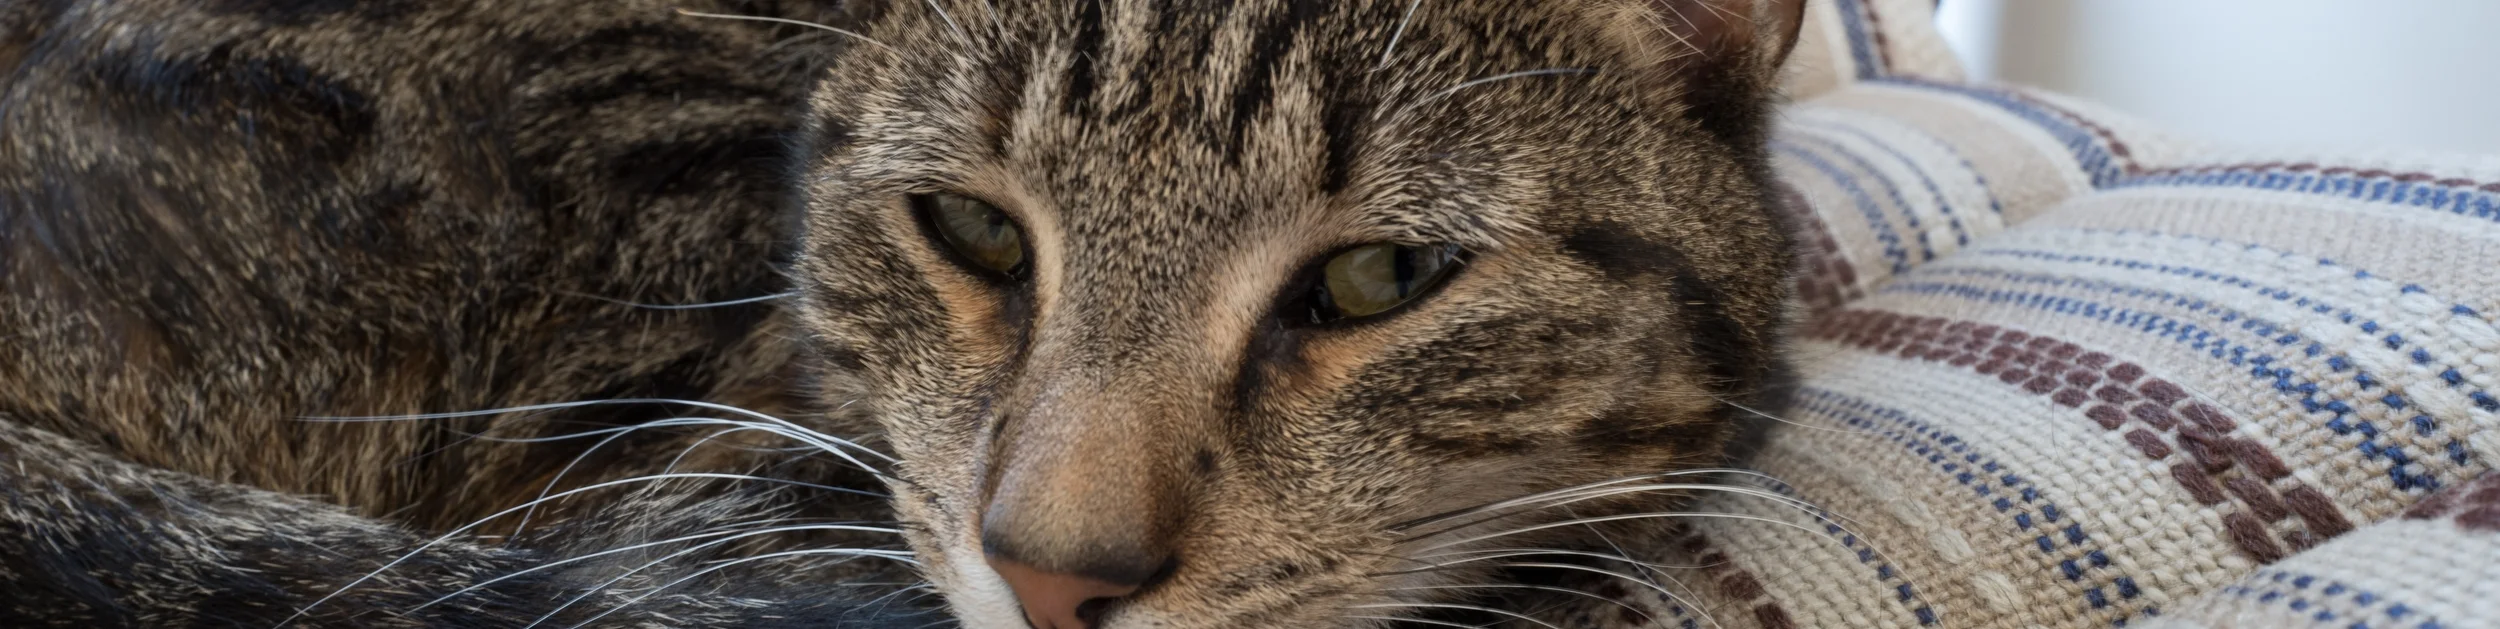
Leica Q, Handheld Sitting, ISO400, 1/4, f14, MFocus, Straight out of camera, cropped
The Leica Q was pretty easy to hold still being a little bigger than a normal 28mm fixed camera. I found it ok to handle.
A good exercise just to remind us how to hold a camera particularly when out and about working at low light. I would probably never see the need to go to a 1/4 sec and looking for a crisp image, but 1/30 1/15 handheld out on the street and getting a crisp image is a good skill to have.
Give it a try and see how you can improve by standing and or bracing yourself at 1/4 shutter.
We also received two assignments to work through. One we have two weeks to complete and that is going out and taking images that capture the "discovery walk" we did week 1.
The second is over the next week submit 5 images of anything for peer and tutor review - I assume thats a sort of benchmarking where we each are such that we can track our own progression as we go through the next weeks.
Out on the streets I go!